Table of Contents
Advertisement
Quick Links
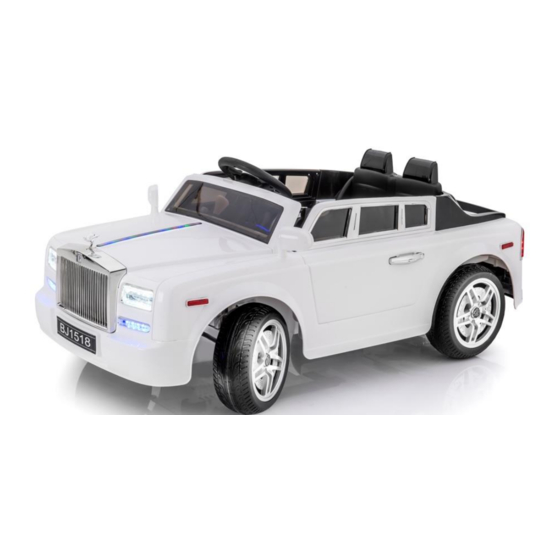
Ghost
Kids Ride on Car
Installation and Operation Instructions
Please read this instruction manual carefully. It is
important to read and follow all of the steps during
assembly to ensure proper operation and safety of the
child. Please keep this manual for future reference.
Scan this QR Code
to view the
Assembly Video
Advertisement
Table of Contents

Related Manuals for Supertrax Ghost


Summary of Contents for Supertrax Ghost
- Page 1 Ghost Kids Ride on Car Installation and Operation Instructions Please read this instruction manual carefully. It is important to read and follow all of the steps during assembly to ensure proper operation and safety of the child. Please keep this manual for future reference.
-
Page 2: Specifications
SPECIFICATIONS: Car Type: Rolls Royce Phantom Style - 1518 Battery Type: 12V10AH Age Range: 2 – 6 Years Max. Weight: 65 lbs Product Size: 51”L x 28”W x 24”H Avg. Speed: 2 – 3 MPH Charging time: 8-12 hrs – Minimum 1 Charge per month Avg. -
Page 3: Parts List
PARTS LIST: Car Body Hood Emblem Windshield Rearview Mirrors Steering Wheel Seat Rear Body Support Front Body Support Motor/Gearbox Rear Wheels/Tires Front Wheels/Tires Hubcap center caps Wheel Bushings Washers Lock Nut Upper door windows All assembly videos can be found on YouTube under SPORTrax... - Page 4 ASSEMBLY INSTRUCTIONS: Step 1 - Install rear axle: Turn car upside down. As seen in the photo above, insert the springs into the spring pockets toward the rear of the car. Place plastic spring caps over the springs so that the open end is facing up. Slide rear axle through the hole in the side of the body while pushing down the plastic spring caps far enough to line up the holes.
-
Page 5: Step 3 - Installing The Front Wheels
Step 3 - Installing the front wheels: Slide a washer on the end of the front axle. Insert a wheel bushing into each side of the front wheel. Slide wheel onto the axle, making sure that the wheel bushings stay in place, followed by a washer. Thread on lock nut until snug. -
Page 6: Step 6 - Install Steering Wheel
Step 5 – Install side mirrors & hood emblem: Insert the mirrors into the holes in the body and press firmly down until they snap into place. Repeat steps for hood emblem. Step 6 - Install steering wheel: Remove screw and nut from the shaft of the steering wheel. Connect electrical connection between the steering wheel and the wires from the car. - Page 7 Step 7 - Install windshield: Align the tabs on bottom of windshield with the tabs on body of the car and push down until you hear a click. Then insert the screws on both sides of the windshield (located by mirrors) to secure the windshield. Step 8 –...
- Page 8 Power switch: turn the car on and off Forward/backward switch: changes the direction the car moves from forward to reverse: To move the car forward, press the top of the switch down; To move the car backward, press the bottom of the switch down;...
-
Page 9: Battery Replacement And Disposal
BATTERY REPLACEMENT AND DISPOSAL: The battery will eventually lose the ability to hold a charge. Depending on the amount of use, and varying conditions, the battery should operate for one to three years. Follow these steps to replace and/or dispose of the battery: •... - Page 10 WARNING: - Use only the rechargeable battery and charger supplied with your vehicle. NEVER substitute the battery or charger with another brand. Using another battery or charger may cause damage. - NEVER modify the electric circuit system. Tampering with the electric system may cause permanent damage to the system.
-
Page 11: General Maintenance
GENERAL MAINTENANCE: It is the parent’s responsibility to check main parts of the toy before using. Regularly examine the car for potential hazard, such as damage to the battery, charger, cable or cord, and plug. Also, check that all screws are tightened throughout the car. -
Page 12: Troubleshooting Guide
TROUBLE SHOOTING GUIDE: Problem Possible Cause Possible Solutions Car will not move Battery voltage is low. Charge the battery Battery connector or wires Re-connect the battery are loose. connector to the car Battery is damaged or Replace battery dead. Electrical box or motor is Replace motor damaged The battery will not...
Need help?
Do you have a question about the Ghost and is the answer not in the manual?
Questions and answers