Table of Contents
Advertisement
Quick Links
Advertisement
Table of Contents

Related Manuals for Supertrax Bugatti Style


Summary of Contents for Supertrax Bugatti Style
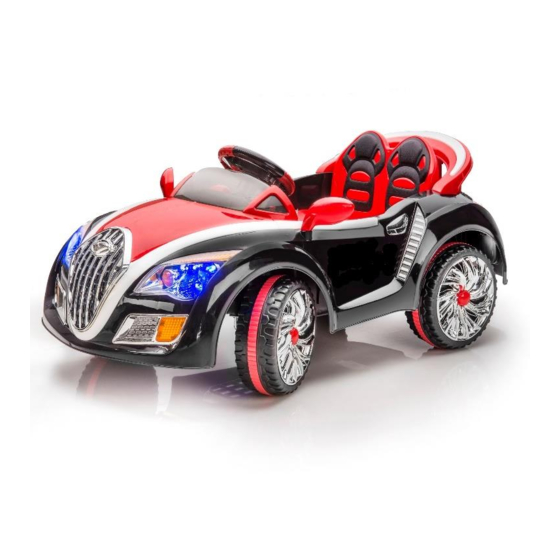
- Page 1 Bugatti Style Kids Ride on Car Installation and Operation Instructions Please read this instruction manual carefully. It is important to read and follow all of the steps during assembly to ensure proper operation and safety of the child. Please keep this manual for...
-
Page 2: Specifications
SPECIFICATIONS: Car Type: Bugatti Style Battery Type: 6V7AH Electric Motor: DC 6V Age Range: 2 – 6 Years Max. Weight: 65 lbs Product Size: 43”L x 29”W x 22”H Avg. Speed: 3 MPH Charging time: 8-12 hrs Avg. Use Time: .75-1.5 Hrs (depending on use) -
Page 3: Parts List Overview
PARTS LIST: 1 - Car Body 3 – Axle Sleeves 1 - Instruction Manual 1 - Steering Wheel 6 - Washers 1 - Remote Control 4 - Wheel Covers 1 - Charger 1 - Seat 1 - Motor/Gearbox AV cord to connect MP3 Player 1 - Seat Cover 4 - Wheels 1 - Rear Axle... -
Page 4: Installing The Front Wheels
ASSEMBLY INSTRUCTIONS: Turn Car Upside down. Remove rear axle from front axle by cutting two white plastic ties. Rear Wheel/Axle Assembly Remove the protective plastic cover from the ends of the axle and discard. Insert the rear axle into the bottom of the car towards the rear. - Page 5 Installing the Windshield & Rearview Mirror Assembly Install the windshield into the appropriate slots in the main body, and push in until a “click” is heard snapping the part into place. Install the left rearview mirror into the slot in the main body, and push downward until clicked into place.
-
Page 6: Charging Port
the corresponding white plastic connector with the blue and yellow wires from the control box. Set the black plastic battery cover into place over the battery and secure with 4 small screws. (Supplied in the parts package) Tighten screws until snug. -
Page 7: Charging And Battery Maintenance
The buttons found on the steering wheel are for the horn, the turn signals, and the on-board music. There is a MP3 interface located on the dash area with a volume knob to control the level of sound. CHARGING and BATTERY MAINTENANCE: •... -
Page 8: General Maintenance
WARNING: - Use only the rechargeable battery and charger supplied with your vehicle. NEVER substitute the battery or charger with another brand. Using another battery or charger may cause damage. - NEVER modify the electric circuit system. Tampering with the electric system may cause permanent damage to the system.
Need help?
Do you have a question about the Bugatti Style and is the answer not in the manual?
Questions and answers