Table of Contents
Advertisement
Quick Links
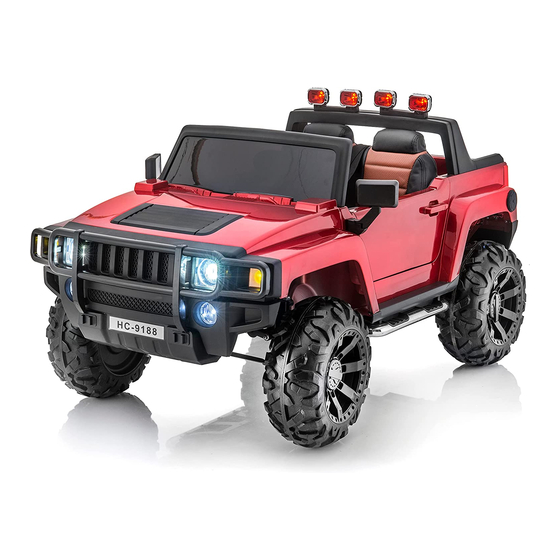
Warrior
Kids Ride on Car
Assembly and Operation Instructions
Please read this instruction manual carefully. It is important to
read and follow all the steps during assembly to ensure proper
operation and safety of the child. Please keep this manual for
future reference.
Scan this QR Code to view
the Assembly Video
Advertisement
Table of Contents

Subscribe to Our Youtube Channel
Related Manuals for Supertrax Warrior


Summary of Contents for Supertrax Warrior
- Page 1 Warrior Kids Ride on Car Assembly and Operation Instructions Please read this instruction manual carefully. It is important to read and follow all the steps during assembly to ensure proper operation and safety of the child. Please keep this manual for future reference.
-
Page 2: Specifications
SPECIFICATIONS: Battery Type: 2 - 12V10AH Avg. Speed: Approx. : 2 – 3 MPH Age Range: 3 – 8 Years Charging time: 8-12 hrs – Minimum 1 Charge per month Max. Weight: 130 lbs Avg. Use Time: 60-90 Minutes (depending on use) IMPORTANT! Assembly of car and charging of WARNING!! NOT TO BE USED... -
Page 3: Parts List
PARTS LIST Name Name Car Body Windshield Front Wheel Steering Wheel Rear Wheel Rearview Mirror Seat Rear Trunk Cover Wheel Cap Drive Motor Front Hood ASSEMBLY INSTRUCTIONS: 1: Install lower seat valance and tailgate: A. Put the valance of the seat into the car body. Tighten with 6 pcs of M4*12 screws. - Page 4 2: Installation of Front Wheels: A. Put one washer on and then put on the tire B. Position the wheel cover on the wheel, then tighten with 3 pcs of M4*12 screws. Then put one washer on the axle and tighten down a M10 self locking nut.
- Page 5 5: Installation of Steering Wheel: Plug in the steering wheel wires to the dashboard wires. Then position the steering into the dash and snap into place. 6. Installation of Windshield and Side Mirrors: Insert the windshield into the slots until it snaps into place 6.
- Page 6 7. Battery Connection and Install Seat A. Connect the wires to the battery B. Put the back part of the seat into the body of the car and set the seat over the battery compartment. Tighten the seat down with 2 - M4*12 screws (image 7) 8.
- Page 7 9. Dashboard Instructions A. Power Switch - (1) Turn on power; there will be a “start up” sound like a car is starting and lights will come on. (2) The radio will display a “time” which is the voltage reading of the battery. There is an auxiliary port in the radio for you to hook up you MP3 player.
-
Page 8: Remote Control Instructions
SYNCING THE REMOTE CONTROL: Remote Control Instructions: 1. For the first time use of remote control press both the “forward” and “backward” buttons for about 3 seconds to connect the remote to the car. The LED light will flash quickly. 2. -
Page 9: Battery Replacement And Disposal
BATTERY. ONLY AN ADULT SHOULD CHARGE AND RECHARGE THE BATTERY. DO NOT LEAVE THE CAR CHARGING FOR LONGER THAN 12 HOURS PER CHARGE. BATTERY REPLACEMENT AND DISPOSAL: Over time, all batteries naturally lose their ability to hold a charge. Depending on the amount of use and driving conditions, the battery should function for one to three years. -
Page 10: General Maintenance
- Do not allow any type of liquid on the battery or its components. - Charge the battery in a well-ventilated area ONLY. Do not charge near or around flammable materials. - NEVER pick up the battery by the wires or charger. Damage can occur to the battery and may cause a fire. - Page 11 ● Make sure the plastic parts of the vehicle are not cracked or broken. ● Occasionally use a lightweight oil to lubricate moving parts such as wheels. ● Park the vehicle indoors or cover it with a tarp to protect it from wet weather.
-
Page 12: Troubleshooting Guide
TROUBLESHOOTING GUIDE: Problem Possible Cause Possible Solutions Car will not move Battery voltage is low. Charge the battery Battery connector or wires Re-connect the battery are loose. connector to the car Battery is damaged or Replace battery dead. Electrical box or motor is Replace motor damaged The battery will not...
Need help?
Do you have a question about the Warrior and is the answer not in the manual?
Questions and answers