
Subscribe to Our Youtube Channel
Related Manuals for Afag BF25


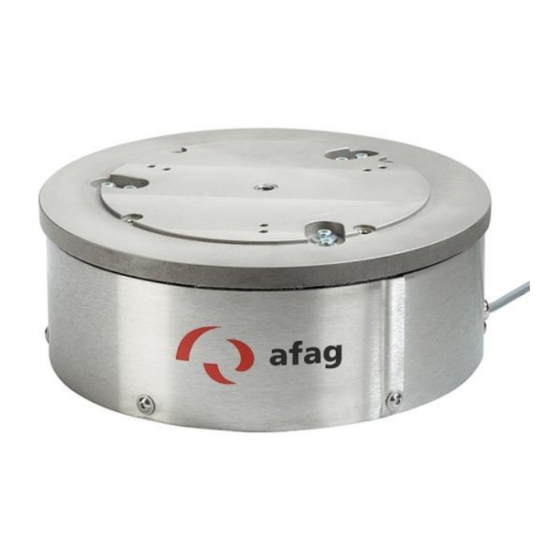
Summary of Contents for Afag BF25
- Page 1 Bowl feeder BF20 / BF25 / BF30 BF35 / BF40 / BF50 Translation of operating and installation instructions Copyright by Afag GmbH...
- Page 2 This operation instruction applies to: Order number Type BF20 BF25 BF30 BF35 BF40 BF50 230 V / 50 Hz 50028117 50028101 50013729 50017360 50026172 50028132 Right 12° 115 V / 60 Hz 50042193 50042198 50042202 50042206 50042210 50042214 230 V / 50 Hz...
-
Page 3: Table Of Contents
Table of contents: Safety instructions ....................4 Notes on symbols and instructions ......................4 Basic safety information ........................5 Appropriate use ............................. 5 Notes for Pacemakers and Defibrillators ....................6 Description of the device ..................6 General ..............................6 Function description ..........................7 Definition of the feed direction ...................... -
Page 4: Safety Instructions
1 Safety instructions 1.1 Notes on symbols and instructions Symbols: Assembly and commissioning must be carried out by qualified person- nel only and according to these operating instructions. Please observe the meaning of the following symbols and notes. They are grouped into risk levels and classified according to ISO 3864-2. -
Page 5: Basic Safety Information
These operating instructions must always be kept ready to hand where the BF is operat- 1.3 Appropriate use Afag BF bowl feeders are designed only for storing, transporting, separating and sorting workpieces of varying dimensions, shapes and material variants. Appropriate use also includes observation of all Notes in these operating instructions. -
Page 6: Notes For Pacemakers And Defibrillators
1.4 Notes for Pacemakers and Defibrillators Afag vibration conveyors are tested in accordance with regulation 15 of the German Statuto- ry Accident Insurance Association [Deutsche Gesetzliche Unfallversicherung, DGUV] (previ- ously BGV B11 of German Accident Prevention Regulations). The permissible values of ex- posure area 2 are not exceeded, therefore no measures are required pursuant to Section 4 (2) of the DGUV regulation 15. -
Page 7: Function Description
2.2 Function description Afag BF bowl feeders use a vibration force compensation system based on the counter- vibration principle. In this case a utility weight (1) vibrates exactly opposite to a counter- weight (2). The utility weight is essentially formed by the mounting plate, the bowl and the magnetic anchor, the counterweight is formed by the counter ring and the vibration magnet. -
Page 8: Technical Data
2.4 Technical data Figure 3: Dimension sheet for BF08-15 Page 8 16/05/2019 R06.0... -
Page 9: Right
Table 1: Technical data Models Units BF 20 BF 25 BF 30 BF 35 BF 40 BF 50 [mm] [mm] [mm] - - - - - - 4 x M6 4 x M6 4 x M6 24 x M6 [mm] 3 x 4H7 3 x 5H7 3 x 5H7 3 x 5H7... -
Page 10: Assembly Instructions
. See section 2.4, Table 1, for the mounting hole dimensions. (see Figure 4) Ideally the devices must be mounted on a plate that can be height-adjusted and rotated around a central column. Suitable substructure components are available from Afag. Page 10 16/05/2019... -
Page 11: Fixing The Bowl
Mounting plate Central column Mounting foot Another possibility is to mount the device straight on to a base plate. Suitable Afag standard parts are available for complete station assemblies using Afag linear feeders. 3.3 Fixing the bowl 3.3.1 Central Fixing The bowl is secured to the mounting plate provided for it on the BF bowl feeder using a central mounting screw. -
Page 12: Radial Fixing
Figure 5: central bowl mounting Bowl Central fixing Locating pin Table 2: Tightening torques for the bowl mounting Type Unit BF20 BF25 BF30 BF35 BF40 BF50 Tightening torque [Nm] 3.3.2 Radial Fixing Normally big bowls are not fixed in the centre. These kinds of bowls should be mounted with some screw, positioned radial to the centre. -
Page 13: Power Supply
3.4 Power supply WARNING ▪ Any work performed on the electrical supply may only be performed by trained, authorised, qualified personnel! ▪ The power supply must be protected by an FI switch (pro- vided by the customer). ▪ The bowl feeder may only be operated with the power sup- ply specified on the name plate. -
Page 14: Operating Instructions
4 Operating instructions 4.1 Standard operation No further settings are required for standard operation once the control is switched on. An uninterrupted operation only requires the re-filling of the feeder bowl. CAUTION The bulk material must be filled into the middle of the conveyor bowl. - Page 15 5. If the transport speed only increases when the screw is loosened and does not decrease again even when the screw is fully loosened, the drive unit is too rigidly tuned. In this case, remove a leaf spring and retune the frequency. You must re- move as many leaf springs as necessary until the properties described in point 4) are achieved.
-
Page 16: Torques
4.3 Torques Tightening torques M in Nm for shank screws with metric ISO control threads and head supports according to DIN 912 or DIN 931: Tightening torques M in Nm Screw Strength class 8.8 Strength class 10.9 Strength class 12.9 14,0 16,5 (M7) -
Page 17: Maintenance Instructions
The screws must be tightened using the torque shown in Table 3. During tightening the screws the spacer washers may not be turned. Table 3: Tightening torques for spring installation Type Unit BF20 BF25 BF30 BF35 BF40 BF50 Tightening torque [Nm] R06.0... -
Page 18: Adjusting The Magnet Gap
5.2 Adjusting the magnet gap To adjust the magnet gap between the oscillating magnets, the casing must be removed and the securing screws of the magnetic anchor) undone. Then the (see Figure 9, Figure 10) appropriate spacer gauges must be slid into the openings provided (Table 7: Adjusting tools) on the counterweight. -
Page 19: Wear Parts And Spare Parts
Figure 10: Adjusting the magnet gap with spacer gauges BF50 Securing screws of magnetic anchor Spacer gauge Table 4: Magnet gap and tightening torque Unit BF20 BF25 BF30 BF35 BF40 BF50 Air gap [mm] Tightening torque [Nm] 5.3 Wear parts and Spare parts... - Page 20 50031626 BF50 Spacer 50031627 Rubber buffer 50041331 Table 6: Spare parts Designation Power supply Order number 230V/50Hz 50066426 BF20 115V/60Hz 50066429 230V/50Hz 50066426 BF25 115V/60Hz 50066429 230V/50Hz 15215514 BF30 115V/60Hz 15138144 Magnet 230V/50Hz 15215514 BF35 115V/60Hz 15138144 230V/50Hz 15215514 BF40...
-
Page 21: Accessories
Soft-starting, all IRG and MSG types can be mounted in various different ways and offer extra controls for photoelectric barriers, initiator elements, or extern 24VDC signal. For a detailed description of the controllers refer full-range catalogue from Afag GmbH. Third-party controllers can also be used as long as they meet the technical requirements. -
Page 22: Address For Orders
6.3 Address for orders Germany: Switzerland: Afag GmbH Afag Automation AG Wernher-von-Braun-Straße 1 Zuführtechnik D – 92224 Amberg Fiechtenstrasse32 CH – 4950 Huttwil Tel.: ++49 (0) 96 21 / 65 0 27-0 Fax: ++49 (0) 96 21 / 65 0 27-490 Tel.: ++41 (0) 62 / 959 86 86...
Need help?
Do you have a question about the BF25 and is the answer not in the manual?
Questions and answers