Advertisement
Quick Links
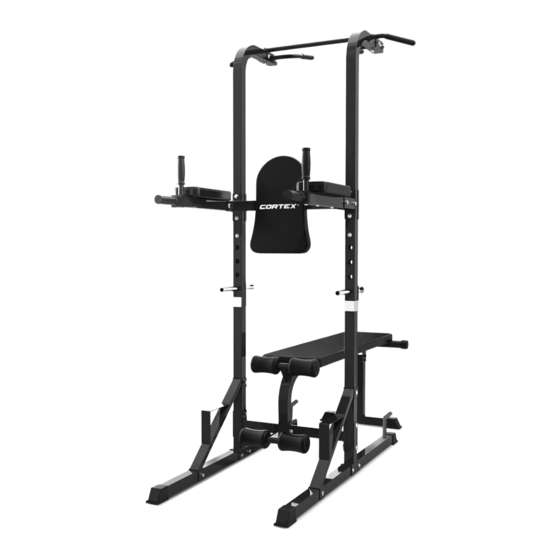
PTX-100 OWNER'S MANUAL
Product may vary slightly from the item pictured due to model upgrades
Read all instructions carefully before using this product. Retain this owner's manual for future
reference.
NOTE: This manual may be subject to updates or changes. Up to date manuals are available through our website at
www.lifespanfitness.com.au
Advertisement

Related Manuals for Cortex PTX-100


Summary of Contents for Cortex PTX-100
- Page 1 PTX-100 OWNER’S MANUAL Product may vary slightly from the item pictured due to model upgrades Read all instructions carefully before using this product. Retain this owner’s manual for future reference. NOTE: This manual may be subject to updates or changes. Up to date manuals are available through our website at...
- Page 2 TABLE OF CONTENTS IMPORTANT SAFETY INSTRUCTIONS PARTS LIST ASSEMBLY INSTRUCTIONS WARRANTY PTX-100...
-
Page 3: Important Safety Instructions
Do not use the equipment until the problem has been rectified. Wear suitable clothing while using the equipment. Avoid wearing loose clothing that may get caught in the equipment or that may restrict or prevent movement. PTX-100... - Page 4 This equipment is designed for indoor and family use only Care must be taken when lifting or moving the equipment so as not to injure your back. Always keep this instruction manual and assembly tools at hand for reference. The equipment is not suitable for therapeutic use. PTX-100...
- Page 5 2. PARTS LIST PTX-100...
- Page 6 Grip B Grip C Foam Pipe plug 口50 Tube plug Φ50 Carriage bolt M10x70 Washers Φ10 Nuts Washers Φ8 Hex bolt M10x70 Hex bolt M10x90 Hex bolt M10x20 Hex bolt M8x15 Hex bolt M8x65 Foam Tube plug Φ25 Welding tube PTX-100...
-
Page 7: Tube
1. Secure the tube (#4) to the tube (#5) with hex bolt M10x70 (#36), washer Φ10 (#33and nut M10 #34). 2. Attach the tube (#24) to the upright tube (#4) and tube (#5), use carriage bolt M10x70 (#32), washer Φ10 (#33) and nut M10 (#34). PTX-100... - Page 8 1. Insert the tube (#2) to the tube (#4), attach the tube (#13) to the both tubes. Secure with carriage bolt 2. M10x70 (#32), hex bolt M10x20 (#38), Φ10washer (#33) and M10 nut (#34) and bracket (#15). 3. Connect the bar (#7) to the tube (#13). Secure with hex bolt M10x20 (#38), washer Φ10 (#33). PTX-100...
- Page 9 3. Attach the connection tube (#6) to the tube (#13). Secure with carriage bolt M10x70 (#32), washer Φ10 (#33), M10 nut (#34) and bracket (#14). 4. Attach the connection tube (#11) to the tube (#4). Secure with carriage bolt M10x70 (#32), washer Φ10 (#33), M10 nut (#34) and bracket (#14). PTX-100...
-
Page 10: Back Pad
STEP 4: 1. Attach the elbow pad (#8) to the machine, secure with hex bolt M8x65 (#40), washers (#35). 2. Attach the back pad (#12) to the machine, secure with hex bolt M8x15 (#39), washers (#35). PTX-100... -
Page 11: Welding Tube
Φ10washer (#33), nut (#34) and lock with pin (#43). Attach the welding tube (#44) to the weight bench welded tube (#21), secure with 3 M10x20 hex Bolts (#38) and washer Φ10 (#33). Insert the foam tube (#29) to the tube (#21) with foams. PTX-100... -
Page 12: Upright Tube
STEP 6: 1. Connect the weight tube (#16) to the upright tube (#4). 2. Attach the board (#22) to the weight bench tube (#21), secure with 6 hex bolts M8x15 (#39) and Φ8 washer (#35). PTX-100... - Page 13 Please visit our website to view our full warranty terms and conditions: http://www.lifespanfitness.com.au/warranty-repairs Warranty and Support: Please email us at support@lifespanfitness.com.au for all warranty or support issues. For all warranty or support related enquiries an email must be sent before contacting us via any other means. PTX-100...
Need help?
Do you have a question about the PTX-100 and is the answer not in the manual?
Questions and answers