Subscribe to Our Youtube Channel
Summary of Contents for ElectrIQ eiQ-32Q75HDR
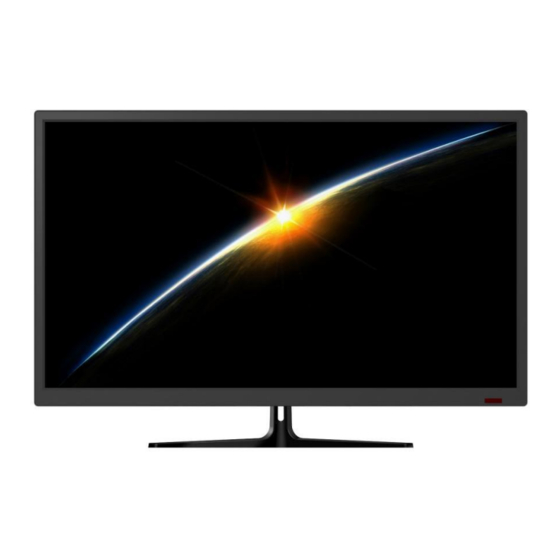
- Page 1 USER MANUAL 32” QHD LED MONITOR eiQ-32Q75HDR Please read this manual thoroughly before use and keep it handy for future reference...
-
Page 2: Table Of Contents
CONTENTS SAFETY INFORMATION CONNECTION AND PREPARATION OF THE MONITOR WHAT IS INCLUDED WALL MOUNTING ATTACHING THE STAND BUTTON FUNCTIONS INPUT / OUTPUT TERMINALS INITIAL SETUP MENU OPTIONS INPUT SOURCE BRIGHTNESS / CONTRAST COLOUR SETTINGS PICTURE QUALITY SETTINGS DISPLAY AUDIO OTHER TECHNICAL SPECIFICATION SIMPLE TROUBLESHOOTING MANUFACTURER SUPPORT... -
Page 3: Safety Information
SAFETY INFORMATION Read these instructions – All the safety and operating instructions should be read before this product is operated. Keep these instructions – The safety and operating instructions should be retained for future reference. Heed all warnings – All warnings on the appliance and in the operating ... - Page 4 there may be differences to the actual product received. This is a CLASS I product and as such requires an earth connection. WARNING Never place a monitor in an unstable location. A television set may fall, causing serious personal injury or death. Many injuries, particularly to children, can be avoided by taking simple precautions such as: ...
- Page 5 ATTENTION Place the monitor on a firm 10 cm 30 cm 10 cm and flat surface, leaving a space of at least 10cm around the unit and 30cm from the top of the unit to the ceiling or cabinet. Ensure the monitor is positioned close to the wall to avoid it falling when pushed.
-
Page 6: Connection And Preparation Of The Monitor
electriQ and its distributors and dealers are not liable or responsible for damage or injury caused by improper installation, improper use or failure to observe these safety instructions. In such cases any guarantee will expire. -
Page 7: Attaching The Stand
ATTACHING THE STAND With the monitor laid on a clean flat surface, attach the stand to the rear of the monitor using the two bolts provided, been careful not to place too much pressure on the rear of the screen. Do not use an electric screwdriver or similar. -
Page 8: Input / Output Terminals
INPUT / OUTPUT TERMINALS HDMI 2 HDMI 1 DISPLAY AUDIO DC IN Supports: Supports: PORT Firmware HDMI 1.4 HDMI 2.0 (DP) 75Hz 144Hz Supports: Updates Freesync DP 1.2 Freesync 144Hz Freesync INITIAL SETUP Connect the monitor to a power outlet. 1. -
Page 9: Input Source
INPUT SOURCE 144Hz Change the input between DisplayPort (DP), HDMI 1 and HDMI 2. BRIGHTNESS/CONTRAST Brightness: Adjust the brightness of the display between 0 and 100. Contrast: Adjust the contrast of the display between 0 and 100. DCR: Turn the Dynamic Contrast Ratio feature On or Off. -
Page 10: Colour Settings
COLOUR SETTINGS Gamma: Change the Gamma value for the display between 1.8, 2.0, 2.2, 2.4, or 2.6. ECO Mode: Change the pre-set mode between Standard, Text, Game 1-3, Movie, or ECO. Colour Temperature: Change the Color Temperature of the display to 6500k, 7500k, 9300k, or User. -
Page 11: Picture Quality Settings
PICTURE QUALITY SETTING Sharpness: Change the display Sharpness between 0 and 100. Response Time: Turn the Response OverDrive feature On or Off. Dynamic Noise Reduction: Select the Noise Reduction Value between Low, Middle, High, or Off. Super Resolution: Change the Super Resolution value between 0 and 5. Dynamic Luminance Control: Turn the Dynamic Luminance Control feature On or Off. -
Page 12: Audio
AUDIO Mute: Turn On and off to mute and unmute the audio output. Volume: Adjust the output volume between 0 and 100. Language: Change the OSD Menu display language. OSD H Position: Change the horizontal position of the OSD Menu. OSD V Position: Change the vertical position of the OSD Menu. -
Page 13: Other
OTHER FreeSync Mode: Turn FreeSync On or Off. HDR: Turn HDR On (requires HDMI 2.0 input) Firmware Update: Update the monitor firmware with proper firmware Using the USB port. Reset: Restore factory default setting. -
Page 14: Technical Specification
TECHNICAL SPECIFICATION Product Model eiQ-32Q75HDR 32” Diagonal Screen Size Panel Type VA Panel Aspect Ratio 16:9 Power Supply AC 100-240V, 50/60Hz Power Consumption Dimensions 748x498x166 Net/Gross Weight 8.35/9.46 Audio Output Power 2 x 3W (Internal) Maximum Resolution 2560 x 1440 QHD... -
Page 15: Simple Troubleshooting
For more information, refer to Supported Signal Modes electriQ UK SUPPORT Complete online support form on www.electriQ.co.uk/support Service Line: 0871 620 1057 Office hours: 9AM - 5PM Monday to Friday Unit J6, Lowfields Business Park, Lowfields Way, Elland...


Need help?
Do you have a question about the eiQ-32Q75HDR and is the answer not in the manual?
Questions and answers