Table of Contents
Advertisement
Quick Links
Advertisement
Table of Contents

Related Manuals for ElectrIQ eiQ-49CV5UWD120FSHQA-V3


Summary of Contents for ElectrIQ eiQ-49CV5UWD120FSHQA-V3
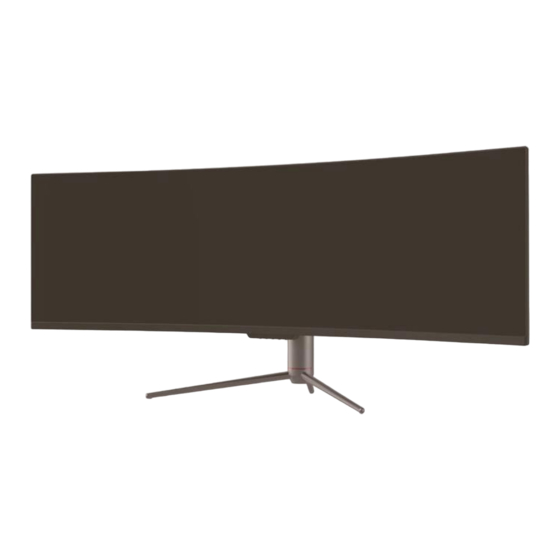
- Page 1 USER MANUAL 49” LED CURVED MONITOR eiQ-49CV5UWD120FSHQA-V3 Thank you for choosing electriQ. Please read the user manual before using this monitor and keep it safe for future reference. Visit our page www.electriQ.co.uk to view our entire range of Intelligent Electricals.
-
Page 3: Table Of Contents
PICTURE SETTINGS ................12 COLOUR SETTINGS................13 PIP (Picture in Picture) / PBP (Picture by Picture) ........14 OSD SETTINGS ..................15 OTHER SETTINGS ................. 16 SPECIFICATION ..................17 TROUBLESHOOTING .................. 18 PRODUCT DISPOSAL ................. 19 electriQ UK SUPPORT ................. 19... -
Page 4: Safety Information
SAFETY INFORMATION Read these instructions – All the safety and operating instructions should ⚫ be read before this product is installed or operated. Keep these instructions – The safety and operating instructions should ⚫ be retained for future reference. Heed all warnings – All warnings on the appliance and in the operating ⚫... -
Page 5: Warnings
to water or moisture, if anything accidentally penetrates the ventilation slots or if the set does not work normally. Do not remove the safety covers. There are no user serviceable parts ⚫ inside. Do not block ventilation slots on the back cover. The monitor can be placed ⚫... -
Page 6: Preparing The Monitor For Use
WHAT IS SUPPLIED Monitor Power Cable DP Cable Bolts User Manual Stand Remote Control Extension Bolts (For Wall Mounting) PREPARING THE MONITOR FOR USE Place the monitor on a firm and flat 10cm 10cm 10cm 30cm surface, leaving a space of at least 10cm around the unit and 30cm from the top of the unit to the ceiling or cabinet. -
Page 7: Attaching The Stand
⚫ that they are unpacked and assembled by 2 people. electriQ and its distributors and dealers are not liable or responsible for damage or injury ⚫ caused by improper installation, improper use or failure to observe these safety instructions. In such cases any guarantee will be void. -
Page 8: Wall Mounting
Please follow the instructions provided by the wall bracket manufacturer and ensure that all fixing bolts supplied are used. electriQ and its distributors and dealers are not liable or responsible for damage or injury ⚫ caused by improper installation, improper use or failure to observe these safety instructions. In... -
Page 9: Getting Started
GETTING STARTED CONNECTIONS AVAILABLE ON THE MONITOR Audio Output: Insert an Audio cable into the monitor to output sound to a device, such as headphones or speakers. DP (Display Port) 1.4 (x2): Insert one end of the DP cable into the computer’s DP output and connect the other end to the monitor’s DP port. -
Page 10: Initial Setup
INITIAL SETUP Attach the stand or wall mount the product following the guidance on the previous pages. Connect the source device (such as PC) using the correct cable. Connect the power cable to the monitor and plug into a suitable socket. Press the POWER button on the monitor or to turn it on. -
Page 11: Game Settings
GAME SETTINGS Setting Options Description Standard On / Off Settings optimised for standard use of the monitor. Mode RTS/RPG Settings are optimised for real time strategy and role On / Off playing games. Mode FPS Arena Settings are optimised for first person shooter On / Off Mode games. -
Page 12: Picture Settings
PICTURE SETTINGS Setting Options Description Brightness 0 - 100 Adjust the brightness of the image on the screen. Contrast 0 - 100 Adjust the contrast of the image on the screen Turn DCR (Dynamic Contrast Ratio) on or off, which On / Off may help the clarity of the image. -
Page 13: Colour Settings
COLOUR SETTINGS Setting Options Description Warm On / Off 3 different pre set colour temperatures that can be Natural On / Off applied to the image. Cool On / Off User 1 On (R, G, B) / Off 3 separate user adjustable colour temperatures, User 2 On (R, G, B) / Off allowing you to select the Red, Green and Blue... -
Page 14: Pip (Picture In Picture) / Pbp (Picture By Picture)
PIP (Picture in Picture) / PBP (Picture by Picture) Setting Options Description PIP/PBP Off, PIP Mode, PBP 2Win 1:1, Turn PIP/PBP on and off, and select which option is Mode PBP 3Win used for displaying multiple video sources. Sub-Signal Select which input source is used for the second DP1, DP 2, HDMI1, HDMI2 input. -
Page 15: Osd Settings
OSD SETTINGS Setting Options Description Language 23 Languages to select from Select which language the OSD is displayed in OSD Time Select how long (in seconds) the OSD is displayed 5 – 60 when no buttons are pressed. OSD H- 0 –... -
Page 16: Other Settings
OTHER SETTINGS Setting Options Description Auto, DP1, DP 2, HDMI1, Choose the input source which is displayed on the Input Signal HDMI2 monitor. 0 – 100 Volume Adjust the volume output by the monitor Mute the audio output from the speakers / audio Mute On / Off out port. -
Page 17: Specification
SPECIFICATION Product Model eiQ-49CV5UWD120FSHQA-V3 49” (Diagonal) Screen Size Panel Type VA Panel Aspect Ratio 32:9 Radius of Curve R1800 Power Supply 100-240V~ 50/60Hz Average: 72W Power Consumption Maximum: 95W Dimensions (with stand) 1199*566*287 mm Dimensions (without stand) 1199*376*160 mm Net / Gross Weight 11.5 kg / 15.6 kg... -
Page 18: Troubleshooting
TROUBLESHOOTING If the display fails or the performance changes dramatically, check the display in accordance with the following instructions. Remember to check the peripherals to pinpoint the source of the failure. Symptom Solution • Power cannot be turned Check that both ends of the power cable are plugged on. -
Page 19: Product Disposal
Please contact the local council for details of your local household waste recycling centres. electriQ UK SUPPORT Complete the online support form on www.electriQ.co.uk/support...
Need help?
Do you have a question about the eiQ-49CV5UWD120FSHQA-V3 and is the answer not in the manual?
Questions and answers