Table of Contents

Summary of Contents for Takex PIR-T40NAM(W)
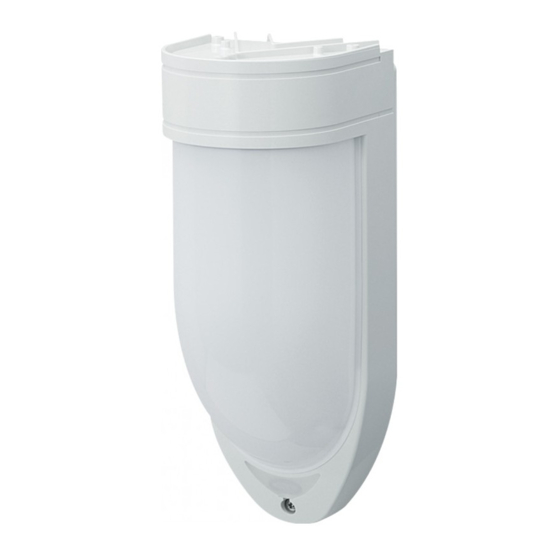
- Page 1 TRIPLE MIRROR PASSIVE SENSOR PIR-T40NAM (W) (Vertical curtain protection) Instruction Manual Thank you for purchasing this product. Before using the product, please read this instruction manual to ensure correct operation. ( ) ①...
- Page 2 Be sure to observe Warning Caution We categorize these precautions throughout the manual using the following symbols. Warning Mount the unit on a solid ceiling or wall surfaces where reinforcement materials are used. If you mount the unit on Failure to follow this may result in fire, electric shock, and/or malfunction.
- Page 3 Caution Avoid operation in places where there is not enough space Mount the unit straight so that it does not look inclined for the detection area to pass through without being from the front and side view. obstructed. It may cause false or lost detection. When this operation is obliged, selecting "high density mode"...
-
Page 4: Top View
■Near detection area 【Top view】 Auxiliary detection zone ●Detecting near area Aea masking plate To disable the auxiliary zone after removing "Area masking plate (x3)", replace them in the original positions. In that case, remove the adhesive, and replace "Area masking plate"... -
Page 5: Mounting Method
The mounting height and adjustable detection distance depend on the operation mode. Carefully check the operation mode and detection area setting before installation and area setting. Use the unit with the correct operation mode setting. Select operation mode to use and perform the setting correctly. This unit can be operated from ①... - Page 6 ■Terminal configuration ■Standard connection (Connection examples when using two units) LED CONTROL FUNCTIONS Connect terminal ⑤ through an external contact switch with power (+) ■OPERATION Turn the DIP switch 1 in Mode selector ① OFF When the switch is turned ON, the alarm LED lights at alarm. When the switch is turned OFF, the alarm LED does not light.
-
Page 7: Mode Selector
Temperature compensation Check the surface and inside of the sensor unit to confirm that there are no masking objects in front of the sensor and that the This function is used to automatically adjust the detection sensor operates normally. sensitivity based on the temperature around the sensor. After ten seconds following removal of shielding material, anti-masking alarm stops and the sensor recovers after alarm is activated twice. - Page 8 Alarm contact output changeover setting (3 of mode selector 2) Enable / Disable the anti-masking This setting can be used to select 7 function. the alarm output logic N.C. or N.O. contact. : : ( ) Factory set Output for external device setting (4 of mode selector 2) This setting can be used to set the output time of external output.
- Page 9 ■Detection area adjustment method Detection distance adjustment Detection distance [rough adjustment] Detection distance [fine adjustment] using LED area checker Green When the zone faces toward a place where false operation can occur (refer to "3 PRECAUTIONS), adjust or mask the area to avoid.
-
Page 10: Daily Inspection
* When the alarm LED is set to OFF for operation, use the walk test function and check operation. ・ Daily inspection ・ ⑩... - Page 11 (Maximum detection distance:40m (135 )) (Maximum detection distance:35m (115 )) (Maximum detection distance:30m (100 )) (Maximum detection distance:45m (150 )) ⑪...
- Page 12 TAKEX. All implied warranties with respect to TAKEX, including implied warranties for merchantability and implied warranties for fitness, are limited in duration to 12 months from original date of shipment. During the Warranty Period, TAKEX will repair or replace, at its sole option, free of charge, any defective parts returned prepaid.


Need help?
Do you have a question about the PIR-T40NAM(W) and is the answer not in the manual?
Questions and answers