Advertisement
Quick Links
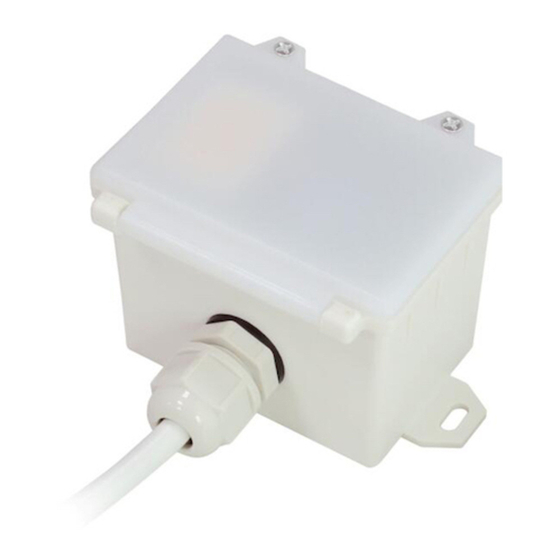
HIGH BAY MICROWAVE MOTION SENSOR HMW31
1. Technical Specifications
Product type
Tri-level control microwave motion sensor
Operating voltage
120~277VAC 50/60Hz
Capacitive: 400W@120V; 800W@220~277V
Rated load
Resistive: 800W@120V; 1600W@220~277V
Power consumption
< 0.5W
o
Detection angle
360
Detection area (DxH)
10 x 15m (Maximum)
Mounting height
15m (Maximum)
Detection range
10% / 50% / 75% / 100%
Hold time
2s / 30s / 1min / 5min / 10min / 15min / 20min / 30min
Stand-by time
0s / 10s / 1min / 5min / 10min / 30min / 1h / + ∞
Stand-by dimming level
10% / 20% / 30% / 50%
Daylight threshold
2 ~ 500Lux, Disable
Warmming up time
20s
o
Operating temperature
-20
C ~ +50
IP rating
IP65
3. Rotary Switch Settings
A rotary switch is built inside the sensor for
scene selection / fast programming. Total
16 channels available:
Detection
Hold
Channel
range
time
0
100%
5s
1
100%
1min
2
100%
5min
3
100%
5min
4
100%
5min
5
100%
5min
6
100%
5min
7
100%
10min
8
100%
10min
9
100%
10min
A
100%
10min
B
75%
10min
C
50%
10min
D
100%
30min
E
100%
30min
F
100%
5s
Note: settings can also be changed by remote control HRC-11. The last action controls.
4. Functions
4.1 Tri-level Control (Corridor Function)
Hytronik builds this function inside the motion sensor to achieve tri-level control, for some areas require a
light change notice before switch-off.
It offers 3 levels of light: 100%-->dimmed light-->off; and 2 periods of selectable waiting time: motion
hold-time and stand-by period; Selectable daylight threshold and freedom of detection area.
4.2 Lux Off Function
The built-in daylight sensor can read ambient natural light and switch off the fixture automatically
whenever artificial light is unneeded (natural light lux level exceeds daylight threshold).
Note: if the stand-by time is preset at "+∞", the fixture never switches off even when natural light
is sufficient.
Installation and Instruction Manual
o
C
Rotary switch preset (Please
see the location in 2. Installation)
Stand-by
Stand-by
Daylight
time
dimming level
threshold
10s
10%
5min
10%
10min
10%
30min
10%
0s
Disable
+∞
10%
+∞
30%
10min
10%
30min
10%
+∞
10%
+∞
30%
+∞
10%
+∞
10%
+∞
10%
+∞
30%
10s
10%
2. Installation
Warnings:
1. Installation of the sensor involves connecting it to the mains supply. This work must be
carried out by a specialist in accordance with electrotechnical regulations.
2. Disconnect supply before installing.
A. Ceiling mount
LED indicator
Infrared receiver
Rotary switch
Installation rack
B. Screw to the Luminaire by conduit
LED indicator
Infrared receiver
Rotary switch
Disable
2Lux
10Lux
30Lux
C. Attach to the shade by clamp
10Lux
30Lux
LED indicator
Disable
Infrared receiver
2Lux
10Lux
30Lux
Disable
30Lux
Rotary switch
10Lux
50Lux
Disable
2Lux
4.3 Ambient Daylight Threshold
Switch the power supply to the sensor two times within 2 seconds, the ambient lux level is
sampled and set as the new daylight threshold. Both the settings on rotary switch and the
ambient lux level sampled can overwrite each other. This feature enables the daylight sensor
to be commissioned to the environment in which it is installed. The last adjustment remains in
memory.
4.4 8H Manual ON Mode For LED Lamp
Turn off/on the power supply three times within 3 seconds, the light will be turned on for 8
hours, even there is no motion detected, then go back to sensor mode automatically.
Note: this 8H manual on mode can be cancelled by turning off/on the power supply one time
within 1 second.
Sensor module
Photocell
Cable entry
Sensor module
Photocell
Cable entry
Sensor module
Photocell
Angle adjustment
Luminaire clamp
HMW31-20160912-A1
59.6
53
4.1
66.6
81.5
61.4
53
0.825"
59.6
89.9
66.6
59.6
53
146.6
Advertisement

Subscribe to Our Youtube Channel
Related Manuals for Hytronik HMW31


Summary of Contents for Hytronik HMW31
- Page 1 4.1 Tri-level Control (Corridor Function) Hytronik builds this function inside the motion sensor to achieve tri-level control, for some areas require a light change notice before switch-off. It offers 3 levels of light: 100%-->dimmed light-->off; and 2 periods of selectable waiting time: motion 4.4 8H Manual ON Mode For LED Lamp...
-
Page 2: Wiring Diagram
Detection Pattern Brown Blue Yellow LED driver Black 1-10V+ 1-10V- HMW31 Ceiling mounted detection pattern (m) Detection range [ zone Permanent ON/OFF [ button Description of the Press buttons in zone to set detection range at 100% / 75% / Press button to select permanent ON or permanent OFF mode.
Need help?
Do you have a question about the HMW31 and is the answer not in the manual?
Questions and answers