Advertisement
Quick Links
Advertisement

Related Manuals for Sunny Health & Fitness SF-T7878


Summary of Contents for Sunny Health & Fitness SF-T7878
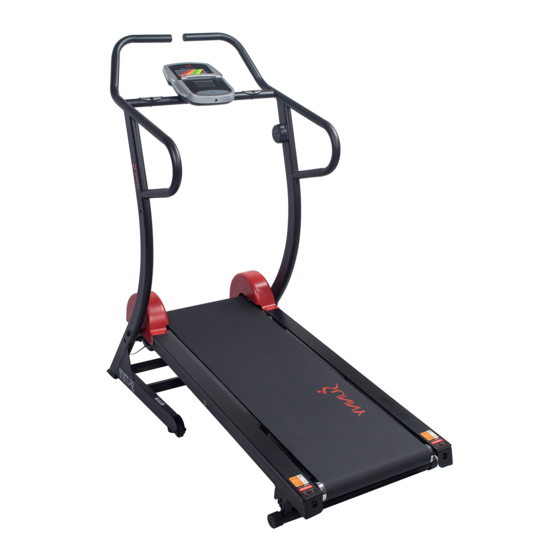
- Page 1 MAGNETIC TRAINING TREADMILL SF-T7878 USER MANUAL IMPORTANT! Please retain owner’s manual for maintenance and adjustment instructions. Your satisfaction is very important to us, PLEASE DO NOT RETURN UNTIL YOU HAVE CONTACTED US: support@sunnyhealthfitness.com or 1- 877 - 90SUNNY (877-907-8669).
- Page 2 IMPORTANT SAFETY INFORMATION We thank you for choosing our product. To ensure your safety and health, please use this equipment correctly. It is important to read this entire manual before assembling and using the equipment. Safe and effective use can only be achieved if the equipment is assembled, maintained, and used properly.
- Page 3 EXPLODED DIAGRAM 20 19 21...
- Page 4 PARTS LIST Description Spec. Qty. Description Spec. Qty. Φ8.2xΦ16x1.5 Main Frame Flat Washer Handlebar Nylon Nut Socket Pan Head Incline Adjuster M8*25*15 Screw Socket Pan Head Front Roller M8*45*20 Screw Phillips Self Drilling Rear Roller ST5.5*22 Screw Running Board Cushion Mat Running Belt Bolt M6*50...
-
Page 5: Main Frame (
UNFOLDING INSTRUCTIONS STEP 1: Remove Knob (No. 21) by rotating it counter-clockwise. Then, simply give the treadmill a light kick to the position on Cylinder (No. 9) that the arrow points to. Let Main Frame (No. 1) lower slowly on its own. -
Page 6: Handlebar 1
FOLDING INSTRUCTIONS STEP 1: Remove the Knob (No. 21) by rotating it counter-clockwise. Lift up Main Frame (No. 1). STEP 2: Once the Cylinder (No. 9) is in place, align the holes on Main Frame (No. 1) and Handlebar (No. 2), then attach Knob (No. -
Page 7: Incline Adjuster 1
HOW TO ADJUST THE INCLINE Pull out Incline Adjuster (No. 3), rotate the Incline Adjuster (No. 3), and push it into the desire incline. This completes the incline adjustment. - Page 8 HOW TO MOVE THE TREADMILL Before attempting to move the treadmill, make sure that it has been properly folded. To tilt, start by placing one hand at Handlebar (No. 2) to support the treadmill. Next, place one foot on Transportation Wheels (No.
- Page 9 MAINTENANCE INSTRUCTIONS CENTERING THE RUNNING BELT: If the Running Belt (No. 7) is off-center, the unit will make noise. Please use the tool to re- adjust the Running Belt (No. 7) if it is too loose or too tight. 1. When the Running Belt (No. 7) moves to the right side, please turn the right side Bolt (No. 35) clockwise 1 or 2 circles, and then turn back slightly.
-
Page 10: Running Board 1
TREADMILL LUBRICATION IMPORTANT NOTE: You will need to lubricate your treadmill before the first use! RUNNING BELTS & TREADMILL LUBRICANT: Lubricating the Running Belt (No. 7) & Running Board (No. 6) is essential as the friction between the two affects the life span and operations of the treadmill. Inspect the Running Belt (No. -
Page 11: Meter
METER INSTRUCTIONS FUNCTION BUTTONS MODE: Press the Mode button to select the function displayed. Press and hold the Mode button for 3 seconds, all the function values except Odometer will be reset to zero. SET: To set up the target value of Time, Distance, and Calories. You can hold the button to increase the value fast. - Page 12 6. TIME: Displays the workout time from 00:00 to 99:59. The user also can press the Mode button to display the workout time value. Press the Mode and Set button to preset Time. 7. CALORIES: Displays the calories burned during training from 0.0 to 9999. The user also can press the Mode button to display the calories burned.
Need help?
Do you have a question about the SF-T7878 and is the answer not in the manual?
Questions and answers