Table of Contents
Advertisement
Quick Links
Download this manual
See also:
Instruction Manual
Advertisement
Table of Contents

Related Manuals for Midea MHS60S


Summary of Contents for Midea MHS60S
- Page 1 Midea Cooker Hood Instruction MODEL : MHS60S SAVE THESE INSTRUCTIONS CAREFULLY Read these instructions carefully before using your cooker hood,and keep it carefully. If you follow the instructions, your cooker hood will provide you with many years of good service.
-
Page 2: Recommendations And Suggestions
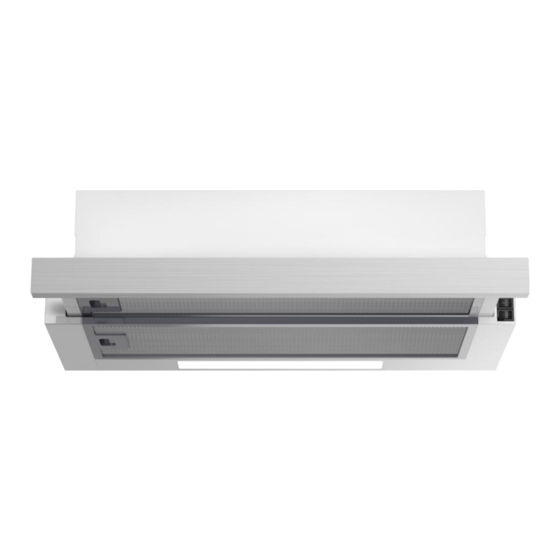
RECOMMENDATIONS AND SUGGESTIONS The instructions for Use apply to several versions of this appliance. Accordingly, you may find descriptions of individual features that do not apply to your specific appliance. INSTALLATION The manufacturer will not be held liable for any damages resulting from incorrect or improper installation. - Page 3 COMPONENTS Ref. Qty. Product Components Hood Body, complete with: Controls, Light, Blower, Filter. Check valve The Activated Charcoal filter (1 / 2 optional ) Screws 5 x 50 Wall Plugs...
- Page 4 DIMENSIONS unit:mm Min. Min. Ø118 Security hole Double motor...
-
Page 5: Installation
INSTALLATION METHOD 1 Ø118 Security hole According to the figure, make sure the position of hood in the cabinet. The wood strips should be line up with the 4 keyholes slots on the top of the range hood. On the cabinet, install 4 screws (supplied) according to the relative position of 4 key holes on the bottom of hood. - Page 6 In the installation surface in cabinet don’t adapt to install the cooker hood, then as per fig, fix the position of cooker hood on the wall. On the wall, install 2 screws ( supplied ) according to the relative position of 2 key holes on the back of hood.
- Page 7 Operation Check beforehand Check the safe condition of the appliance: Check whether there are visible defects. Check that all parts of the appliance have been securely fitt ed. Switching on/off In the right part of the cooker hood. ...
-
Page 8: Check Valve Installation
MAINTENANC CHECK VALVE INSTALLATION Hold on check valve with your hands, align the box gap, put in the check valve , and then spin to a certain angle until three anglesof the valve are stuck. Installation is complete. GREASE FILTERS CLEANING METAL SELF-SUPPORTING GREASE FILTERS ... - Page 9 Remove the metal grease filters Remove the saturated activated charcoal filter. Fit the new filters. Replace the metal grease filters. When activated carbon filter attached,the suction power will be lowered. Venting knob position Extraction-air mode: Turn the venting knob here means venting outside Circulating-air mode: Turn the venting knob here...
-
Page 10: Light Replacement
LIGHTING LIGHT REPLACEMENT When changing the light bulbs, the contacts are live. Before changing the light bulbs(s), unplug the appliance from the mains or switch off the circuit breaker in the fuse box. 1. Remove the grease filter. 2. -
Page 11: Troubleshooting
TROUBLE SHOOTING Fault Cause Solution The blades are blocked. The capacitor is damaged. Replace capacitor. Light on, but The motor is damaged. Replace motor. motor does not The internal wiring of motor is cut off/ work Replace motor. disconnected. An unpleasant smell may be produced. - Page 12 P/N:16173000A09200...
Need help?
Do you have a question about the MHS60S and is the answer not in the manual?
Questions and answers