Table of Contents
Advertisement
Quick Links
INSTALLATION
INSTRUCTIONS
USER GUIDE
MIDEA
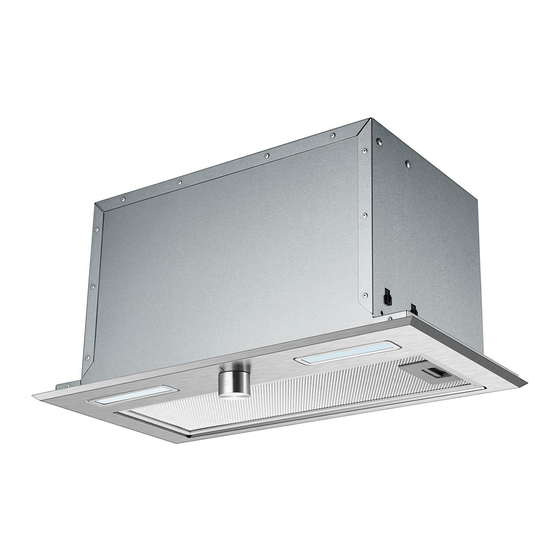
Undermount
Rangehood
520mm
Warning notices: Before using this product,
please read this manual carefully and keep
it for future reference. The design and
specifications are subject to change without
330152
prior notice for product improvement.
Consult with your dealer or manufacturer
for details.
Advertisement
Table of Contents

Related Manuals for Midea 330152


Summary of Contents for Midea 330152
- Page 1 Warning notices: Before using this product, please read this manual carefully and keep it for future reference. The design and specifications are subject to change without 330152 prior notice for product improvement. Consult with your dealer or manufacturer for details.
-
Page 2: Table Of Contents
Contents Contents Contents..............1 Warnings............... Safety Warning............Measurement............Installation..............6 Use................ Maintenance............Trouble Shooting..........Main Parameters..........Disposal.............. -
Page 3: Warnings
Contents Warnings This appliance can be used by children aged from 8 years and above and persons with reduced physical, sensory or mental capabilities or lack of experience and knowledge if they have been given supervision or instruction concerning use of the appliance in a safe way and understand the hazards involved. -
Page 4: Safety Warning
Safety Warning The appliance is not intended for use by young children or infirm persons without supervisions. Young children should be supervised to ensure they do not play with the appliance. Plug the power cord to socket outlet with earthing continuity terminal. ... -
Page 5: Measurement
Measurement... - Page 6 Measurement...
-
Page 7: Installation
Installation... - Page 8 Installation Press the lock catch of metal Filter, remove the Filter. Remove the stainless steel frame by unfastening the 4 screw (M4*10). Unfastening the screws (ST4*10), remove the lid of terminal box, disconnect the wires to the Commands at the connectors.
- Page 9 Installation Screw the stainless steel frame back into place using the 4 screws removed as described above. Reconnect the wires to the Commands and Light. Replace the metal Filter. Install the air outlet pipe(optional). ...
-
Page 10: Use
Speed adjustment. See Rotate the knob to the Stop graphic,the motor will stop running. Rotate the knob to the Light graphic,the two lighting lamps will come on. Rotate the knob to the Low (speed) graphic,the motor runs at low speed, two lights on. -
Page 11: Maintenance
Maintenance Cleaning of the filter Removing the metal filter according to Installation (page 6). Put it into a dishwasher with detergent, set the temperature below 60 degrees. Please do not use abrasive detergent for it will damage the hood. ... - Page 12 Maintenance Contents Changing the filter Remove the metal filter according to Installation (page 7). Remove the saturated Activated Charcoal Filters(optional), as indicated. Fit the new Charcoal Filters, as indicated. Replace the Metal grease Filter according to Installtion (page 8). ...
- Page 13 Maintenance Contents Replacing the lamp Press the lock catch of metal Filter, remove the Filter. Push the lamp from inside, to remove the Lamp. Disconnect the wires to the Lamp. Connect the wires of the new Lamp. ...
-
Page 14: Trouble Shooting
Trouble Shooting Fault Cause Solution The blades are blocked. The capacitor is damaged. Replace capacitor. Light on, but motor The motor is damaged. Replace motor. does not work. The internal wiring of motor is cut off / disconnected. An unpleaseant smell Replace motor. -
Page 15: Main Parameters
Main Parameters 220-240V 50Hz Rated Power 218W Lighting Power 1.5 W x 2 Motor Power 215W Diameter of air tube 150mm 630m 68 dB(A) The air flow parameter is tested under conditions of 230V 50Hz when the voltage is 220-240V 50Hz and without carbon filters. Disposal Please dispose of it at your local community waste collection / recycling center and ensure it presents no danger to children... - Page 16 The manufacturer shall decline all responsibility if the foregoing recommendations and instruction regarding installation, maintenance and use are not observed and respected when using the cooker hood. P/N:16173000A13031...
Need help?
Do you have a question about the 330152 and is the answer not in the manual?
Questions and answers