
Related Manuals for Clarke PRO236


Summary of Contents for Clarke PRO236
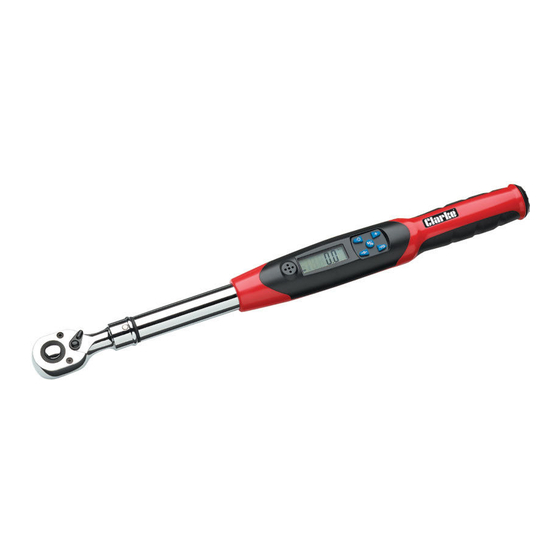
- Page 1 DIGITAL TORQUE WRENCH Model Nos: PRO236 & PRO237 PART NOs: 1700636 & 1700637 OPERATING & MAINTENANCE INSTRUCTIONS GC12/16...
-
Page 2: Introduction
INTRODUCTION Thank you for purchasing this CLARKE Torque Wrench. This CLARKE product has been designed to give long and trouble free service. If however, having followed the instructions in this booklet carefully, you encounter problems, take the unit to your local CLARKE dealer. -
Page 3: Table Of Contents
TABLE OF CONTENTS INTRODUCTION .................. 2 Guarantee ................2 GENERAL SAFETY PRECAUTIONS ............4 Environmental protection ............4 OVERVIEW ..................5 Technical Specifications ............5 THE CONTROL PANEL ................. 6 The Display ................6 The Push-buttons ..............6 PREPARATION FOR USE ............... 7 Installing the Batteries ............. -
Page 4: General Safety Precautions
GENERAL SAFETY PRECAUTIONS 1. Never exceed the permitted maximum torque value for this wrench as given in the Technical Specification. Overloading the wrench could cause damage. 2. Ensure that associated adaptors, extensions and sockets are rated to equal or greater than the torque being applied. 3. -
Page 5: Overview
0-40 Please note that the details and specifications contained herein, are correct at the time of going to print. However, CLARKE International reserve the right to change specifications at any time without prior notice. Parts & Service: 020 8988 7400/E-mail:Parts@clarkeinternational.com or Service@clarkeinternational.com... -
Page 6: The Control Panel
THE CONTROL PANEL THE DISPLAY ‘Real time’ torque value display The units of ‘Angle’(always 0) Unit of measurement Target Torque Indicator Memory Storage numbers Battery Condition Indicator Peak/Track mode Indicator Minus symbol for anti-clockwise operation THE PUSHBUTTONS 1. Power ON/OFF button 2. -
Page 7: Preparation For Use
PREPARATION FOR USE INSTALLING THE BATTERIES 1. Open the cover of the battery compartment by turning it anti- clockwise & insert four AAA batteries as shown. Close the compartment cover and the wrench is ready to use. TURNING THE WRENCH ON /OFF 1. -
Page 8: Selecting 'Peak' Or 'Track' Mode
SELECTING THE PEAK OR TRACK MODE 1. After turning on the display, the system defaults to “Track” mode, i.e. the real-time torque during use will be displayed. 2. Enter the mode selection by pressing the button once. 3. Press the button to select (track) mode or (Peak) mode. - Page 9 3. To set the torque value, press and hold the button for 2 secs. When the desired value is reached, press the button to move to the next digit. Repeat this for all digits. • is shown on the screen and the last saved value is displayed with the first digit flashing.
-
Page 10: Operation
OPERATION CAUTION: NEVER USE THE TORQUE WRENCH WHEN THERE IS A LOW BATTERY CONDITION AS THE TORQUE WRENCH ACCURACY WILL BE AFFECTED. CAUTION: NEVER EXCEED THE PERMITTED MAXIMUM TORQUE VALUE FOR THIS WRENCH. OVERLOADING THE WRENCH COULD CAUSE DAMAGE. 1. Select the socket required and attach it to the square drive. If possible, avoid the use of flexible extensions or universal joints which could possibly result in inaccurate torque readings. -
Page 11: Storage
The original calibration certificate should be supplied with the unit. 3. If inaccuracy is suspected, contact your local Clarke dealer. BATTERY USE AND CARE 1. If when switching on, there is no reading on the display, or the ‘Battery Condition Indicator’...
Need help?
Do you have a question about the PRO236 and is the answer not in the manual?
Questions and answers