
Related Manuals for Clarke PRO235


Summary of Contents for Clarke PRO235
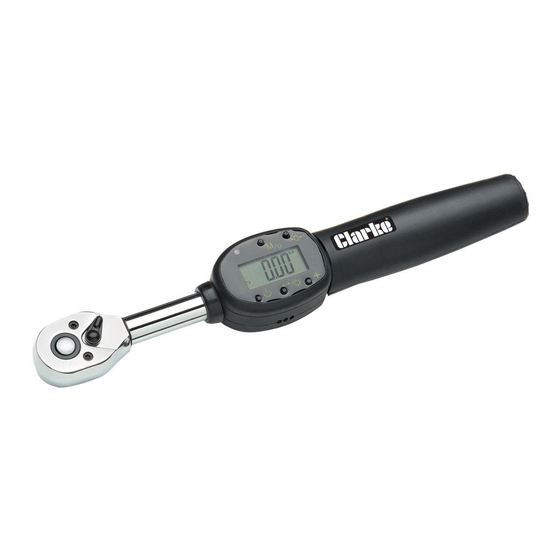
- Page 1 1/4” DRIVE DIGITAL TORQUE WRENCH Model No: PRO235 PART NO: 1700635 OPERATING & MAINTENANCE INSTRUCTIONS GC012/11...
-
Page 2: Environmental Protection
INTRODUCTION Thank you for purchasing this CLARKE Torque Wrench. This CLARKE product has been designed to give long and trouble free service. If however, having followed the instructions in this booklet carefully, you encounter problems, take the unit to your local CLARKE dealer. -
Page 3: Specification
) t l Please note that the details and specifications contained herein, are correct at the time of going to print. However, CLARKE International reserve the right to change specifications at any time without prior notice. Parts & Service: 020 8988 7400/E-mail:Parts@clarkeinternational.com or Service@clarkeinternational.com... -
Page 4: The Control Panel
THE CONTROL PANEL THE DISPLAY A Peak/Track mode indicator B The value of torque measured/preset value displayed C Selectable units of measurement D Battery Condition indicator THE PUSHBUTTONS 1. Warning LED illuminates when pre-set torque is reached 2. M/u button for measurement unit selection and to select between ‘Track’ and ‘Peak’... -
Page 5: Preparation For Use
PREPARATION FOR USE FITTING THE BATTERIES 1. Unscrew the battery cap. 2. Install batteries (2 x CR2032 as supplied) with their marked faces outwards, and screw the cap back on. • If the batteries are in poor condition the icon will flash during operation and new ones should be fitted. -
Page 6: Operation
HOW TO SELECT PRE-SET TORQUE SETTING 1. With the wrench in either peak or track mode, and the unit of measurement already chosen, press the (SEt will flash briefly) the torque value is displayed with the first digit flashing. 2. Press the within 5 seconds to increase the number until the required value is reached. -
Page 7: Storage And Cleaning
The wrench has been calibrated at the factory order to ensure accurate readings and should not require any re-calibration. The original calibration certificate should be supplied. If inaccuracy is suspected, contact your local Clarke dealer. To maintain the accuracy of the wrench periodically reset by holding the buttons together.
Need help?
Do you have a question about the PRO235 and is the answer not in the manual?
Questions and answers