
Related Manuals for SMITH SYSTEM Second Surface Shelf Kit


Summary of Contents for SMITH SYSTEM Second Surface Shelf Kit
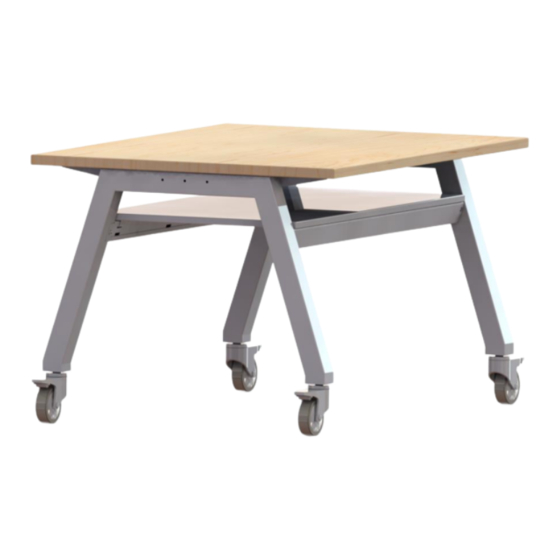
- Page 1 Assembly Instructions Planner Studio - Second Surface Planner Studio Table shown with SECOND SURFACE (shelf) installed. If you have damaged or missing components, Please contact customer service at 1-800-328-1061 Form# 179914 08/2018...
- Page 2 Hardware and Components SHELF MOUNTING BRACKET RAILS QTY. 8 ¾” THICK SHELF QTY. 2 QTY. 1 #10 X ¾” WOOD SCREW ¼-20 PAN HEAD SCREW ¼-20 SHOULDER BOLT QTY. 4 QTY. 4 QTY. 8 Special Notes: TOOLS REQUIRED: • Safety glasses (to protect from sawdust) •...
- Page 3 Assembly Instructions BEGIN 1. With a partner, team lift the table and lay it upside down on a surface that will not damage the laminate table top. 2. Use 7/16” socket (or wrench), 3/16” allen wrench, and #2 screwdriver to loosen leg fasteners in order to flex slightly during rail installation in upcoming steps.
- Page 4 4. With a partner, install rails by aligning slots on rail ends with shoulder bolts and sliding rails into position as shown. 5. Secure rails into place by installing the 1/4-20 Pan Head Screws as shown. Form# 179914 08/2018...
- Page 5 6. Tighten all the leg fasteners, then use a partner to team lift the table back into its upright position. 7. Slide shelf into position and center on rails as shown. (Some shelves may overhang rails.) 8. Install all 8 shelf mounting brackets using a drill to drive the provided wood screws into place once the bracket is in position.
Need help?
Do you have a question about the Second Surface Shelf Kit and is the answer not in the manual?
Questions and answers