
Related Manuals for XYZ Printing da Vinci Jr.1.0A


Summary of Contents for XYZ Printing da Vinci Jr.1.0A
- Page 1 Vinci Jr.1.0A Apr. 2017 da Vinci Junior 1.0A 3D Printer da Vinci Jr.1.0A User Manual...
- Page 2 Vinci Jr.1.0A Apr. 2017 The purpose of this user manual is to help users understand and use the da Vinci Jr. 1.0A 3D printer correctly. It contains the operating instructions, maintenance information and application skills of the da Vinci Jr. 1.0A 3D printer. To learn more about the latest news of the da Vinci Jr.
-
Page 3: Accessory Checklist
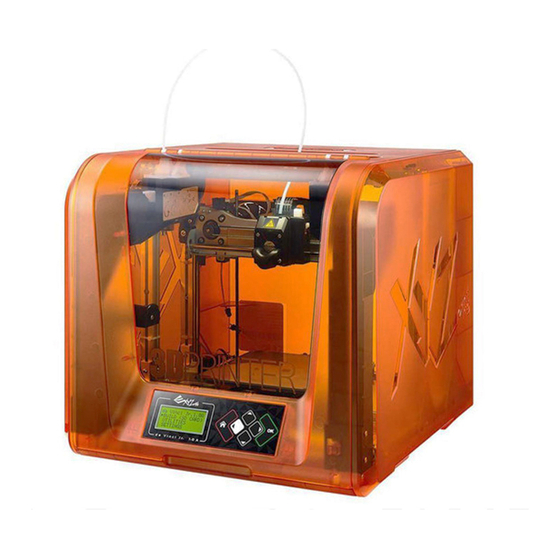
Vinci Jr.1.0A Apr. 2017 Product Overview A: Filament movement area B: Feed module C: Detector D: Extruder E: Filament F: Print bed G: SD card port (Storage format: FAT32) H: Control and display panel I: Front cover USB Port... -
Page 4: Unpacking The Product
Vinci Jr.1.0A Apr. 2017 Unpacking the Product Open the box and then remove Remove the plastic bag and the tape. the accessories and cushions. Remove the tape and paper cardboard Remove the tape on removal print bed. on the removal print bed. -
Page 5: Accessories Installation
Vinci Jr.1.0A Apr. 2017 Print Bed Installation Note: Please refer to this step if the print bed installed or removed. Please be careful when you remove the print bed. Do not drop it down the ground. Please handle the print bed with... - Page 6 Vinci Jr.1.0A Apr. 2017 Guide Tube and Extruder Module Removement Please remove the guide tube. Please detach the black connector and press the black disengage button to remove extruder module. Please gently push the tube remover into the extruder module port , then pull up the guide tube to remove from it.
-
Page 7: Filament Installation
Vinci Jr.1.0A Apr. 2017 Filament Spool Ring Installation Note: Please refer to this step if the axle ring is not installed on the spool. Insert the spool ring from Loosen the spool ring mounting Remove the genuine filament and chip,... -
Page 8: Button Instructions
Vinci Jr.1.0A Apr. 2017 Button Instructions After switching on the printer's power, the user may use the display panel at the front of the printer to understand its status and usage data. The functional buttons on the right allow the user to perform the relevant operations. - Page 9 Vinci Jr.1.0A Apr. 2017 Home Menu Top Menu Sub Menu Page BUILD (SD CARD) UTILITIES CHANGE SPOOL LOAD UNLOAD HOME AXES Z-OFFSET JOG MODE CALIBRATION CHANGE NOZZLE CLEAN NOZZLE SETTING BUZZER LANGUAGE ENERGY SAVE AUTO LEVEL DOOR SAFETY RESTORE DEFAULT...
- Page 10 Vinci Jr.1.0A Apr. 2017 Note: Confirm that the print bed is in place for operation and ensure the front door is closed. BUILD (SD CSRD) (Please refer to the “DOOR SAFETY” section in the “UTILITIES” chapter.) 1 sample models are built into the printer. You may begin your first 3D prints with the samples.
-
Page 11: Jog Mode
Vinci Jr.1.0A Apr. 2017 Z OFFSET The user may use the Z OFFSET function to adjust the gap between the printing nozzle and the printing bed. When adjusting the gap, use keys to increase or decrease it (the minimum adjustment scale is 0.05mm). -
Page 12: Change Nozzle
Vinci Jr.1.0A Apr. 2017 CHANGE NOZZLE Carry out the CHANGE NOZZLE function before changing modules. Once the printing module has moved to the operating position, you can turn off the power and change the module. CHANGE NOZZLE REPOSITION NOW... - Page 13 Vinci Jr.1.0A Apr. 2017 BUZZER When the buzzer is turned on, the printer will output an audible signal when a button is pressed, print job is finished, or issue is detected. Buzzer is turned on by default. To switch off the buzzer:...
- Page 14 Vinci Jr.1.0A Apr. 2017 STATISTICS In “STATISTICS”, you can check the accumulated print time and last print time. STATISTICS LIFETIME 00007h LAST TIME 07h45m [ OK ] TO RETURN SYSTEM VERSION Firmware version is shown here. For stable printing performance, it is advised to keep the firmware up to date. To check for firmware updates, please go to XYZscan/XYZware.
- Page 15 Vinci Jr.1.0A Apr. 2017 Note: The machine can be turned off only when the cooling fan of the print head stops running after the print is completed. Turning off the power directly may clog the print head. References: Please refer to CLEAN NOZZLE to remove the blocks out of the print head.
- Page 16 Vinci Jr.1.0A Apr. 2017 The flatness of the print bed will affect the 3D print quality. There are highly recommended you do print bed calibration regularly (CALIBRATE), then the implementation of "Print Bed Leveling" to get a more flatness print bed.
- Page 17 Vinci Jr.1.0A Apr. 2017 Laser Engraving Module Engraver head Heating spring Specification ● Laser Wavelength 450nm+5nm/-10nm InGaN Laser Wavelength 350mW ± 10% Laser Classification Class 3B Beam Diameter ≦ 1mm File Types JPG / PNG / GIF / BMP Processing Area ...
- Page 18 Vinci Jr.1.0A Apr. 2017 Guided Setup da Vinci Jr. 1.0A Setup before Change Module ● 1. Please remove filament spool in the printer. (more guideline on da Vinci Jr. 1.0A user manual in the section of “Utilities”>”Unload”) 2. Please select “CHANGE NOZZLE ”and smart extruder will reposition to working position.
-
Page 19: Specifications
Vinci Jr.1.0A Apr. 2017 da Vinci Junior 1.0A 3D Printer Model Name da Vinci Junior 1.0A 3D Printer Dimensions 16.54 x 16.93 x 14.96 inches ( 420 x 430 x 380 mm ) Weight 26.46 lbs (12kg) Display 2.6” FSTN LCM... -
Page 20: Support Details
Vinci Jr.1.0A Apr. 2017 The troubleshooting instruction may guide you to fix the problem. If any error persists, please contact customer service. When an error occurs, please refer to the service code shown on the printer and/or in the software, and check the suggestions below for troubleshooting. -
Page 21: Other Information
1. This product is guaranteed for specific period from the purchase date against any breakdown within the scope of proper and reasonable usage of their product as defined by XYZ printing. Presentation of warranty card with the product will ensure free service and repair of inherent faults in the product within the warranty period. - Page 22 Vinci Jr.1.0A Apr. 2017 Other Information Federal Communications Commission (FCC) Statement You are cautioned that changes or modifications not expressly approved by the part responsible for compliance could void the user’s authority to operate the equipment. This equipment has been tested and found to comply with the limits for a Class B digital device, pursuant to part 15 of the FCC rules.
Need help?
Do you have a question about the da Vinci Jr.1.0A and is the answer not in the manual?
Questions and answers