Table of Contents
Advertisement
Quick Links
Download this manual
See also:
User Manual
Advertisement
Table of Contents

Related Manuals for XYZ Printing da Vinci Jr.1.0w


Summary of Contents for XYZ Printing da Vinci Jr.1.0w
- Page 1 da Vinci Jr.1.0 da Vinci Jr.1.0 2016 April da Vinci Junior 1.0w 3D Printer da Vinci Jr.1.0w Quick Guide HD23F1JW0D5...
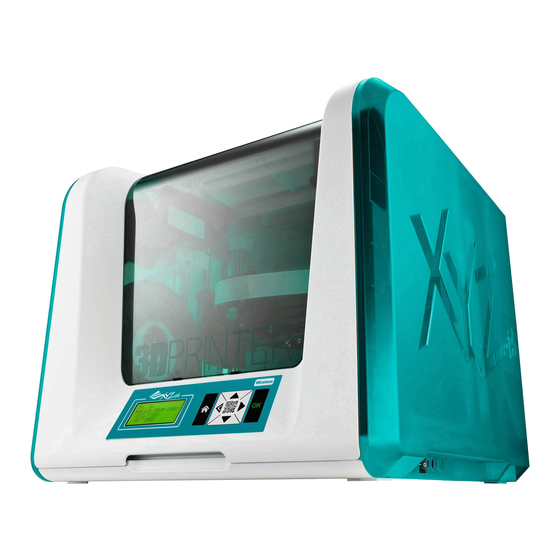
- Page 2 da Vinci Jr.1.0 2016 April Product Overview A: Filament movement area B: Feed module C: Detector D: Extruder E: Filament F: Print bed G: SD card port (Storage format: FAT32) H: Control and display panel I: Front cover USB Port Power Connector Power Switch Accessory Checklist...
-
Page 3: Unpacking The Product
da Vinci Jr.1.0 2016 April Open the box and remove Remove the plastic bag Raise the paper cardboard slightly upwards the accessories and and the tapes. so that the paper cardboard is detached from cushions. the styrofoam slot at the bottom. Raise the paper cardboard slightly upwards so Remove 2 foams at the back of the cardboard. -
Page 4: Installing The Accessories
da Vinci Jr.1.0 2016 April Note: Please follow these steps and ensure that the guide tube is properly installed before starting the "LOAD FILAMENT" function. Failure to install the guide tube may disrupt filament feed. .Guide tude .X axis Before installing the guide tube, turn off the After the extruder has been adjusted, insert the guide printer and move the extruder to the far left-end tube into the extruder. -
Page 5: Load Filament
da Vinci Jr.1.0 2016 April CHANGE SPOOL First retrieve filament spool to install the filament Take out and separate the filament spool axle spool axle ring. ring into its two components. Install the sensor chip. Please pay special attention to Insert the filament spool axle ring components the position of the installation holes on the chip. -
Page 6: Unload Filament
da Vinci Jr.1.0 2016 April LOAD FILAMENT Then load filament using the control panel on the printer… DA VINCI Jr. 1w UTILITIES CHANGE SPOOL UTILITIES CHANGE SPOOL LOAD FILAMENT SETTINGS HOME AXES UNLOAD FILAMENT INFO JOG MODE Select "UTILITIES" > "CHANGE SPOOL" > "LOAD FILAMENT". CHECK FILAMENT LOAD FILAMENT LOADING... - Page 7 da Vinci Jr.1.0 2016 April CALIBRATE To ensure printing quality, please update printer firmware to the latest version. With latest printer firmware, you may calibrate the print bed in case of low quality printing. 1. Active print bed calibration by selecting “UTILITIES”>”CALIBRATE”>”YES” on the screen. 2.
-
Page 8: Jog Mode
da Vinci Jr.1.0 2016 April HOME AXES “HOME AXES” moves the extruder to the lower left corner. To home axes: home axes are you sure Select “YES” to proceed. JOG MODE “JOG MODE” is used to manually move the extruder and the print bed. To move the extruder: jog mode x-axis ok... -
Page 9: Clean Nozzle
da Vinci Jr.1.0 2016 April CLEAN NOZZLE Over time, carbon deposits or filament dust buildup in the nozzle may decrease its performance. It is advised to clean the nozzle after every 25 hours of printing. Also, if the print bed calibration shows “ERR” or if there is any residue on your prints, you may try to clean the nozzle. To clean the nozzle: CLEAN NOZZLE CLEAN NOZZLE... - Page 10 da Vinci Jr.1.0 2016 April Note: Turn off the 3D printer only after the print job is complete and the print head cooling fan stops running. Don't turn off the power directly. Otherwise, the print head may be clogged. References: Please refer to the description of CLEAN NOZZLE function for removing the clogging of the print head.
- Page 11 da Vinci Jr.1.0 2016 April 3. Please enter the printer name and then press “SCAN” to scroll down the menu for obtaining the exact Wireless Access Point related information. The description sample will use XYZprinting as the name of Wireless Access Point. After obtaining the desired information, enter the Public Key password and then press “Use Wi-Fi”...
Need help?
Do you have a question about the da Vinci Jr.1.0w and is the answer not in the manual?
Questions and answers