Table of Contents
Advertisement
Quick Links
Advertisement
Table of Contents

Subscribe to Our Youtube Channel
Related Manuals for Icom IC-F29DR2


Summary of Contents for Icom IC-F29DR2
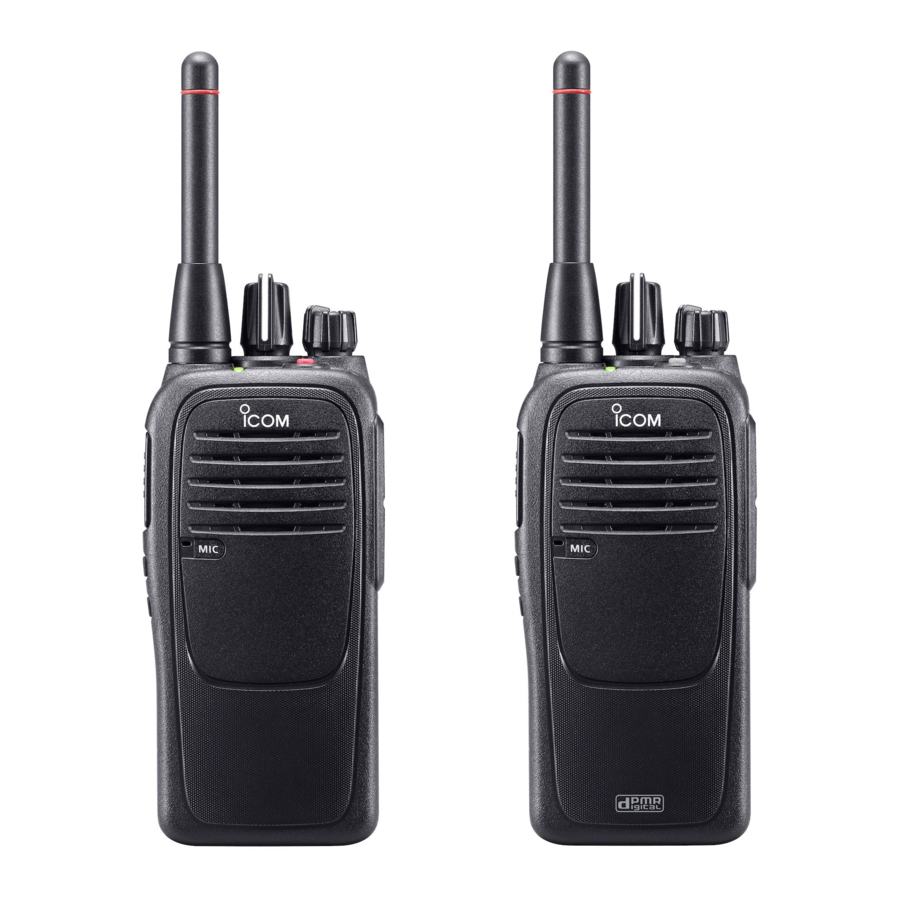
- Page 1 OPERATING INSTRUCTIONS dPMR446/PMR446 TRANSCEIVER Iç-F29DR2...
-
Page 2: Table Of Contents
Setting the VOX function ........13 Setting the VOX gain ........... 14 Icom, Icom Inc. and the Icom logo are registered trademarks of Icom Incorporated (Japan) in Japan, the United States, the United Kingdom, Germany, France, Spain, Russia, Australia, New Zealand, and/or other countries. -
Page 3: Accessories
Previous view Section ACCESSORIES Attaching or detaching accessories D Battery pack Attach or detach the battery pack, as shown to the To attach To detach right. Battery release buttons To attach the battery pack: 1. Place the tabs on the bottom of the battery pack into the slots at the bottom of the transceiver. -
Page 4: D Jack Cover
Previous view ACCESSORIES Attaching or detaching accessories (Continued) D Jack cover NOTE: The transceiver meets IP67 requirements for dust-tight and waterproof protection only when the jack cover or the optional HM-168LWP, HS-94LWP, or HS-95LWP is attached. speaker microphone To attach the jack cover: 1. -
Page 5: Programmable Key Functions
Previous view Section PROGRAMMABLE KEY FUNCTIONS Programmable key functions You can assign the functions described below to [Top], [Upper], and [Lower] by using the CS-F29DR2 (purchase separately). programming software Ask your dealer for details. [Rotary Selector] NOTE: Refer to the instruction manual that comes with the transceiver for the default settings of these [VOL] keys. - Page 6 Previous view PROGRAMMABLE KEY FUNCTIONS Programmable key functions (Continued) SURVEILLANCE z Hold down to turn ON the Surveillance function. z Push to turn OFF the function. L When the function is ON and a signal is received, a beep does not sound and the status indicator does not light, even if you push any key.
-
Page 7: Led Indicator
Previous view Section LED INDICATOR About the LED indicator The LED indicator indicates the status of various parameters of the transceiver as follows: (Reference: R is Red, G is Green, O is Orange) z Programming (reading or writing data) R G R G R G R G R G R G R G R G R G R G R G R G R G R G R G R G z Programming error (if writing fails) R G R G R G R G R G R G R G R G... -
Page 8: Settings
Previous view Section SETTINGS Setting the Beep function You can turn the Beep function ON or OFF. NOTE: Turn ON the Beep function when you set the beep and announcement level, Call-Ring ringer, ringer level, microphone gain, squelch level, VOX function, or VOX gain to check the current level setting by [Rotary Selector] counting or hearing beeps. -
Page 9: Setting The Beep And Announcement Level
Previous view SETTINGS Setting the beep and announcement level You can adjust the beep and announcement level between 1 and 5, or 1 (linked) and 5 (linked). When a linked option is selected, the beep audio level is adjustable by rotating [VOL]. NOTE:Turn ON the Beep function (p. -
Page 10: Setting The Call-Ring Ringer
Previous view SETTINGS Setting the Call-Ring oingeo The Call-Ring ringer sounds only when the user holds down [S-Ring/C-Ring] to make a call. NOTE: Turn ON the Beep function (p. 7) before you start setting the Call-Ring ringer. [Rotary Selector] 1. Rotate [VOL] to turn OFF the transceiver. 2. -
Page 11: Setting The Ringer Level
Previous view SETTINGS Setting the oingeo level You can adjust the ringer level between 1 and 5, or 1 (Linked) and 5 (Linked). When a linked option is selected, the ringer audio level is adjustable by rotating [VOL]. NOTE: Turn ON the Beep function (p. 7) before [Rotary Selector] you start setting the ringer level. -
Page 12: Setting The Microphone Gain
Previous view SETTINGS Setting the micoophone gain You can adjust the microphone gain. Higher values make the microphone more sensitive to the user voice. NOTE: Turn ON the Beep function (p. 7) before you start setting the microphone gain. [Rotary Selector] 1. -
Page 13: Setting The Squelch Level
Previous view SETTINGS Setting the squelch level You can adjust the squelch level. The squelch circuit mutes the received audio or noise signal, depending on signal strength. NOTE: Turn ON the Beep function (p. 7) before you start setting the squelch level. [Rotary Selector] 1. -
Page 14: Setting The Vox Function
Previous view SETTINGS Setting the VOX function You can turn the VOX function ON or OFF. The VOX function automatically switches between receive and transmit using your voice. NOTE: Turn ON the Beep function (p. 7) before you start setting the VOX function. [Rotary Selector] 1. -
Page 15: Setting The Vox Gain
Previous view SETTINGS Setting the VOX gain You can adjust the VOX gain. Higher values make the VOX function more sensitive to the user voice. NOTE: Turn ON the Beep function (p. 7) before you start setting the VOX gain. [Rotary Selector] 1. -
Page 16: Dpmr™ Operation
Previous view Section Section dPMR™ OPERATION Receiving and transmitting D Receiving 1. Rotate [Rotary Selector] to select a channel. 2. When receiving a call, rotate [VOL] to adjust the audio. NOTE: When a call is received: [Rotary Selector] • Beeps sound, and the mute is released. •... -
Page 17: D Transmitting
Previous view dPMR™ OPERATION Receiving and transmitting D Transmitting You can make a call to a station that has the same Common ID. Other digital mode transceivers on the channel will not receive the call that does not match their Common ID. Before making a call, wait until the channel is clear to avoid interference. -
Page 18: Break-In Function
Previous view dPMR™ OPERATION Break-in function You can send a Break-in request call. The Break-in request call announces to the other stations on the channel that the user wants to break into the current communication in the group. The transceiver waits for the current communication to end, and then sends the call. -
Page 19: Status Call
OPERATION Status call D Receiving When receiving a Status message, the ringer sounds and the LED indicator status changes, according to the presetting. Ask your dealer for details. NOTE: You cannot send a Status call with the IC-F29DR2. LED indicator... -
Page 20: Other Functions
Previous view Section OTHER FUNCTIONS Setting a scan type You can set to whether the transceiver scans all channels across the zone (All), or scans channels in a selected zone (Zone). NOTE: Turn ON the Beep function (p. 7) before you start setting a scan type. -
Page 21: Tone Scan Function
Previous view OTHER FUNCTIONS Tone Scan function This function is effective when the user wants to communicate with another station but does not know its CTCSS tone or DTCS code setting.* * Depending on the presetting. Ask your dealer for details. NOTE: Turn ON the Beep function (p. - Page 22 A7437-3EU 1-1-32 Kamiminami, Hirano-ku, Osaka 547-0003, Japan © 2018 Icom Inc.
Need help?
Do you have a question about the IC-F29DR2 and is the answer not in the manual?
Questions and answers