Table of Contents
Advertisement
Quick Links
Advertisement
Table of Contents

Related Manuals for Bentel Security OmniaTAST-R


Summary of Contents for Bentel Security OmniaTAST-R
- Page 1 USER MANUAL ®...
- Page 2 The manufacturer recommends that the installed system should be completely tested at least once a month. BENTEL SECURITY srl shall not be responsible for damage arising from improper installation or maintenance by unauthorized personnel. BENTEL SECURITY srl reserves the right to change the technical specifications of this product with- out prior notice.
-
Page 3: Table Of Contents
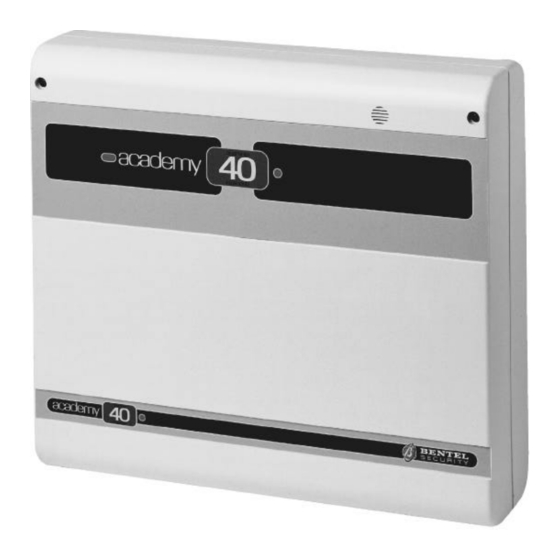
CONTENTS Type B arming (Green) ....14 KEYPAD OPTIONS Stop Alarm ......14 Brightness, Contrast and Volume (MIA-S only) . - Page 4 Figure 1 OmniaTAST-R (a) and MIA-S (b) Expandable multifunction control panel Academy40...
-
Page 5: Keypad Options
Panel can be programmed and controlled from the keypads. This Control panel supports up to 8 keypads (see Figure 1a for OmniaTAST-R and Figure 1b for MIA-S). The instructions for use are common to both keypads (if not otherwise stated), therefore, only the OmniaTAST-R keypad will be mentioned and illustrated. -
Page 6: Leds
LEDs The Panel status can be viewed on the display, and on the three keypad LEDs (ICONS), as follows: ICON MEANING OFF: all keypad partitions disarmed ON: at least one keypad partition armed OFF: Standby status (no alarm) ON: alarm on one or more zones Slow flashing: tamper on one or more zones or on the Panel Fast flashing: alarm or tamper on one or more zones or on the Panel OFF: No trouble... -
Page 7: Basic Options
The last icon indicates the telephone line status. above the icon means the Panel has engaged the telephone line. ICON MEANING Telephone line engaged Basic options Five basic options are available from standby status. Enter a User code PIN (4 to 6 digits) then press the relevant key. KEY SEQUENCE OPTION Global arming... -
Page 8: View Trouble
Continue: the Panel will arm View: a list of the zones in alarm status will be shown. The top row will show the zone label and the bottom row the alarm or bypassed status. Use the bottom row to bypass/unbypass the zones. Refer Zone status for details on the View and Bypass options. -
Page 9: User Menu Options
User menu options <PIN> + Key in a valid User code PIN then press to access the USER MENU. A Welcome message will be shown, and it will be possible to select the various User menu options. The Welcome message can be disabled by the installer. to scroll the Options. -
Page 10: Zone Status
Ø Hour, minute, year, month, day Some events do not have all five parameters. . to scroll the event list. The top row will show the event number and category, and the bottom row will show the event description, as per the following table. -
Page 11: Enable/Disable Teleservice [En./Dis.teleser.]
n Enable/Disable Teleservice [En./Dis.Teleser.] Select this option to enable/disable the Panel for incoming Teleservice calls. A beep and the following message will confirm request Done: Teleservice Teleservice Disabled Disabled to Enable/Disable Teleservice. Press to exit. When the Panel (duly enabled for Teleservice) connects to the Installer PC (via telephone line), the installer will be able to: Ø... -
Page 12: Clear Call Queue
Stefy Searle Stefy Searle ↑↓ Active Active to scroll the list. Step 2 Press to select /deselect Active status. Changing the User code PIN: Step 1 Press to view the User PIN list. Step 2 Enter the new PIN----Q will replace X as the new digits are entered. Stefy Searle Stefy Searle **XXXX... -
Page 13: Controlling The System Via Keys Or Cards
CONTROLLING THE SYSTEM VIA KEYS OR CARDS This section describes the operating principles of Digital key and Proximity Key/Card systems. Only the Installer can program the Keys/Cards and Readers. Readers ECLIPSE Key Readers and PROXI Card Readers are equipped with 3 System status LEDs (Red, Green and Am- ber). -
Page 14: Global Arming
No Key/Card at When no Key/Card is present at a Reader, the LEDs will indicate the system status, as follows: Reader Red LED ON----at least one of the Reader partitions is Armed Red LED OFF----all the Reader partitions are Disarmed Amber LED ON----the system is armed in Type A mode Green LED ON----the system is armed in Type B mode The LEDs will indicate the status of the Reader partitions only. -
Page 15: Telephone Options
TELEPHONE OPTIONS The optional OmniaVOX board will allow the Panel to manage incoming and outgoing telephone calls (DTMF only). 7 User codes are available for Panel control via telephone. The installer can enable/disable User code options and parti- tions----as per customer requirements. There are two ways of accessing Panel control via telephone: ---- Dialler Mode Access (after receiving a Dialler call);... -
Page 16: Command From Telephone Keypad
Command from Telephone Keypad During Dialler or Answer mode access the keys on the telephone keypad will operate as special function keys, as follows. n Exit Request Press to exit the ongoing request. The Panel will step back to Enter data status and emit a ready beep. n Stop Alarm/On hook Dialler mode access----press to stop the alarm, end the Dialler call, and clear the Dialler call queue. -
Page 17: Global Arming
The panel will arm the Partition then step back to Enter data status and emit a ready beep. n Global arming Press to arm all the partitions of the User code in question. The panel will arm the enabled partitions only then step back to Enter data status and emit a ready beep. n Disarm Partition Press then press the partition identifier number key (refer to the MEMO). -
Page 18: Memo
MEMO The MEMO below must be filled in by the Installer. Each User should have a copy for reference purposes. Cut along the dotted line and fold the chart in two (parts A and B back to back) then seal it in a plastic cover. AREA Telephone Management... -
Page 19: User Notes
USER NOTES Quick Guide Use the keys shown in the following table to control the basic options. Global arming: User code Ý Type A arming: User code Ý Type B arming: User code Ý Global disarming: User code Ý Alarm reset: User code Ý... - Page 20 BENTEL SECURITY s.r.l. C.da Ravigliano, Z. Ind. S. Scolastica 64013 CORROPOLI (TE) - ITALY Tel.: +39 0861 839060 Fax: +39 0861 839065 e-mail: info@bentelsecurity.com http://www.bentelsecurity.com ISTUSBLEACADEM40 2.0 110603 V4.2...
Need help?
Do you have a question about the OmniaTAST-R and is the answer not in the manual?
Questions and answers