Table of Contents
Advertisement
Advertisement
Table of Contents

Subscribe to Our Youtube Channel
Related Manuals for Nilfisk-Advance E130.3


Summary of Contents for Nilfisk-Advance E130.3
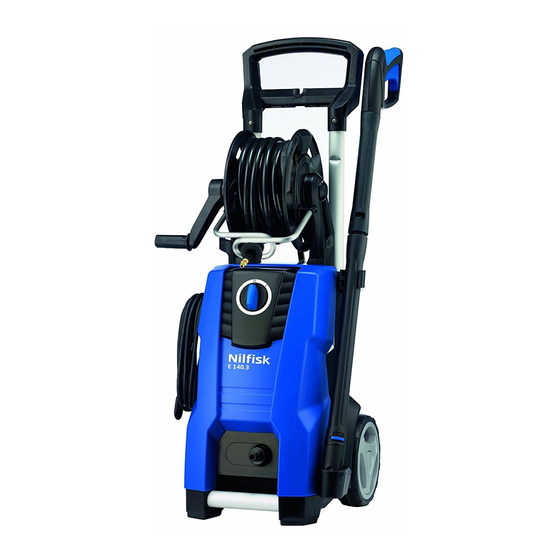
- Page 1 E130.3 & E130.3 X-TRA E140.3 X-TRA & E145.3 X-TRA Repair Manual...
- Page 2 Index A. Safety Precautions B. Technical data C. Structure D. Service / Repair 8-24 E. Tools F. Function 26-27 G. Electric diagrams 28-29...
-
Page 3: Safety Precautions
Safety Precautions Warning! Inhalation of aerosols can be hazardous to health. Where applicable use a device in order to avoid or reduce aerosols production, e.g., a shield covering the nozzle. For protection against aerosols use a respiratory mask of class FFP 2 or higher. Always unplug the power plug before cleaning or maintenance and when replacing parts or ... -
Page 4: Technical Data
Technical Data. E130.3 E140.3 X-TRA E145.3 X-TRA Product segment: Consumer E130.3 X-TRA Max pressure Voltage Frequency Rated current Power consumption Motor speed 2800 2800 2800 Flow rate, HP l / min. Pump pressure 113 ±9 122 ±9 126 ±9 Nozzle pressure 106 ±9... - Page 5 Structure. Cabinet parts overview. Max. Torque for plastic screws: 2,0 Nm...
- Page 6 Structure. Hose reel overview.
- Page 7 Structure. Motor / pump unit overview including assembly torque and glue specification. 4 Nm + Loc-tite 245 6 Nm 4 Nm + Loc-tite 245 16 Nm 16 Nm...
- Page 8 Service / Repair. Dismounting / mounting of front cabinet. Remove the 2 TORX 20 screws from the bottom side, then remove the feet. (Fig 1) Remove the styling cover by hand. (Fig 2) Note: The 2 hooks in the top of the cabinet must be in correct position. (Fig 3) Fig.
- Page 9 Service / Repair. Disassembly / assembly of pump cover. Remove 1 TORX 20 screw (Fig 4) Remove the MPU floating cover. (Fig 4) Make sure that the foam and the air barrier is placed correct when mounting. (Fig 5) Fig. 4 Fig.
- Page 10 Service / Repair. Disassembly / assembly of start / stop system. The micro-switch box can now be removed by hand, so that there is free access to the start / stop valve (Fig. 6) The start / stop valve can be removed with a 25 mm spanner. Check that all parts are correct placed before mounting.
- Page 11 Service / Repair. Disassembly / assembly of switchbox cover. Remove 1 TORX 20 screw (Fig 8) Note how the wires are placed. Remember to mount the foam when remount. (Fig 9) Fig. 8 Fig. 9...
- Page 12 Service / Repair. Disassembly / assembly of the motor/pump unit. Remove all wires from the motor - wires can stay on the switch (Fig 10) Remove 8 TORX 20 screws. (Fig 11) The structural front can now be removed without dismounting the capacitor and power cable.
- Page 13 Service / Repair. Disassembly / assembly of the switch. Remove all wires from the switch (Fig 12) Note that the on / 1 position on the switch is placed over the “1” marking inside the switch box. (Fig 13). Fig. 12 Fig.
- Page 14 Service / Repair. Disassembly / assembly of the motor / pump unit. Now there is free access to the motor / pump unit. (Fig 14) X-TRA: Remove the internal hose from the pump by removing the U-pin (Fig 15) Be careful not to loose the spring and the Non Return Valve (NRV) from the water outlet. Fig.
- Page 15 Service / Repair. Disassembly / assembly of the hose reel / internal hose - X-TRA models. Remove 1 TORX 20 screw to remove the MPU back cover. (Fig 16) There is now access to the internal hose. (Fig 17) Fig. 16 Fig.
- Page 16 Service / Repair. Disassembly / assembly of the hose reel.- X-TRA models. Remove the telescopic handle by removing the 4 TORX 20 screws (Fig 18) Loosen the hose reel by removing the 2 TORX 20 screws from the back side. (Fig 19) The hose reel can be dismounted from the cabinet.
- Page 17 Service / Repair. Disassembly / assembly of the high pressure hose - X-TRA models. Dismount the TORX 20 screw and the u-pin. (Fig 20) The hose router can now be removed. (Fig 21) Fig. 20 Fig. 21...
- Page 18 Service / Repair. Disassembly / assembly of the hose reel - X-TRA models The hose can be removed from the internal hose (Fig 22) Dismount the 2 TORX screws (1 each side) from the aluminium hose guide (Fig 23) Note the length of those 2 screws are longer than all other screws. Fig.
- Page 19 Service / Repair. Assembly of the hose reel - X-TRA models. Make sure that the hose nipple is correct greased before mounting. (Fig 24) Mount the hose into hose reel and connect to the brass part from the internal hose (Fig 25) Mount the hose reel holder and be sure to assemble the lock clamp correct - MUST be mounted through both the plastic hose reel holder AND the brass parts.
- Page 20 Service / Repair. Disassembly / assembly of the easy start valve. With the pump placed on the table, the easy start valve can be disassembled (Fig 27) When mounting follow the following order (Fig 28): 1. O-ring. 2. Easy start insert. 3. Spring. 4. Ball. 5. Ball guide. 6. Plug Mounting torque: see page 7.
- Page 21 Service / Repair. Disassembly / assembly of the Non Return Valve (NRV). The NRV is placed behind the water outlet. (Fig 29) First mount the NRV then the spring. Note: Make sure that the spring is placed correct before to mount the water outlet. Mounting torque: see page 7.
- Page 22 Service / Repair. Disassembly / assembly of the Pump. The bearing system can only be mounted in one direction. The ball ring can be placed both directions. Oil level: 60 ml. (Fig 31) Picture of open pump. (Fig 32) Note: The pressure valves must be placed correctly (see next page) Mounting torque: see page 7.
- Page 23 Service / Repair. Disassembly / assembly of the Pump. In the bottom of the hole for the suction valve there is a guidance (rotation lock). The legs of the suction valves MUST be placed on each side of this guidance (Fig 33) Before to assemble the pump, check that the suction valves are placed correct, by verifying the level of the valves.
- Page 24 Nilfisk Service / Repair. Guidance of measuring the resistance of electrical motor. 2,1 KW Motor 7,0 ohm +- 10 % 8,8 ohm +- 10 % 1,74 ohm +- 10 % Power supply Plug. Capacitor Plug. Earth wire...
- Page 25 Recommended oil types: The pump is filled with 60 ml LHM 32 from the production. In case of service where the oil must be changed Nilfisk-Advance recommends to use 60 ml Bartram HV 46. Alternative oil types that are allowed:...
- Page 26 Function. Motor pump function of New Excellent <Machine stopped and hose emptied> Motor pump function of New Excellent <Machine operation>...
- Page 27 Function. Motor pump function of New Excellent <Machine standby>...
- Page 28 Electric diagram. Wiring diagram...
- Page 29 Electric diagram Circuit diagram 150°...
Need help?
Do you have a question about the E130.3 and is the answer not in the manual?
Questions and answers