Table of Contents
Advertisement
Quick Links
Advertisement
Table of Contents

Subscribe to Our Youtube Channel
Related Manuals for Laguna Tools T800i


Summary of Contents for Laguna Tools T800i
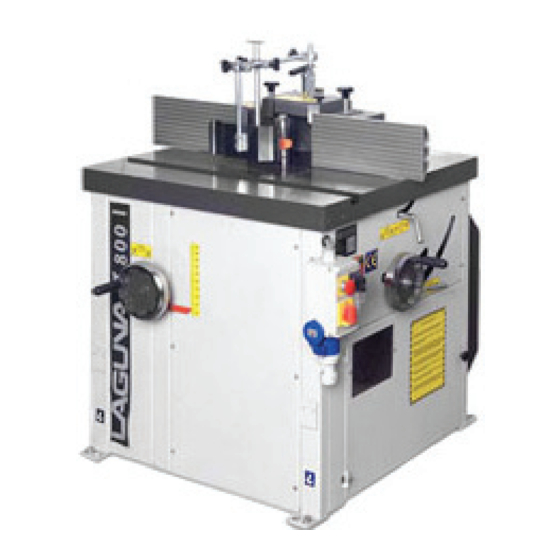
- Page 1 T800i Shaper MT0T800I OPERATING MANUAL...
- Page 2 Dear Woodworker: Thank you for your purchase and welcome to the Laguna Tools group of discriminating woodworkers. I understand that you have a choice of where to purchase your machines and appreciate the confidence you have in our products. Every machine sold by Laguna Tools has been carefully designed and well thought through from a woodworker’s perspective.
-
Page 3: Table Of Contents
Table of contents Safety Rules Warranty Noise emission Specification sheet Receiving your machine Unpacking your machine Introduction to your machine Parts of your machine Assembly, setup and using your machine Where to locate your machine Assembling your machine Maintenance Troubleshooting Accessories Electrical drawing Spare parts... -
Page 4: Safety Rules
We will repair or replace, without charge, any parts determined by Laguna Tools, Inc. to be a manufacturer’s defect. We require the defective item/part returned to Laguna Tools. In the event the item/part is determined... -
Page 5: Noise Emission
The labor required to install replacement parts is the responsibility of the user. Laguna Tools is not responsible for damage or loss caused by the freight company or other circumstances not in our control. Only new machines sold to the original owner are covered by this warranty. - Page 6 All damage must be noted on the delivery documents and signed by you and the delivery driver. You must then contact the seller [Laguna Tools] as soon as practical. If damage is found after delivery, contact the seller as soon as practical.
- Page 7 machine and the heavy construction ensures that the machine is stable. This weight also helps to absorb any vibration that is produced during cutting. Table The table is manufactured from cast iron [cast iron is a live material and will move over time] and is provided with leveling bolts that clamp the table to the cabinet and also level it.
-
Page 8: Unpacking Your Machine
Laguna T800I Table insert rings On the machine there are 3 table insert rings and a blanking disc to allow for different cutter configurations and sizes. Mobility kit [optional] The mobility kit is easy to fit, and the machine is located directly on the floor when the mobility kit is not in use. - Page 9 What you will receive with your machine Optional mobility kit Lifting hooks Shaper Fence system Laguna T800I...
- Page 10 Axel fitted Fitting the optional mobility kit [If ordered] Slide the axel through the lower inside holes on the side of the machine and fit the spacer [large washer] onto the axel. Fit the wheel assembly, nut and washer on to the axel. Wheel assembly Wheel...
-
Page 11: Where To Locate Your Machine
Assembly and setup Where to locate your machine Before you remove your machine from the pallet, select the area where you will use your machine. There are no hard and fast rules for its location, but below are a few guidelines: Ensure that there is sufficient clearance all round the machine, as you will have to have access to the back of the machine. - Page 12 Note: The machine is not supplied with an electrical cord or a plug, as the type of cable and plug will be dependent on the installation. It is advisable that qualified personnel carry out the electrical installation. Ensure that the main supply corresponds with that of the machine. Use wiring suitable for the power and the length of cable that is needed for your installation.
- Page 13 5. Always wear eye protection, safety glasses or a safety shield, and hearing protection. 6. Wear dust mask; long-term exposure to the fine dust created by the machine is not healthy. 7. Remove your tie, rings, watch, and all jewelry. Roll up your sleeves and never wear loose clothing.
- Page 14 Shaper Steel bar fence system Top clamp handle Fit the steel bar to the table by aligning the dowels with the relevant Clamp holes in the table. handle On the shaper fence housing, release the clamp handle located on the same side as the bar will be fitted.
- Page 15 Adjustment knob Side ratchet Back view of shaper handle fence assembly To adjust the left hand fence [when viewed standing in front of the machine] rotate the knob at the back of the assembly Fit the Hold down and the hold in assembly. Hold down and hold in assembly Fitting hold down...
- Page 16 With the power disconnected from the machine. Release the clamp screw on top of the hinged cover of the shaper fence system and swing the cover back. Raise the shaper spindle so that it lifts the blanking disc; remove the disc and rings.
- Page 17 Advised Not advised Note: Always mount the cutter head as close to the bottom of the spindle as practical, this will minimize vibration, reduces stress on the machine and improve the surface finish of the cut. Fit the cutter head. Ensure that the cutter is fitted for the correct rotation.
- Page 18 Reconnect the power to the machine, and check that the indicator light corresponds with the speed selected. Spindle tilt Angle indicator To adjust the spindle angle, release the clamp, adjust to the required angle and re-clamp the spindle. Angle lock Vertical lock Spindle tilt adjustment handle...
-
Page 19: Troubleshooting
Check the drive belt for damage, oil, dirt and cracks. Check that the breaking system on the motor stops the electrical motor in less than 10 seconds. Note: You can only function the break a maximum of 10 times per hour. Drive belt The drive belt should last a long time [depending on the usage] but needs to be inspected regularly for cracks, cuts and general wear. - Page 20 stripped enough and is not causing a bad connection. Check that all the screws are tight. Check that you have the correct power, 220V not 110V. Check that the earth wire is wired correctly. Check that the door is closed. Check that the stop switch is in the full out position.
-
Page 21: Accessories
Check that the dust hose is not blocked. Check that the dust collector is not full. Accessories The following accessories are available from Laguna Tools: -Mobility kit. -Cutters and cutter heads. -Work benches. -Tool cabinet [floor standing] and tool box. -
Page 23: Spare Parts
Spare parts Ordering spare-parts When ordering spare parts specify: Machine Model Part number required, taken from the exploded view drawings and parts lists on the following page. Quantity required EXAMPLE : To order a motor pulley. Model: Shaper T 800 I Part description: Motor drive pulley. - Page 25 Ф 250М.02.00.00.00 Cutter with Sloping Spindle № Denotation Name Quantity БДС 1232-85 Bolt М8х25 БДС 833-82 Washer 2 8Н ДМ5-321.60.00.53- End washer ДМ5-321М.60.00.48 Belt washer ДМ5-401.60.00.44 Bushing БДС 2170-77 Ring В 40 БДС 4890-79 Radial ball bearing with 2 protective washers 6208-2х...
- Page 26 Ф250М.02.00.00.29 Busher 47. Ф250М.02.00.00.01 Shaft 48. БДС 3389-73 Cotter А6х6х18 49. ДМ5 321.30.10.20 Nut М30х2 50. Ф250М.02.00.04.00 Cosole 51. DIN 1481 Spring pin ш6х30 52. Ф250М.02.00.00.02 Driver 53. ДМ5-321.30.10.05 Gear wheel 54. БДС 2170-77 Ring В20 55. БДС 206-78 Washer АМ12 56.
Need help?
Do you have a question about the T800i and is the answer not in the manual?
Questions and answers