Table of Contents
Advertisement
Quick Links
Advertisement
Table of Contents

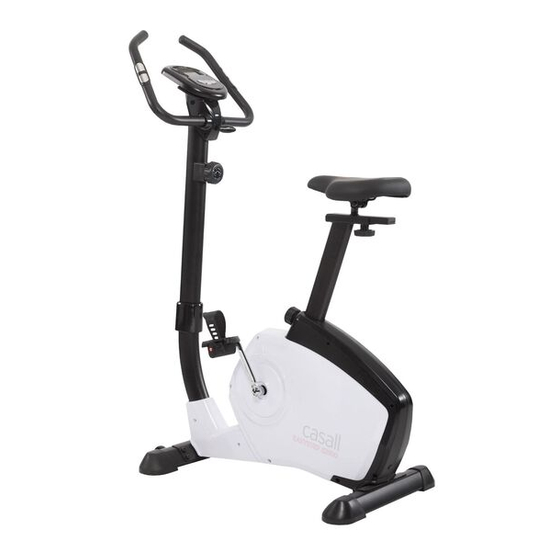
Summary of Contents for Casall EB100
- Page 1 Casall EB100 Bike 91030...
-
Page 2: Serial Number
Important: Please locate your serial number and record in the box below for service support purposes. Serial number Serial number here: ... - Page 3 EB100...
- Page 4 Assembly Diagram...
-
Page 5: Exploded Diagram
EXPLODED DIAGRAM... -
Page 6: Parts List
PARTS LIST PARTS NO. DESCRIPTION Q'TY A,A-2 Console & screw 1SET Handlebar 1PCS Foam Grip 2PCS Hand pulse 2PCS Cap for handlebar 2PCS Pulse wire 1PCS Screws M4x20L 2PCS Left cover for hand post 1PCS Screws M5xP0.8x20L 2PCS Tension knob w/cable 1PCS Semicircle washer φ8xφ19x2t 2PCS... - Page 7 E-11 Plastic bushing 1PCS E-12 Left crank 1PCS E-13 Right crank 1PCS E-14 Nylon screws M8xP1.0x20L 2PCS E-15 Screws M4x50L 6PCS E-16 Left chain cover 1PCS E-17 Screws M5x16 6PCS E-18 Right chain cover 1PCS E-19 Front cover (Left) 1PCS E-20 Front cover (Right) 1PCS...
- Page 8 Step 1 1. Attach the Front Stabilizer (I-2) to the Main Frame (E-5) using two M8xP1.25x20L Allen bolt (L-9) and Flat washers (L-8). 2. Attach the Rear Stabilizer (J-4) to the Main Frame (E-5) using two M8xP1.25x20L Allen bolt (L-9) and Flat washers (L-8). Step 2 1.
- Page 9 Step 1. Please remove the M8*P1.25*16L Allen bolt (C-6) and semicircle washers (C-4) and flat washers (C-5) from the main frame. 2. Pull the upper tension control (C-3) of the handlebar post (C-7) and ensure the tension knob is at the lightest position (minimum position). 3.
- Page 10 Step 4 1. Pass the hand-pulse wire (B-5) through the hole. 2. Attach the handlebar (B-1) to the handlebar post (C-7) using the metal clamp (L-2). Fix firmly with one flat washer (L-4), one Spring washer (L-5) and one Fixing bolt (L-6). 3.
- Page 11 Step 5 1. The console (A) can use two AA batteries (not 11 included); alkaline batteries are recommended. Do not use old and new batteries together or alkaline, standard, and rechargeable batteries together. IMPORTANT: If the console has been exposed to cold temperatures, allow it to warm to room temperature before you insert batteries.
- Page 12 INSTRUCTIONAL MANUAL ST3604-67...
-
Page 13: Display Function
DISPLAY FUNCTION : ITEM DESCRIPTION . The sequence of display: TMR→SPD→ DST→CAL→PULSE SCAN . In SCAN mode, press MODE key to choose other functions. . Automatically scan through each mode in sequence every 6 seconds. . W/O any signal been transmitted into the monitor for 4 seconds, SPEED SPEED (SPD) will display “0.0”... -
Page 14: Button Function
BUTTON FUNCTION: ITEM DESCRIPTION . In setting condition, press RESET key once to reset the current function figures. Reset . Press RESET key and hold for 2 seconds to reset all function figures, and have Bi sound for prompt at the same time. . - Page 15 Drawing B Drawing C Trouble shooting: . When the display of LCD is weak, it means the batteries need to be changed. . If there is no signal when you pedal, please check if the cable is well connected. NOTE : 1.


Need help?
Do you have a question about the EB100 and is the answer not in the manual?
Questions and answers