Advertisement
Quick Links
Advertisement

Related Manuals for Casall Benefit B420


Summary of Contents for Casall Benefit B420
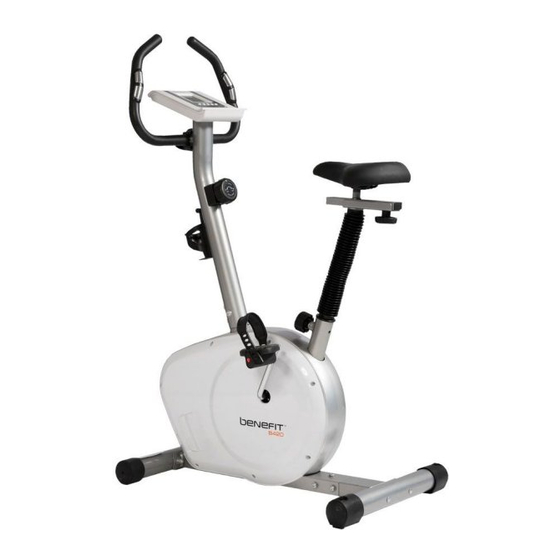
- Page 1 Benefit B420 Bike 91101...
-
Page 2: Assembly Instruction
ASSEMBLY INSTRUCTION... - Page 3 Stap 1 Assemble the base post (L) to the main frame with 5 screws(L3) and 5 washers(L2) and 5 spring washers(L1). STEP1 Stap 2 Fasten front and rear stabilizers each with 2 screws and washers to the base construction. After the assembly the bike can be adjusted to slightly uneven ground by adjusting the height of the foot caps in the back.
- Page 4 Stap 3 Screw pedals onto the crank. The pedals are marked with R and L at the screw. Tighten the left pedal anticlockwise, the right pedal clockwise. STEP3 Step 4 1. Pull the tension cable out of the handlebar post and ensure the tension knob is at lightest position (minimum position ).
- Page 5 Step 5 1. Assemble the saddle to the selector rail, position the rail onto the seat post and tighten using the butterfly knob. 2. Insert the seat post in the main frame, choose the desired position and tighten the knob. Ensure that the knob is always tightened. STEP5 Step 6 1.
- Page 6 Step 7 1. Mount the computer to the hold of the handlebar pole with the enclosed screws and connect the computer cables. 2. Plug the delivered hand-pulse wire for measuring the pulse rate in the socket at the computer. STEP7...
- Page 7 PARTS LIST PARTS NO. DESCRIPTION Q'TY A,A1 Computer & Screw 1PCS Handlebar Post 1PCS Sensor wire upper 1PCS Screw M5xP0.8x14L 2PCS Tension control upper 1PCS Handlebar 1PCS Foam Grip 1SET Hand pulse 1SET Seat post 1PCS Seat Slider 1PCS Bolt hex 1PCS Seat Slider Knob 1PCS...
- Page 8 Sensor Box 1PCS Tension control lower 1SET Screw M4x50L 5PCS Screw 3/16″(#10)x3/4″ 6PCS Belt J6 990m/m 1PCS K8~K12,N1,N3 B.B. SET 1SET 1PCS Main frame post Flat Washer 5PCS Spring Washer 5PCS Bolt Allen 5PCS Rear stabilizer 1PCS End cap 1SET Pulley wheel 1PCS Crank...
- Page 10 EXPLODED-VIEW ASSEMBLY DRAWIN...
-
Page 11: Function Button
Monitor manual instruction ST7610-7 FUNCTION BUTTON MODE Press "Mode" button to preset TIME, DISTANCE, CALORIES and PULSE. Press "Mode" button for selection, or enter after setting up. To set up the value of TIME, DISTANCE, CALORIES and PULSE. You can hold the button to increase the value faster. - Page 12 “Drawing A” and have “Bi” sound at the same time. Drawing A Drawing B 2. Get access to the set-up mode of TIME/DISTANCE/CALORIES/PULSE. When you are in each set-up mode. For instance the time set-up, when the time value is blinking, you can press "SET" button to adjust the number. Press "Mode" button for confirmation and skip to next set-up.
- Page 13 NOTE 1. Stop training for 4 minutes, the main screen will be off and display the room temperature automatically. 2. If the computer displays abnormally, please re-install batteries and try again. 3. Battery Spec: 1.5V UM-3 or AA (2PCS).
Need help?
Do you have a question about the Benefit B420 and is the answer not in the manual?
Questions and answers