Table of Contents
Advertisement
Quick Links
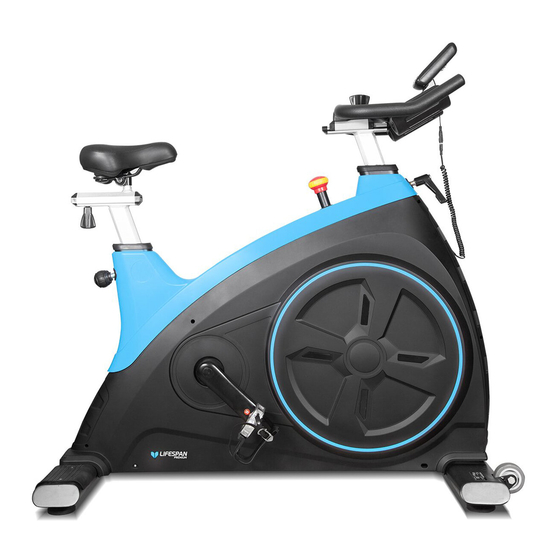
SP-960 OWNER'S MANUAL
Product may vary slightly from the item pictured due to model upgrades
Read all instructions carefully before using this product. Retain this owner's manual for future
reference.
NOTE: This manual may be subject to updates or changes. Up to date manuals are available through our website at www.lifespanfitness.com.au
Advertisement
Table of Contents

Related Manuals for LifeSpan SP-960


Summary of Contents for LifeSpan SP-960
- Page 1 SP-960 OWNER’S MANUAL Product may vary slightly from the item pictured due to model upgrades Read all instructions carefully before using this product. Retain this owner’s manual for future reference. NOTE: This manual may be subject to updates or changes. Up to date manuals are available through our website at www.lifespanfitness.com.au...
-
Page 2: Table Of Contents
TABLE OF CONTENTS IMPORTANT SAFETY INSTRUCTIONS CARE INSTRUCTIONS EXPLODED DIAGRAM PARTS LIST ASSEMBLY INSTRUCTIONS COMPUTER OPERATION EXERCISE GUIDE WARRANTY SP960... -
Page 3: Important Safety Instructions
1. IMPORTANT SAFETY INSTRUCTIONS WARNING - Read all instructions before using this machine. It is important your machine receives regular maintenance to prolong its useful life. Failing to regularly maintain your machine may void your warranty. Please keep this manual with you at all times It is important to read this entire manual before assembling and using the equipment. -
Page 4: Care Instructions
Wear suitable clothing while using the equipment. Avoid wearing loose clothing that may get caught in the equipment or that may restrict or prevent movement. This equipment is designed for indoor and family use only Care must be taken when lifting or moving the equipment so as not to injure your back. Always keep this instruction manual and assembly tools at hand for reference. - Page 5 SP960...
-
Page 6: Exploded Diagram
3. EXPLODED DIAGRAM SP960... -
Page 7: Parts List
4. PARTS LIST DESCRIPTION DESCRIPTION Main frame End cap 1 Front stabilizer End cap 2 Hex nut M16*1.5 Saddle slider Adjust footpad Saddle Spacer Ball knob Spring washer D8 L-shape knob Hex bolt M8*70 Saddle post strengthen board Nylon nut M10 Handlebar post Flat washer Cross screw M4X12... -
Page 8: Assembly Instructions
5. ASSEMBLY INSTRUCTIONS STEP 1 1. Attach the Front stabilizer (2) and Rear stabilizer (12) onto the Main frame (1) with the Hex bolt (7), Spring washer (6) and Spacer (5). SP960... - Page 9 STEP 2: 1. Lock the saddle (27) to the Saddle slider (26). 2. Unscrew the Cross screw (20), End cap (19) and Hex bolt (21). Then slip the Handlebar slider (33) into the Handlebar post (31) and adjust the Slider nut (23) to proper position to make it slip into the groove of Handlebar slider (33).
- Page 10 STEP 3: 1. Attach the Pedals (15L/ R) to the cranks (16 L/ R) of the Main frame (1) respectively. NOTE: The marks “L “and “R” on the pedal are for left and right side of the crank. The pedal (L) should be turned counter-clockwise to the crank (L).
- Page 11 STEP 4: 1. Attach the Computer (44) to Computer bracket (43) with Screw (45) and Flat washer (46).Then insert the Computer bracket (43) into the middle of Handlebar assembly (34).Finally connect Sensor wire (42) with Computer (44). SP960...
-
Page 12: Computer Operation
6. COMPUTER OPERATION Spinning bike meter BUTTONS: 1. MODE: a. Select the window to be set. b. When exercise (icon display), scan (with icon ) or display: SPEED / AVG. SPEED / MAX SPEED, CALORIES/RPM, PULSE/AVG. PULSE/ MAX PULSE. c. Reset: hold for 2 seconds to reset all data. 2. - Page 13 Exercise distance can be set, MAX 99 KM/MI, each press add 0.1, countdown to zero, the DIST will flash and beep for 5 seconds. 4. CALORIE /RPM: Window D displays Counts the cumulative calories consumed from exercise start to the end, and also the current RPM (or cadence).
-
Page 14: Exercise Guide
REPLACE BATTERY When the display color fades, or with flash when operate buttons, means the battery has no enough power. Take off the battery cover, and use 2pcs new 1.5V AAA UM-4 battery to replace the old battery. 7. EXERCISE GUIDE PLEASE NOTE: Before beginning any exercise program, consult your physician. -
Page 15: Workout Guidelines
Training Zone Exercise After warming up, increase the intensity to your desired exercise program. Be sure to maintain your intensity for maximum performance. Breathe regularly and deeply as you exercise. Cool Down Finish each workout with a light jog or walk for at least 1 minute. Then complete 5 to 10 minutes of stretching to cool down. -
Page 16: Warranty
8. WARRANTY AUSTRALIAN CONSUMER LAW Many of our products come with a guarantee or warranty from the manufacturer. In addition, they come with guarantees that cannot be excluded under the Australian Consumer Law. You are entitled to a replacement or refund for a major failure and compensation for any other reasonably foreseeable loss or damage. - Page 17 This will eliminate the movement and static electricity factors. If your hands are dry, then wet them slightly (saliva works as a great conductor if this doesn’t bother you). For more information, please contact our Lifespan Fitness Technical Support Department www.lifespanfitness.com.au support@lifespanfitness.com.au...
Need help?
Do you have a question about the SP-960 and is the answer not in the manual?
Questions and answers