Table of Contents
Advertisement
Quick Links
Advertisement
Table of Contents

Related Manuals for HPRT TP801


Summary of Contents for HPRT TP801
- Page 1 Desktop POS Printer TP801 User Manual...
-
Page 2: Table Of Contents
TP801 User Manual CONTENTS CAUTIONS......................... 1 IMPORTANT SAFETY INSTRUCTIONS................2 1 OVERVIEW ........................3 1.1 Introductions...................... 3 1.2 The Main Features ....................3 2 GETTING STARTED ......................4 2.1 Packing List......................4 2.2 Appearance and Components ................5 3 SPECIFICATION.......................6 3.1 Printer Specification ................... - Page 3 TP801 User Manual 6.3 Troubles Occur during Printing ................ 20 6.4 Problems Emerge during the Paper Cutting Processes ........21 6.5 Removing Jammed Paper.................21...
-
Page 4: Cautions
TP801 User Manual CAUTIONS Warnings : This must be complied with in order to avoid any damage to the human body and to the equipment. This is showing the important information and tips for the printer operating. ❖ Note: Due to continuous update of product, please take in kind of real machine, such as accessories, programs etc. -
Page 5: Important Safety Instructions
TP801 User Manual IMPORTANT SAFETY INSTRUCTIONS 1. Safety warnings 1) Warnings: The print head will become very hot during printing; avoid contact with the print head after printing has finished. 2) Warnings: Do not touch the printer head and connector in case static damage the printer head. -
Page 6: Overview
1 OVERVIEW 1.1 Introductions TP801 is a thermal receipt printer with auto-cutter, featured by high print quality, high print speed, high stability, etc. It can be used in commercial POS system, food industry and occasions which need real-time field print receipts. -
Page 7: Getting Started
TP801 User Manual 2 GETTING STARTED 2.1 Packing List After receiving your printer, please check for possible shipping damage: 1.Inspect the outside of both the box and the printer for possible damage. 2.Check whether you have received the following accessories together with the printer, if there is any items missing, please contact your local dealer. -
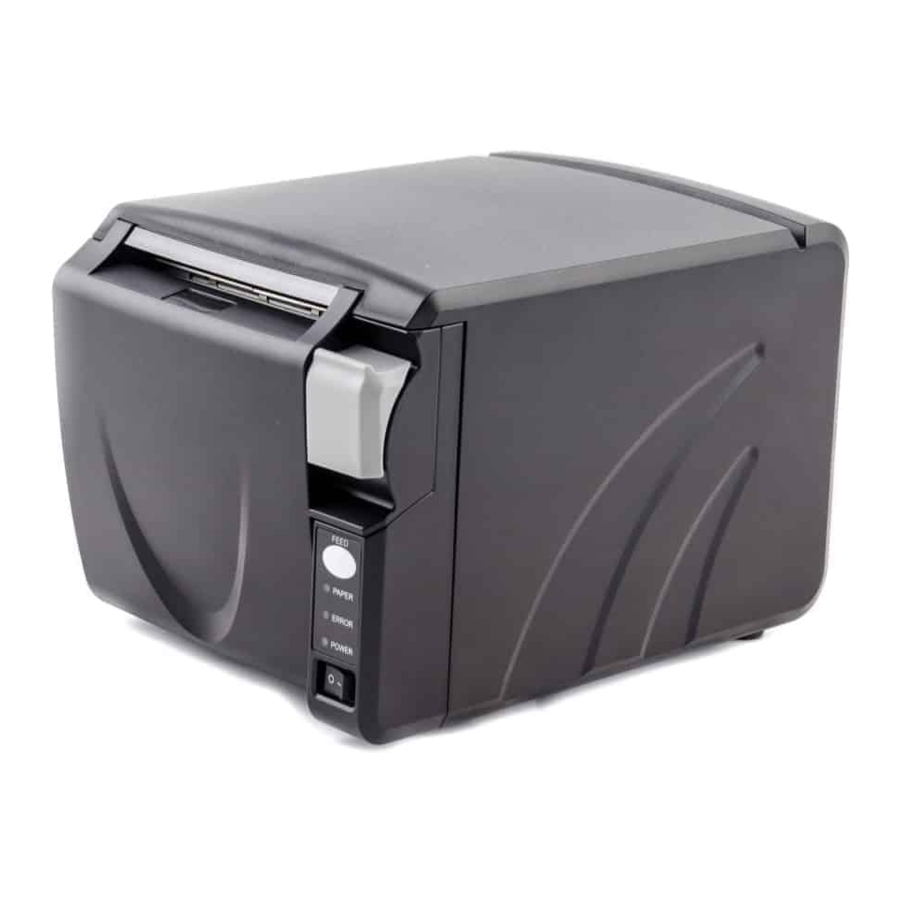
Page 8: Appearance And Components
TP801 User Manual 2.2 Appearance and Components... -
Page 9: Specification
TP801 User Manual 3 SPECIFICATION 3.1 Printer Specification Table3-1 General Specification (1/2) Model Parameter Print method Direct thermal line printing Resolution 203dpi, 8dots/mm Printing width 72mm Printing Parameter Print speed 200~300mm/s Interface USB, Serial, Ethernet, Cash drawer Print density Adjustable from level 1 to level 4... - Page 10 TP801 User Manual Table3-1 General Specification(Continued) (2/2) Model Parameter Detect Sensors Paper out, paper near end, paper jam and cover open sensors Function Power indicator Green LED LED Indicator Paper indicator Blue LED Error indicator Red LED Power supply External power adapter...
-
Page 11: Media Specification
TP801 User Manual 3.2 Media Specification 3.2.1 Continuous Thermal Paper Specification Paper Type : Specified thermal paper Paper Width Paper Outer Diameter : Max. 81 mm Roll Paper Core : 13mm(Internal Diameter) 18mm(Outer Diameter) ... -
Page 12: Cutting Position
TP801 User Manual 3.2.3 Cutting Position Type Paper Cutting Position(L1) TP801 14.5mm... -
Page 13: Installation And Usage
TP801 User Manual 4 INSTALLATION AND USAGE 4.1 Open Packing When opening the package, according to the packing list to check if items are missing or damaged, if so, please contact the dealer or manufacturer. 4.2 Choice Installation Site and Direction of Printer 1) Install the printer on a flat, stable place;... -
Page 14: Connecting The Interface Cable
TP801 User Manual Notes: ► Please only use the power adapter are recommended by supplied or equivalent products; ► When disconnecting the AC adapter plug, handhold plug connector housing, to avoid the pulling on the cable in force; ► Avoid drag the power adapter cable, otherwise it will damage the cables, causing fire and shock;... -
Page 15: Connecting The Cash Drawer
TP801 User Manual 4.5 Connecting the Cash Drawer 1) Make sure the printer's power switch is turned off; 2) Connect the cash drawer cable into the cash drawer interface on the rear side of the printer. Warning: ►Cash drawer interface can only be connected to a voltage of 24V cash drawer... -
Page 16: Paper Roll Installation
TP801 User Manual 4.6 Paper Roll Installation 4.6.1 Confirmation of Printing Paper After connecting the power adapter and interface cable, you can install media for printing. Confirm the type of paper used by the printer before printing. The default paper type is continuous paper. If you need to set the marked paper, please contact your dealer or manufacturer. -
Page 17: Setting Dip Switch
TP801 User Manual 4.7 Setting DIP Switch 4.7.1 Serial Interface(RS-232C) DIP Switch 1 Switches Functions Turn on Turn off Default Automatic line feed Enable Disable Turn off Handshake XON/XOFF DTR/DSR Turn off Bit length 7 bit 8 bit Turn off... -
Page 18: Interfaces Of Parallel And Usb2.0
TP801 User Manual 4.7.2 Interfaces of Parallel and USB2.0 DIP Switch 1 Switches Function Turn on Turn off Default Automatic line feed Permit Prohibit Turn off Reserve Turn off 1-2~1-8 DIP Switch 2 Switches Functions Turn on Turn off... -
Page 19: Printer Self Testing
TP801 User Manual 4.8 Printer Self Testing 1) Make sure the printer has been installed paper roll and turn off the top cover; 2) Press on FEED button and turn on power switch, the printer can print out configuration information and the prompt line “If you want to continue SELF-TEST printing, Please press FEED button”. -
Page 20: Interface Signal
TP801 User Manual 5 INTERFACE SIGNAL Printer TP801 supports cash drawer interface and many other various communicate interfaces, such as Serial interface, parallel interface, USB interface, Ethernet interface. The printer has the communication board with the default USB interface and cash drawer interface, and the other communication boards with the Ethernet interface, parallel interface, RS232 interface are optional. -
Page 21: Power Port
When arranging the line of communication, you have to avoid paralleling with the strong current. you have to use the shielded communication line. 5.4 Serial Interface Printer TP801 serial interface is compatible with RS-232 standard, with 9 pin (D hole type) socket. Signal Definition PIN No. -
Page 22: Ethernet Interface
TP801 User Manual 5.5 Ethernet Interface PIN NO. Signal Name... -
Page 23: Troubleshooting
TP801 User Manual 6 TROUBLESHOOTING Your printer is very reliable, but occasionally problems may occur. This chapter provides information on some common problems you may encounter and how to solve them. If you encounter problems that you can not resolve, contact your dealer for assistance. -
Page 24: Problems Emerge During The Paper Cutting Processes
TP801 User Manual 6.4 Problems Emerge during the Paper Cutting Processes Problem description Probable reason Resolution Cutter abrasion, Replace the cutter insufficient cutting Worm gear and worm Cutter jam, the Replace the worm gear and worm wheel wheel abrasion movable cutter...
Need help?
Do you have a question about the TP801 and is the answer not in the manual?
Questions and answers