Sign In
Upload
Download
Table of Contents
Contents
Add to my manuals
Delete from my manuals
Share
URL of this page:
HTML Link:
Bookmark this page
Add
Manual will be automatically added to "My Manuals"
Print this page
×
Bookmark added
×
Added to my manuals
Manuals
Brands
AES Manuals
Intercom System
AB
Installation & user manual
AES AB Installation & User Manual
703 four button series dect intercom
Hide thumbs
1
Table Of Contents
2
3
4
5
6
7
8
9
10
11
12
page
of
12
Go
/
12
Contents
Table of Contents
Bookmarks
Table of Contents
Table of Contents
Mounting the Transmitter
Power Supply
Overview of System
Site Survey
Mounting Architectural Panels
Mounting Hooded Panels
Wiring
Code Lock Keypad Connections
Wiring Tips
Keypad Overview
Basic Keypad Programming
Full Keypad Programming
Quick Start Guide
The Handset
Using the Keypad
Testing
Using the Intercom Handset
Maintenance of the Intercom
Troubleshooting Guide
Advertisement
Quick Links
1
Basic Keypad Programming
Download this manual
Installation & User Manual
For
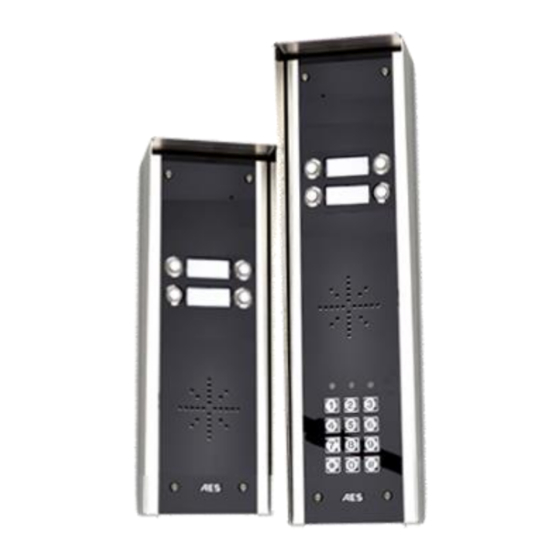
7 0 3 F o u r B u t t o n
D E C T I n t e r c o m
W ireless Intercom System
Models AB, ABK, HB, HBK,
Version 1.1
(2 Relay Version)
P a g e
| 1
Table of
Contents
Previous
Page
Next
Page
1
2
3
4
5
Advertisement
Table of Contents
Need help?
Do you have a question about the AB and is the answer not in the manual?
Ask a question
Questions and answers
Related Manuals for AES AB
Intercom System AES MultiCom 100 Installation Manual & User Instructions
(11 pages)
Intercom System AES 603 AB Installation & User Manual
Dect wireless intercom system (12 pages)
Intercom System AES MultiCom 500 Installation Manual & User Instructions
Multi resident gsm intercom system (11 pages)
Intercom System AES WiFi Predator Installation Instructions Manual
(28 pages)
Intercom System AES MultiCom 500 Installation Manual & User Instructions
Multi resident gsm intercom system (24 pages)
Intercom System AES CellCOM Plus AB Installation & User Manual
(20 pages)
Intercom System AES 605 Installation & User Manual
Dect 2 .4 g (17 pages)
Intercom System AES Prime 6 Series Manual
Gsm intercom system (32 pages)
Intercom System AES GSM-800/AB Installation Manual
Aes gsm-800/ab wireless gsm intercom system (4 pages)
Intercom System AES WiFi Predator Installation Instructions Manual
Push version (33 pages)
Intercom System AES GSM-5AS/3GE Installation & User Manual
Wireless door intercom (29 pages)
Intercom System AES 603 DECT Installation Instructions Manual
(12 pages)
Intercom System AES MultiCOM Classic 4G Manual
Advanced multi-resident gsm intercom (7 pages)
Intercom System AES 605A Operating Instructions
Wireless video intercom (3 pages)
Intercom System AES Prime 6E Manual
(34 pages)
Intercom System AES 603AB Installation Manual
Aes wireless intercom system installation manual (2 pages)
This manual is also suitable for:
Abk
Hb
Hbk
Table of Contents
Print
Rename the bookmark
Delete bookmark?
Delete from my manuals?
Login
Sign In
OR
Sign in with Facebook
Sign in with Google
Upload manual
Upload from disk
Upload from URL


Need help?
Do you have a question about the AB and is the answer not in the manual?
Questions and answers