Table of Contents
Advertisement
Quick Links
Quick Guide
V940D
Network Dome Camera
Vicon Industries Inc. does not warrant that the functions contained in this equipment will
meet your requirements or that the operation will be entirely error free or perform precisely
as described in the documentation. This system has not been designed to be used in
life-critical situations and must not be used for this purpose.
Document Number: 8009-8292-20-00 Product specifications subject to change without notice.
Issued: 7/17 Copyright © 2017 Vicon Industries Inc. All rights reserved.
XX292-20-00
Vicon Industries Inc.
Tel: 631-952-2288) Fax: 631-951-2288
Toll Free: 800-645-9116
24-Hour Technical Support: 800-34-VICON
(800-348-4266) UK: 44/(0) 1489-566300
www.vicon-security.com
Advertisement
Table of Contents

Related Manuals for Vicon V940D


Summary of Contents for Vicon V940D
- Page 1 V940D Network Dome Camera XX292-20-00 Vicon Industries Inc. does not warrant that the functions contained in this equipment will Vicon Industries Inc. meet your requirements or that the operation will be entirely error free or perform precisely Tel: 631-952-2288) Fax: 631-951-2288 as described in the documentation.
-
Page 2: Explanation Of Graphical Symbols
WARNING TO REDUCE THE RISK OF FIRE OR ELECTRIC SHOCK, DO NOT EXPOSE THIS PRODUCT TO RAIN OR MOISTURE. DO NOT INSERT ANY METALLIC OBJECTS THROUGH THE VENTILATION GRILLS OR OTHER OPENINGS ON THE EQUIPMENT. CAUTION EXPLANATION OF GRAPHICAL SYMBOLS The lightning flash with arrowhead symbol, within an equilateral triangle, is intended to alert the user to the presence of uninsulated “dangerous voltage”... - Page 3 Read this manual carefully before installation This manual should be saved for future use. Important Safety Instructions and Warnings Electronic devices must be kept away from water, fire or high magnetic radiation. Clean with a dry cloth. Provide adequate ventilation. ...
-
Page 4: System Requirement
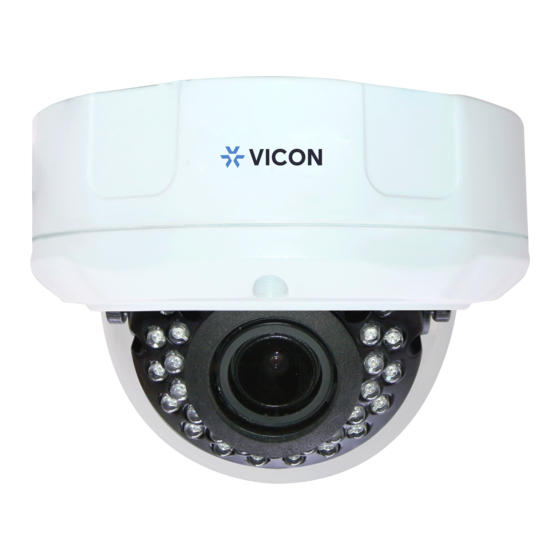
Always refer to Vicon’s website to assure you have the most up-to-date manual, www.vicon- security.com. The V940D Series Dome Camera adopts progressive scan CMOS sensor with an internal HD motorized zoom lens. The camera has an internal Smart IR technology that provides 98 ft/30m IR distance. The IR LEDs output power can be adjusted automatically according to the brightness of the scene so that the IR LEDs do not work at full capacity. -
Page 5: Installation Precautions
Installation For the network camera to operate, it is necessary to connect a network cable for data transmission and power connection from a power adapter. The unit also has alarm and audio connections. Installation Precautions Do not drop the camera or subject it to harsh movement. ... -
Page 6: Cable Connections
Cable Connections (Black is GND) Item Description Ethernet, RJ-45 port compatible with 10/100Mbps PoE modular jack LAN RJ-45 Power Standard adapter jack for 12 VDC or 24 VAC Alarm In Alarm input and output, 5-pin terminal Alarm Out Alarm COM Audio In Audio input, 2-pin terminal;... - Page 7 Step 1: Prepare the mounting holes To provide for cable management, the camera can be mounted to a back box, model V940D-BOX or using an adapter plate to allow mounting to a 4x4 electrical box, model V940-PLATE.
-
Page 8: Connecting Alarms
Step 3: Adjust the camera angle Loosen the locking screws, adjust the camera angle and direction to the desired position and then tighten the screws. Re-install the clear dome assembly to the camera and secure with the screws. Connections Connecting to the RJ-45 ... -
Page 9: Network Connection And Ip Assignment
If DHCP is enabled and the product cannot be accessed, run the Discovery Tool utility to search for and allocate an IP address for the camera. The Discovery Tool (IPCConfig.exe) can be found on Vicon’s website, www.vicon- security.com, on the Software Downloads page for Vicon cameras. - Page 10 (2) Install control You may be prompted to allow running a Vicon add-in. Click to install manually and run the add-in. Follow the prompts. Live View interface displaying the major stream at H.264 format: Click the Settings tab and select Network. On this page (below), select Off to turn off DHCP. Then enter the required IP address, Subnet mask and Default gateway.
-
Page 11: Live View Page
Live View Page From the Live View page, users can select Stream Type, Video Type, Video Size, Play Mode, Corridor Mode, Video Info, Video Profile, Snapshot and Local recording can be configured. From here, the Settings screens can be accessed by the admin. Function Buttons Indicate audio input/output are disabled. - Page 12 VICON INDUSTRIES INC. For office locations, visit the website: www.vicon-security.com...
Need help?
Do you have a question about the V940D and is the answer not in the manual?
Questions and answers