
Related Manuals for Burmester 036


Summary of Contents for Burmester 036
- Page 1 2-CHANNEL POWER AMP HIGH END MADE IN GERMANY BURMESTER AUDIOSYSTEME GMBH • WILHELM-KABUS-STRAßE 47• GERMANY FON +49 / 30 / 78 79 68 – 0 • FAX +49 / 30 / 78 79 68 – 68 • E-MAIL: mail@burmester.de • www.burmester.de...
- Page 2 VERSION: 1.1 FROM 29/09/2010...
- Page 3 Dear Audiophile, Thank you for choosing this Burmester audio component. We sincerely appreciate your trust in us. You have purchased a unit which excels in musical fidelity and combines uncompromising manufacturing quality with technical innovation and the highest degree of operating flexibility.
- Page 4 C O N T E N T S UNPACKING and SET-UP POSITION VIEWS OF UNIT CONNECTING OPERATING CONTROLS PROTECTIVE CIRCUITS WIRING DIAGRAMS STEREO operation MONO operation BI-AMPING operation PRECAUTIONS TECHNICAL DATA...
- Page 5 PLEASE NOTE: The 2-channel power amp 036 weigh 25kg (55lbs). To avoid injury during unpacking and set- up, this should only be done by persons who are accustomed to handling such weights. The 2-channel power amp 036 is delivered wrapped in a plastic bag. Keep this bag away from children to avoid danger of suffocation.
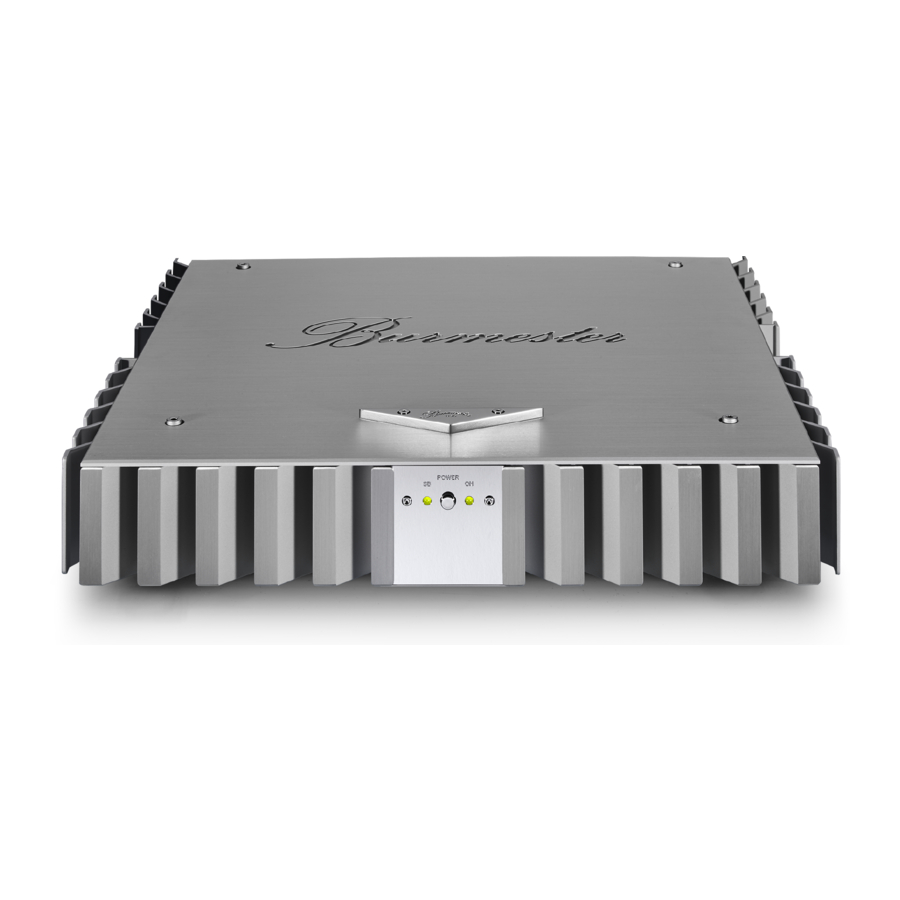
- Page 6 VIEWS OF UNIT FRONT VIEW (1) STAND BY LED (3) POWER LED (2) POWER button REAR VIEW (4) Input, right channel (10) AC mains switch (5) Loudspeaker output, right channel, positive (11) AC mains input (6) Loudspeaker output, right channel, negative (12) REMOTE output (7) Loudspeaker output, left channel, negative (13) REMOTE input...
- Page 7 CONNECTING The connectors of the 2-channel power amp 036 are located on the rear panel. We strongly recommend leaving all components switched off while connecting the power amp. For optimal connections also pay attention to the manual of the driving unit.
-
Page 8: Operating Controls
Gain switch The 036 has a gain of 35.5 (31dB), equals gain switch position 0. The gain can be set to a lower level of 11.2 (21dB), equals gain switch position -6. The switch for the gain setting is located inside the unit in the back part left of the rectangle stand by transformer and should be switched by a qualified technician only. -
Page 9: Wiring Diagrams
STEREO operation In STEREO mode each channel will be connected with the corresponding channel of the stereo signal. To use the 036 in STEREO mode make the following connections: input, right channel positive loudspeaker binding post, right channel negative loudspeaker binding post, right channel... - Page 10 MONO operation In MONO mode a MONO adapter is required which is available on request at your local dealer. To use the 036 in MONO mode make the following connections: MONO adapter, red side positive loudspeaker binding post not connected...
- Page 11 BI-AMPING operation In BI-AMPING mode a BI-AMPING adapter is required which is available on request at your local dealer. To use the 036 in BI-AMPING mode make the following connections: BI-AMPING adapter, red side positive loudspeaker binding post, high/mid negative loudspeaker binding post, high/mid...
- Page 12 Be careful by touching your component, because the housing becomes warm during operation. Reset If the 036 does not react when control keys are pushed it must be reset by switching it off and back on using the AC mains switch on the back panel. Lightning strikes During the summer month, malfunctions often occur due to voltage spikes in the power lines after lightning strikes.
-
Page 13: Technical Data
TECHNICAL DATA Dimensions 482 x 95 x 482mm Width x Height x Depth (19.0 x 3.7 x 19.0 inches) Weight 25kg (55 lbs) Mains voltage and fuses for 200V – 254V 50/60Hz 2 x slow 3.15A E 1 x slow 100mA E for 100V –...
Need help?
Do you have a question about the 036 and is the answer not in the manual?
Questions and answers