Table of Contents
Advertisement
Quick Links
Advertisement
Table of Contents

Related Manuals for fantastic furniture KELLY


Summary of Contents for fantastic furniture KELLY
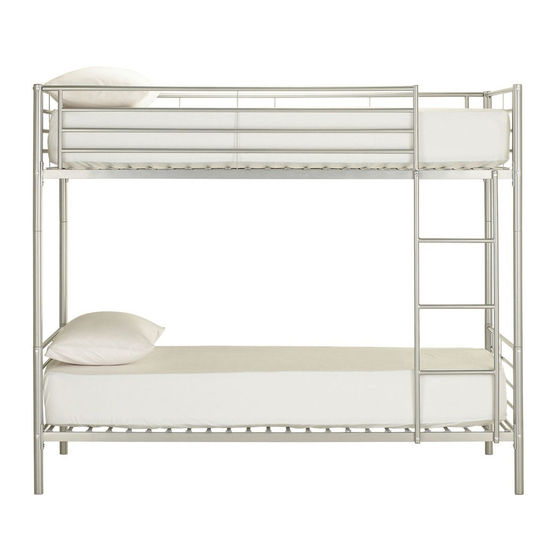
- Page 1 Assembly Instructions KELLY BUNK Ver1.2...
- Page 2 WA RNI NG WA RN NG FAILURE TO FOLLOW THESE BASIC STEPS CAN LEAD TO DAMAGE THAT IS NOT COVERED BY YOUR WARRANTY Lay out all of the components on a soft surface Read Instructions carefully. as if you were preparing to do a jigsaw puzzle. Check no parts are missing.
- Page 3 What you Need To Assemble the Body 2x Slats Top Post (P8) (Tools not provided) (P3) Mallet 2x Top End Panel (P1) Back Guard (P7) Top Post (P2) Top Post (P4) Front Guard (P6) Lower Post (P11) 4x Mid Post Lower Post (P9) (P10)
- Page 4 Assemble the top bed Step 1 (H6) You will need: M4-Allen key provided 8x Bolts (H1) M6 x 15mm (H1) 4x Top Endcap (H6) (H6) (H1) (H1) (H1) (H6) (H6) (P3) (H1) (P4) (H1) (P1) (P1) (H1) (H1) (P2) (P5) Attach Top Post (P2 &...
- Page 5 Step 3 (P8) (Tools not provided) Mallet Attach the Slats (P8). Some effort is required to pull each slat into position as the centre strap is designed to keep the slats tight. Well done. You have assembled the top bed, and now we will assemble the bottom bed. Assemble the bottom bed Step 4 M4-Allen key provided...
- Page 6 Step 5 M4-Allen key provided You will need: 8x Bolts M6 x 15mm (H1) (H1) (H1) (P16) (H1) (H1) (P15) (H1) (H1) note:holes for ladder (H1) (H1) Attach the Side Rails (P15 & P16) to the end assembles using 8x Bolts (H1). Step 6 (P8) (Tools not provided)
- Page 7 Step 7 Two people carefully lift the top bed into position. Note location of holes for ladder. Step 8 You will need: 4x Bolts M6 x 35mm (H2) 4x Sleeve Nut M6 x 15mm (H5) (H4) 4x Small Endcap (H5) M4-Allen key provided (H4) Fit 4x Endcap (H5) to the Ladder (P17),...
Need help?
Do you have a question about the KELLY and is the answer not in the manual?
Questions and answers