Table of Contents
Advertisement
Quick Links
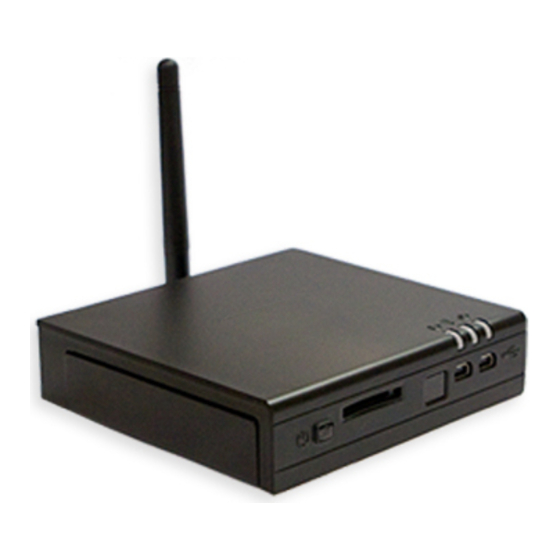
WEBS-1010 Owner's Manual
June-2009
Introduction
Package contents
Hardware specifications
WEBS-1010 features
Quick start guide Connecting WEBS-1010
Booting Linux
Maintenance
Affixing rubber feet
Installing Hard Disk
BIOS Setup Utility
BIOS Setup Utility Sections
Introduction
Package contents
1.
WEBS-1010 computer
2.
12V DC power supply
3.
AC cord with North American or localized standard plug
4.
HDMI to DVI adapter
5.
4 Rubber feet
6.
WiFi antenna (in some models)
To use WEBS-1010, you will need:
•
A display with DVI or HDMI input + DVI or HDMI cable
•
USB keyboard and mouse
Hardware specifications
CPU
Intel Atom Z510/Z530
Chipset
Intel US15W
RAM
1GBDDR2-533
Storage
160GB Hard Disk *
Display
DVI up to 1920x1200
Audio
Stereo line-out, line-in / mic
WiFi
802.11b/g*
Ethernet
10OOBaseT RJ45
USB
6 ports USB 2.0 Hi-Speed 480Mbps
Power
12V DC
*Depending on model
Advertisement
Table of Contents

Related Manuals for Portwell WEBS-1010


Summary of Contents for Portwell WEBS-1010
-
Page 1: Package Contents
HDMI to DVI adapter 4 Rubber feet BIOS Setup Utility WiFi antenna (in some models) BIOS Setup Utility Sections To use WEBS-1010, you will need: • A display with DVI or HDMI input + DVI or HDMI cable • USB keyboard and mouse... -
Page 2: Quick Start Guide
To connect WEBS-1010 to a DVI display • Gently insert the DC plug into the WEBS-1010 DC in jack. Connect the power supply to the AC Use the provided HDMI to DVI adapter. Use a DVI cable to connect the adapter to the display. - Page 3 The Windows XP serial number is printed on the Windows XP label on the bottom of your WEBS-1010. Maintenance The WEBS-1010 requires no maintenance. You should not take the WEBS-1010 apart - this will void its warranty. The following operations can be conducted by the user: Affixing rubber feet You should stick the rubber feet to the bottom of the WEBS-1010 to protect the supporting surface.
-
Page 4: Bios Setup Utility
BIOS Setup Utility Entering BIOS Setup Utility Turn off the Unit Turn on while holding down the F2 key. Screen Layout Menu is on the top. The left pane shows configuration items. When an item is highlighted, the right pane displays help for this item. - Page 5 SDIO - enable or disable SD socket Gigabit LAN- enable or disable Ethernet LAN PXE BOOT- if enabled, PXE boot over LAN will be attempted • Video (Intel IGD) Control Sub-Menu Graphic Memory Aperture Size - [256MB | 128MB] Select how much memory to allocate for graphics.
Need help?
Do you have a question about the WEBS-1010 and is the answer not in the manual?
Questions and answers