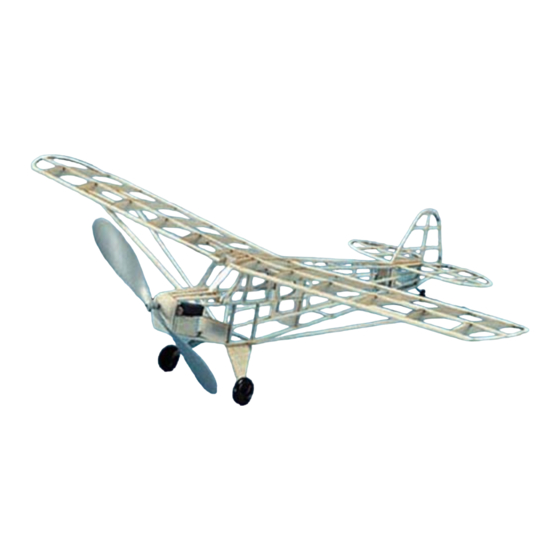
SIG Piper J3 Cub Assembly Instructions Manual
Hide thumbs
Also See for Piper J3 Cub:
- Building and flying instructions (16 pages) ,
- Assembly instructions/use and care manual (9 pages) ,
- Building and flying instructions (45 pages)
Advertisement
Your kit contains the following parts. Please check your kit for any missing or damaged parts before starting construction.
1 Plan Sheet
1 Yellow TIssue
3 2"x3 1/2" Window Plastic
2 1/16"x3/16"x12" Balsa Strip
1 Plastic Propeller
2 Brass Eyelets
1 1/8"x24" Rubber Strip
Tools and Building Supplies
You will need the following items to assemble this model. You must read and follow all of the manufactures
instructions provided with these items!
-Glue
-Cutting Tools
-Clear Dope, Thinner & paint brush
-320 and 400 grit sandpaper
-Straight Pins
-Wax Paper
-Needle nose pliers
-1/16" and 1/32" Drill Bits
-Building Board
COMPLETE KIT PARTS LIST
1
Instruction Manual
1
12" Thread
18 1/16" sq.x12" Balsa Strip
2
1/16"x1/8"x12" Balsa Strip
1
Propeller Shaft
1
Thrust Bead
3
Laser Cut Sheets
CA, White Glue, Sigment or Ambroid all work well.
A hobby knife with a #11 blade is used for general cutting. A single edge
razor blade is also a useful cutting tool.
1 Decal Sheet
1 1/32"x8" Landing Gear Wire
2 3/32" sq.x12" Balsa Strip
1 1/16" Round Tooth Pick
2 Brass Washer
2 Wheels
Advertisement
Table of Contents

Related Manuals for SIG Piper J3 Cub


Summary of Contents for SIG Piper J3 Cub
- Page 1 Your kit contains the following parts. Please check your kit for any missing or damaged parts before starting construction. COMPLETE KIT PARTS LIST 1 Plan Sheet Instruction Manual 1 Decal Sheet 1 Yellow TIssue 12" Thread 1 1/32"x8" Landing Gear Wire 3 2"x3 1/2"...
- Page 2 The first thing that you need to do is to identify and mark the part numbers on the laser cut parts using the drawings on the following pages as a guide. It is possible that several of the laser cut parts may not be completely cut through. If this is the case you can free the part from the sheet quickly using an X-acto knife.
-
Page 3: Building The Tail Surfaces
Building the Tail Surfaces 1. Pin the plan to your building board and cover it with a sheet of wax paper to prevent the glue from sticking the parts to the plan. 2. Build the stabilizer over the plan using parts S-1, S-2, S-3, S-4, S-5 and G. The remaining structure is made from 1/16" sq. balsa strip. -
Page 4: Joining The Wing
,/tr> Building the Wing Center Section 22. Pin the 1/16" x 3/16" trailing edge into position on the plan. Pin the 1/16" sq. bottom spar into position. 23. Glue rib W-1 into position. 24. Glue the two W-3 wing ribs into position. 25. -
Page 5: Final Assembly
44. Apply two coats of thinned dope to the entire model. 45. Carefully apply the decal's to the model. 46. Draw additonal details on the model with a waterproof marker. Final Assembly 47. Glue the wing to the model making sure that it is straight and true to the fuselage. 48. -
Page 6: Safety Rules
LIMIT OF LIABILITY: In use of our products, Sig Mfg. Co.'s only obligation shall be to replace such quantity of the product proven to be defective. User shall determine the suitability of the product for his or her intended use and shall assume all risk and liability in connection...
Need help?
Do you have a question about the Piper J3 Cub and is the answer not in the manual?
Questions and answers