Yeastar Technology S100 Installation Manual
Voip pbx ip phone system
Hide thumbs
Also See for S100:
- Administrator's manual (129 pages) ,
- Installation manual (39 pages) ,
- Getting started manual (21 pages)
Table of Contents
Advertisement
Advertisement
Table of Contents

Related Manuals for Yeastar Technology S100


Summary of Contents for Yeastar Technology S100
- Page 1 Yeastar S100 VoIP PBX Installation Guide Version 1.0 Jun. 2016...
-
Page 2: Table Of Contents
Yeastar S100 Installation Guide Content Welcome……………………………………………………………………………………………………...3 Before You Start……………………………………………………………………………………………..4 Package Contents………………………………………………………………………………………….4 Expansion Board……………………………………………………………………………………………4 Yeastar S100 Overview…………………………………………………………………………………..5 LED Indicators and Ports…………………………………………………………………………………..6 Installation…………………………………………………………………………………………………..8 Safety Disclaimers and Installation Warnings……………………………………………………………8 Telephony Module Installation……………………………………………………………………………..8 DSP Module Installation…………………………………………………………………………………..11 Desktop Installation……………………………………………………………………………………….12 Rack Installation…………………………………………………………………………………………...12 Frame Ground Connection……………………………………………………………………………… 13 Connecting the Equipment……………………………………………………………………………….14... -
Page 3: Welcome
60 concurrent calls. The flexible S100 comes with support for analog ports, ISDN BRI, E1/T1/PRI, and GSM networks. This guide describes how to install the S100 and how to log in the web GUI to configure the system. Once you complete the installation, refer to the Yeastar S-Series Administrator Guide for instructions on how to perform configurations on the system. -
Page 4: Before You Start
Yeastar S100 Installation Guide Before You Start Before you begin to install the S100 IP Phone System, please check the package contents to verify that you have received the items below. If there is any problem, please contact your provider. -
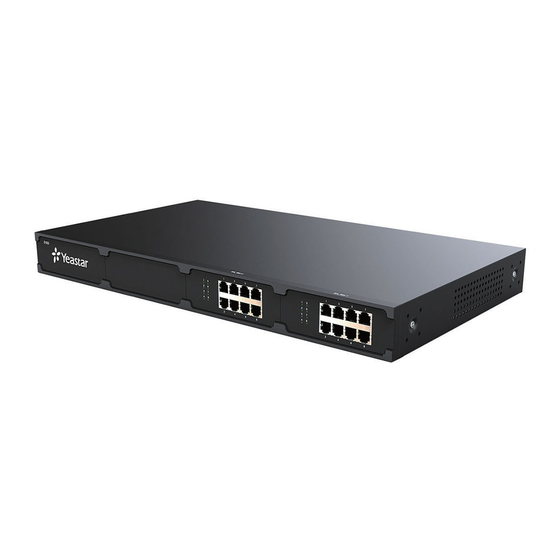
Page 5: Yeastar S100 Overview
Yeastar S100 Installation Guide Expansion Board – EX30 EX30 board supports 1 E1/T1 port. D30 Module D30 is a DSP module, used to expand the capacity of PBX. With per D30 module added, the extensions increase 100 and concurrent calls increase 30 in additional. -
Page 6: Led Indicators And Ports
Yeastar S100 Installation Guide Back Panel Antenna Sockets SD Slot Console Power Switch Power Power Inlet System Protective Earth Reset USB Slot LED Indicators and Ports LED Indicators Indication Status Description The power is switched on POWER Power status The power is switched off... - Page 7 USB Slot Connect a USB drive or mobile hard disk drive. SD Slot Insert a SD card. Yeastar S100 supports two 10/100/1000M Ethernet ports. LAN port: LAN port is for the connection to Local Area Network (LAN). Ethernet Port WAN port: WAN port is the network port for the connection to internet.
-
Page 8: Installation
Before cleaning the device, cut off the power supply. Environment Install the Yeastar S100 IP PBX in a location that is clean, free from vibration, electric shock, and temperature/humidity extremes. The operating temperature should be kept below 104° F (40° C). Telephony Module Installation STEP 1 Loosen the screws on the enclosure and then remove the upper cover. - Page 9 Yeastar S100 Installation Guide STEP 2 Push out the empty board from the inside of the device. STEP 3 Push in the Expansion Board (EX08 or EX30). STEP 4 Lock the screws to fix the Expansion Board. 9/15...
- Page 10 Yeastar S100 Installation Guide STEP 5 Insert the Telephony Modules on the EX08 Board. Skip this step for EX30 Board. STEP 6 Insert a SIM card on the GSM/CDMA/3G module following the instructions. Skip this step if no GSM/CDMA/3G module installed.
-
Page 11: Dsp Module Installation
Yeastar S100 Installation Guide STEP 8 Rotate the antenna into the Antenna Socket. Skip this step if no GSM/CDMA/3G module installed. DSP Module Installation STEP 1 Open the device upper cover and insert the DSP module (D30) into the D-Slot from a tilt angle and then press it down. -
Page 12: Desktop Installation
Yeastar S100 Installation Guide Desktop Installation WARNING Please set 5~10cm gaps around the device for air circulation. Please avoid any heavy thing placed on the device. STEP 1 Place the IP PBX on a steady platform. STEP 2 Remove the adhesive backing paper from the rubber feet. -
Page 13: Frame Ground Connection
Yeastar S100 Installation Guide STEP 2 Place the PBX in the 19-inch rack and fix both brackets to the rack with the rack‟s proprietary mounting equipment. Ground Connection WARNING Proper grounding (connection to ground) is very important to reduce the risk to the user of electrocution or protect the PBX from the bad effects of external noise in the case of a lightning strike. -
Page 14: Connecting The Equipment
STEP 3 Connect one end of the E1 cable to the E1/T1 port. Connect the other end to the E1 provider‟s equipment. STEP 4 Plug the provided Power Adapter into the power jack on S100 and the other end to a standard electrical wall socket. Wait for the system to boot up till the SYSTEM LED starts to blink. -
Page 15: Getting Started With The Configuration
Yeastar S100 Installation Guide Getting Started with the Configuration Yeastar S100 IP Phone System provides web-based configuration interface for administrator. The administrator can manage the device by logging in the Web interface. Access path: https://192.168.5.150:8088 User Name: admin ...
Need help?
Do you have a question about the S100 and is the answer not in the manual?
Questions and answers