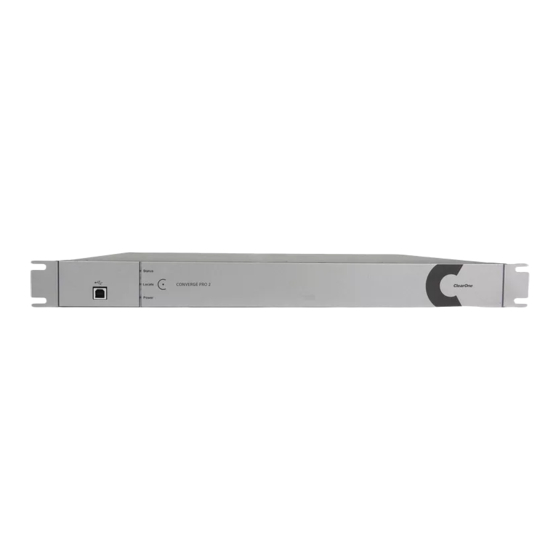
ClearOne CONVERGE PRO 2 Quick Start Manual
Professional audio conferencing and sound reinforcement systems
Hide thumbs
Also See for CONVERGE PRO 2:
- Reference manual (330 pages) ,
- Quick start manual (22 pages) ,
- Installation manual (11 pages)
Summary of Contents for ClearOne CONVERGE PRO 2
- Page 1 CONVERGE PRO 2 ® Next Generation Audio DSP Platform Professional Audio Conferencing and Sound Reinforcement Systems QUICK-START GUIDE...
-
Page 2: Table Of Contents
CONTROLS & CONNECTIONS CONVERGE Pro 2 Front Panels � � � � � � � � � � � � � � � � � � � � � � � � � � � � � � � � � � � � � � � � � � � � � � � � � � � � � � 4 CONVERGE Pro 2 Rear Panels �... -
Page 3: Converge Pro 2 Overview
CONVERGE Pro 2 devices operate on a standard analog telephone line and connect to the telephone system with a standard RJ-11 modu- lar jack� If you do not have an RJ-11 jack where you want to install your CONVERGE Pro 2, call your local telephone company for installa- tion�... -
Page 4: Important Safety Information
Class 2 Wiring IS REQUIRED for these devices� Wiring and install should only be performed by qualified personnel� For CONVERGE Pro 2 products that include a telephone circuit, Underwriters Laboratories (UL) requires these safety notifications: To reduce the risk of fire, use only No. -
Page 5: Unpacking
UNPACKING Use the illustrations below to verify that you have received all components� ClearOne is not responsible for product damage incurred during shipment� Inspect your shipment carefully for obvious signs of damage� If the shipment appears damaged, retain original boxes and packing material for inspection by the carrier, and contact them immediately�... -
Page 6: Mounting
MOUNTING Installation Your CONVERGE Pro 2 product comes pre-installed with rack mount ears that fit a standard 19” rack, and a screw/washer kit� Rack mounting eliminates the need for space between multiple units� Mount the unit by securing the rack-mount ears to two posts or mounting strips in the rack using the four screws and washers provided�... -
Page 7: Converge Pro 2 Rear Panels
CONVERGE Pro 2 Rear Panels 128 & 128SR Rear Panels MAC XX:XX:XX:XX:XX:XX P-Link PoE C-Link In Ethernet SSSS-YYWW-CMJJJ +5V 1 GPIO RS-232 P-Link Out C-Link Out 128D & 128SRD Rear Panels MAC XX:XX:XX:XX:XX:XX MAC XX:XX:XX:XX:XX:XX P-Link PoE C-Link In Ethernet... - Page 8 P-Link Out C-Link Out Telco CONVERGE Pro 2 Rear Panel Connectors AC Power: IEC connector, 100 – 240VAC auto-adjusting, 50/60Hz� Warning: This equipment must be connected to an AC mains socket outlet with a protective earthing connection� The third prong of this connector (ground) is an important safety feature� Do not attempt to disable this ground connection by using an adaptor or other method�...
-
Page 9: Application Programmer's Interface
Up to 6 peripheral devices can be connected to the same P-Link chain� You can connect 3 each of the Beamforming Mic Array 2 units + DIALOG 20 units per CONVERGE Pro 2 unit, or 6 Beamforming Mic Array 2 units with two CONVERGE Pro 2 units�...


Need help?
Do you have a question about the CONVERGE PRO 2 and is the answer not in the manual?
Questions and answers