Advertisement
Quick Links
Advertisement

Related Manuals for TBK vision RYK-2K49LVF3


Summary of Contents for TBK vision RYK-2K49LVF3
-
Page 1: Instruction Manual
IR Dome Camera Instruction Manual VER.:1.0, NO.:040142... - Page 2 Thank you very much for purchasing our product. Before operating this product, please read this instruction manual carefully to ensure proper use. 1. Safety Precautious CAUTION RISK OF ELECTRIC SHOCK. DO NOT OPEN! CAUTION : TO REDUCE THE RISK OF ELECTRICAL SHOCK, DO NOT OPEN COVERS. NO USER SERVICEABLE PARTS INSIDE.
- Page 3 3. Feature With built-in high quality CCD Camera and high performance Infrared Illuminator modules. Infrared Illuminator has effective range up to 20 meters and wide angle at 20°/ 50°, also assists cameras in providing a clear image when under completely dark area. Infrared Illuminator has built-in 24 pieces 850nm wavelength infrared Light-Emitting Diode.
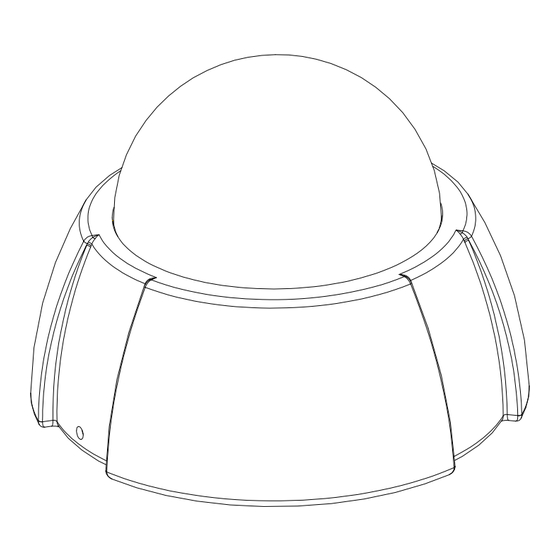
- Page 4 5. Installation & Operation (1) Please select the most suitable position on the wall or ceiling to install the camera. (2) Rotate the dome housing counterclockwise to remove it from the mounting base (shown on figure 1). (3) Set the mounting base onto the wall or ceiling and center it over the mounting hole, using the two retaining screws for the main body, supplied by the appurtenance bag (shown on figure 1).
- Page 5 Figure 2 (5) Once the picture appears on the monitor, open the cover, adjust the lens wrench to “NEAR←→FAR”, get the zoom view that you desire, and then adjust the focus wrench of the lens to obtain the best picture. After adjustment, tighten both wrenches. (shown on figure 3).
- Page 6 (6) DIP Switch Setting (shown on figure 4). Flickerless Function Set switch-OFF/ F.L. to Flicker to enable flickerless function, in this mode, the switch-AES/ OFF is auto disabled. AGC-Hi/ AGC-Lo Function Adjust the switch to AGC indicates AGC-Hi and OFF indicates AGC-Low.
- Page 7 (8) For lens adjustment, move the camera body (some model types limits the PCB board to180°rotational adjustment) and set the focus by turning the lens to the left or right direction. When the camera focus adjustment has been completed, rotate the dome housing clockwise to secure it to the mounting base (shown on figure 5).
-
Page 8: Specification
6. Specification According to the camera purchased, select and refer to the appropriate specification below: Color Camera 1/3” Color SONY 1/3” Color SONY Image Device Super HAD Hi-Res. Super HAD NTSC: 510 492 NTSC: 768 494 Picture Elements PAL: 500 582 PAL: 752 582 Resolution 380 TVL...
Need help?
Do you have a question about the RYK-2K49LVF3 and is the answer not in the manual?
Questions and answers