
Related Manuals for Siegenia AEROMAT mini


Summary of Contents for Siegenia AEROMAT mini
-
Page 1: Operating Instructions
INSTALLATION AND OPERATING INSTRUCTIONS AERO AEROMAT mini Window ventilator with optional turn lock. Window systems Door systems Comfort systems... -
Page 3: Table Of Contents
AEROMAT mini Contents General Information ........................... 4 Function ............................... 5 Installation of the AEROMAT mini ...................... 6 Installation of the turn lock ........................12 Operation of the turn lock ........................13 Care and maintenance ........................13 Technical specifications ........................14 Accessories ............................ -
Page 4: General Information
This is a physical effect and does not indicate a defect. • AEROMAT mini is only to be used if it is in a technically sound condition, and no modifications may be made to the unit and/or its components. -
Page 5: Function
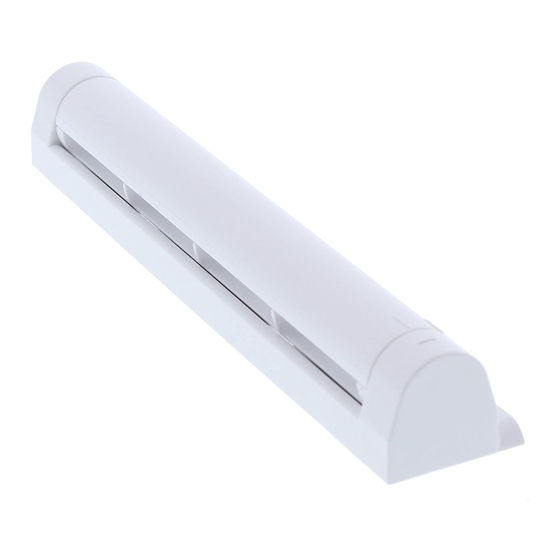
AEROMAT mini Function The AEROMAT mini is a passive air ventilator for installation in the upper third of the window. The room is ventilated as the indoor and outdoor air pressures are equalised (pressure differential). Normally, air flows from outside into the room. -
Page 6: Installation Of The Aeromat Mini
Installation and operating instructions Installation of the AEROMAT mini Assembly requirements • We recommend the installation of 2 AEROMAT mini per window (depending on the size of the window). • During installation, ensure that the air channels are unobstructed! Installation steps 1. - Page 7 Installation and operating instructions AEROMAT mini 2. Frame: Mark the installation position • Mark the position of the unit and fixing holes 3. Sash profile: Transfer the marking of the unit position 06.2016...
- Page 8 AEROMAT mini Installation and operating instructions 4. Sash profile: Remove stop and centre seals 5. Frame: Drill fixing holes • Drilling with jig • Drilling without jig 06.2016...
- Page 9 Installation and operating instructions AEROMAT mini 6. Cut the recesses (only for timber windows) • An appropriate timber protection treatment is necessary for all milled areas. • Cutting with a milling jig • Cutting without a milling jig 1. Mark the position of the centre of the unit (62.5)
- Page 10 AEROMAT mini Installation and operating instructions 7. Frame: Fix the AEROMAT mini • Use two suitable sash lifter screws (not included in the scope of delivery) to install the AEROMAT mini 06.2016...
- Page 11 • In order to maintain an unobstructed air flow through the window rebate, you must remove the stop and centre seals in the frame. • For vertical installation of the AEROMAT mini, the recesses of the seals must be positioned below the AEROMAT mini.
-
Page 12: Installation Of The Turn Lock
1. Mark the fixing holes (from the edge of the window frame to the centre hole: observe X dimension) and drill 2. Push the turn lock bracket under the sealing lip of the air outlet AEROMAT mini. 3. Fix the bracket using suitable sash lifter screws (e.g. 4 x 35 mm, not included in the scope of delivery) Timber/PVC X = 20 4. -
Page 13: Operation Of The Turn Lock
• Never clean the unit with a high-pressure cleaner or steam-jet cleaner. • Clean the AEROMAT mini and the turn lock with a cloth moistened with a mild soap solution or cleaning agent. -
Page 14: Technical Specifications
Jig: drilling jig LM 1 unit L4210090-522010 Jig: routing template timber for 9 mm groove axis 1 unit L4210070-522010 Jig: routing template timber for 13 mm groove axis 1 unit L4210210-522010 Turn lock for AEROMAT mini 25 unit L4210200-0V0040 06.2016... -
Page 15: Information Concerning Product Liability
SIEGENIA has not been obtained, is strictly prohibited. SIEGENIA accepts no liability whatsoever for any material losses or injury to people caused by failure to comply with this stipulation. - Page 16 Phone: + Industriestraße Telefax: + Wilnsdorf info@sie enia.com GERMANY www.sie enia.com Hun ary Phone: + SIEGENIA worldwide: Austria Phone: + Italy Phone: + Belarus Phone: + Poland Phone: + Benelux Phone: + Russia Phone: + China Phone: + South Korea Phone: +...
Need help?
Do you have a question about the AEROMAT mini and is the answer not in the manual?
Questions and answers