Table of Contents
Advertisement
Quick Links
REG-ML_EN.book Page 1 Wednesday, September 21, 2011 5:19 PM
Riso shall not be responsible for any damage or expense that might result from the use of this manual.
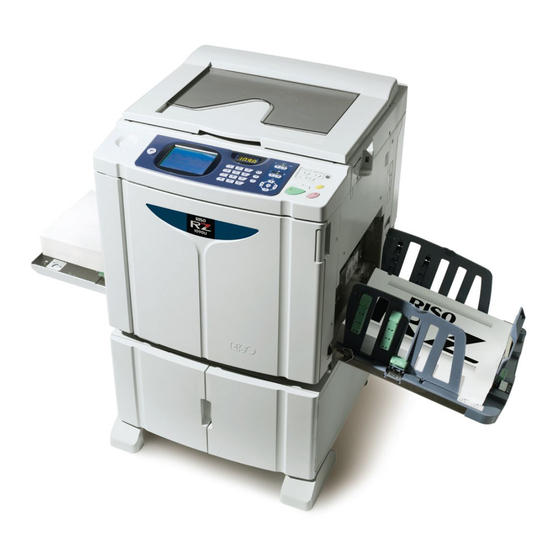
As we are constantly improving our products, the machine may differ in some respects
from the illustrations used in this manual.
Riso shall not be liable for any direct, incidental, or consequential damages of any nature,
or losses or expenses resulting from the use of this product or included manuals.
B
Caution:
• Make sure to read the important operational safety information.
• Store this manual close-by, and fully acquaint yourself with the printing machine.
is a registered trademark of RISO KAGAKU CORPORATION in Japan and other countries.
is a trademark of RISO KAGAKU CORPORATION.
is a trademark of RISO KAGAKU CORPORATION.
®
®
®
®
®
Adobe
Acrobat
Reader
and Adobe
Reader
are trademarks of Adobe Systems Incorporated.
- The information contained in this document is subject to change without notice.
Copyright © 2012 RISO KAGAKU CORPORATION
1
Advertisement
Table of Contents
Troubleshooting


Need help?
Do you have a question about the EZ5 Series and is the answer not in the manual?
Questions and answers