Table of Contents
Advertisement
Advertisement
Table of Contents

Related Manuals for Vimtag VT-361


Summary of Contents for Vimtag VT-361
- Page 1 Version 1.0...
-
Page 2: Table Of Contents
Table of Contents Introduction............3 Chapter 1............4 What Is the Vimtag VT-361?...........4 Chapter 2............6 Setup of the Camera..............6 Chapter 3............12 Settings and Options............12 Chapter 4............29 Installing and Using Apps for iPhone and Android....29... -
Page 3: Introduction
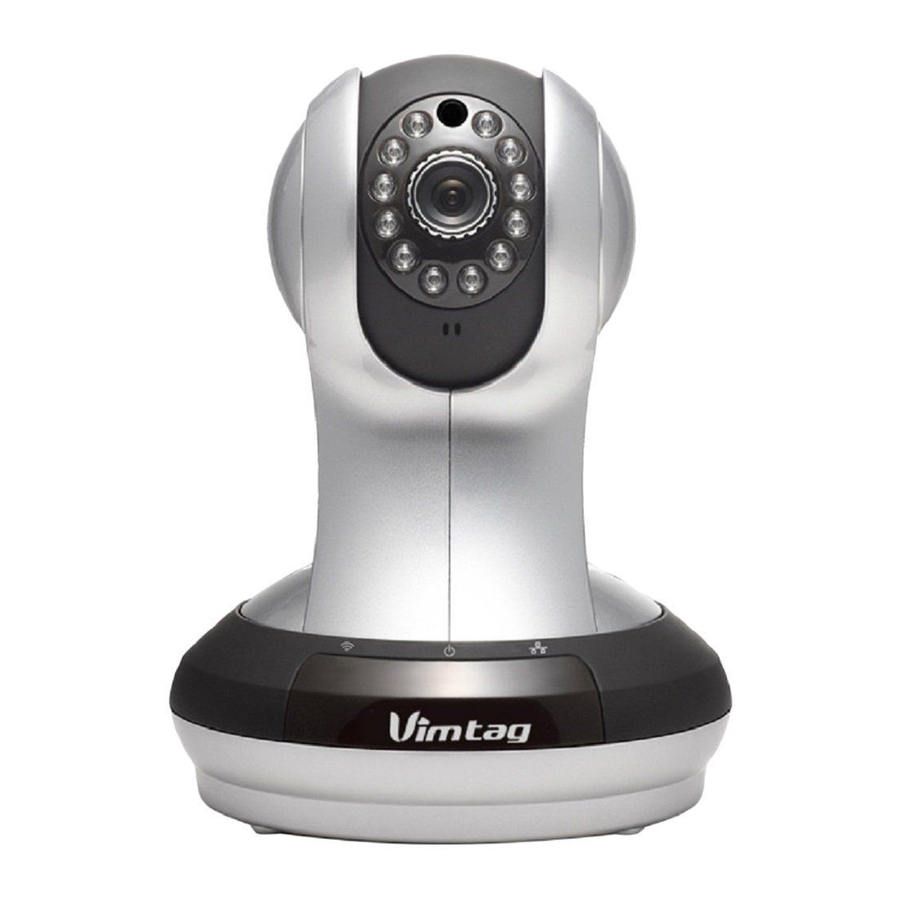
Introduction hank you for making the choice to purchase the Vimtag IP Camera VT-361. We’re sure that you will love everything that this fantastic security camera has to offer from the ease of setup and use to all of the fantastic features it offers. -
Page 4: Chapter 1
One of the other bene ts of using the Vimtag IP Camera is the cost, as you are well aware. Many security cameras, even those that are of low quality, have high price tags associated with them. - Page 5 Of course, these are only a handful of the different ways that you can use your new camera. Now, let's learn about the different features and options, as well as how you can use them with your new Vimtag.
-
Page 6: Chapter 2
• iOS System Requirements - iOS 5.0 or above • Android System Requirements - Android 2.1 or above WHAT ARE THE FUNCTIONAL FEATURES OF THE VIMTAG CAMERA? • Supports H. 264 stream, suitable for local, and cross-platform Internet access using CMOS sensor, 1280 * 720, 640 * 640 * 360, 640, 160 * 90 real-time video coding •... - Page 7 VIMTAG IP CAMERA VT-361 SECURITY CAMERA • Using the intelligence transmission technology (adaptive bandwidth, dynamic code rate adjustment, voice priority, jitter buffer) • Supports two-way voice intercom, adopt the telecommunication level of signal processing, (echo cancellation, noise suppression, voice balance, comfort noise sound and silence suppression) •...
- Page 8 If you don’t, it could result in equipment damage and invalidate your warranty. SETTING UP AN ACCOUNT You will also need to set up your account at www.vimtag.com. When you visit the site, you will see a sign up dropdown menu on the top right side of the screen.
-
Page 9: Connecting The Camera
If you are going to be running the camera through a wired connection, you will simply connect an Ethernet cable from the Ethernet interface to your router. It will then show up on your network. You can go to the Vimtag site and add the camera to get it started. - Page 10 The best thing to do is to try the camera in several different spots and check out how it actually looks by viewing the live feed from the Vimtag site mentioned above. You can then move and adjust the camera so you can get the best possible angles and location for your room.
- Page 11 VIMTAG IP CAMERA VT-361 SECURITY CAMERA it to the wall using a screw and a screwdriver. You can then place the camera on the tray of the mounting bracket, and keep it in place by tightening the screws by hand.
-
Page 12: Chapter 3
Chapter 3 Settings and Options he Vimtag camera features a number of different settings, all of which you will be able to access through the www.Vimtag.com site. Keep in mind that when you are changing the settings, which we will be discussing in this chap - ter, the camera must rst be live and active. - Page 13 VIMTAG IP CAMERA VT-361 SECURITY CAMERA GUEST PASSWORD Guest password is a special feature that allows you to create a special password for a guest. The guest is able to watch the live video, and will be able to move the camera using the various settings.
- Page 14 USER MANUAL This section has three different settings: • Auto • Day • Night The purpose of this setting is to help you get a quality picture based on the time of day or the settings in the room. Typically, you would use the Day setting when you are recording in a bright room, and Night when you are recording in a dark room.
- Page 15 The middle button can stop the camera’s movement. One of the fantastic things about the Vimtag IP Camera VT-361 is that you are able to control all of these settings remotely… from anywhere in the world. If you are...
- Page 16 USER MANUAL of what the camera is seeing at that time. On the left top corner, you will see a section called Records. This is the location where all of your snapshots will go. You can then examine the photos. If you want to remove one, you will be able to delete it.
- Page 17 VIMTAG IP CAMERA VT-361 SECURITY CAMERA • If there is a green circle to the left of the camera name, it means that the camera is online and ready. • If there is a yellow circle to the left of the camera name, it means that the camera is on, but the password has been changed, or the camera software needs to be upgraded.
- Page 18 USER MANUAL to add the new camera to your list. REFRESH ARROW The refresh arrow will simply refresh all of the cameras that you have located on the left side of your screen. HIDE Located just below the three icons we just discussed, you will notice an icon that has three lines with a dot to the left of each line.
- Page 19 VIMTAG IP CAMERA VT-361 SECURITY CAMERA photos that you’ve taken with that particular camera. UNDERSTANDING THE RECORDS PAGE On the records page, you will notice a table that features several different sec - tions: • Index • Image • Time •...
- Page 20 It features several sections: • Model - Shows the model of the camera you are using. In this case, it is the Vi - mtag IP Camera VT-361. • Software Version - This shows the current software version you are using.
- Page 21 VIMTAG IP CAMERA VT-361 SECURITY CAMERA want to allow on your cameras as guests. First, you need to enter your admin password, then create the guest password and con rm it. Click on apply, and your guest password is created and ready to go. The guest password added in this area will only work for the particular camera that you choose.
- Page 22 USER MANUAL In this tab, you are able to change the settings for the display that’s on your video screen. This includes: • Display Text - Add text that will show up on the video. You could choose to add the same text as the camera’s nickname, so you can tell simply by looking at the live video which camera you are watching.
- Page 23 VIMTAG IP CAMERA VT-361 SECURITY CAMERA boot, and then it should be recognized. You are able to put up to a 32GB card into the camera, which should be able to record roughly 60 hours worth of video. At the end of the 60 hours, the card will record over the oldest segments rst.
- Page 24 USER MANUAL connected to the camera. The settings aren’t changeable with external devices, and most people will never have to worry about this setting. Once again, when you do make changes on the sensitivity settings, you need to hit the apply button to ensure they go through. Alarm Action Under the Alarm Action tab, under the name section at the top, you will be able to choose between Motion and I/O alarm.
- Page 25 VIMTAG IP CAMERA VT-361 SECURITY CAMERA Alert On button to ensure the alerts are working. If the button says Turn Alert Off, it is already on, so do not click it again! On the Android and iPhone app, whenever there is a motion alert, it will send you an alarm, and it will send you a photo of what’s happening.
- Page 26 USER MANUAL • 08:00 - 8AM • 09:00 - 9AM • 10:00 - 10AM • 11:00 - 11AM • 12:00 - 12 Noon • 13:00 - 1PM • 14:00 - 2PM • 15:00 - 3PM • 16:00 - 4PM • 17:00 - 5PM •...
- Page 27 VIMTAG IP CAMERA VT-361 SECURITY CAMERA you can change the time manually if you prefer. You want to have the correct date and time so you can schedule your recordings appropriately. SYSTEM Under system, you will see three sections. The rst is Online Upgrade, which is very important, and one that you should check on a monthly basis.
- Page 28 USER MANUAL OTHERS Under the section labeled Others, you will nd your basic audio settings. You have sliders for the Speaker and the Microphone. You can make the volume higher or lower with these sliders. Sliding to the right makes it go higher, and sliding to the left makes it lower.
-
Page 29: Chapter 4
You can use the interface on your computer at the www.Vimtag.com site, or you can download an app for your iOS or Android device - it will work with both phones and tablets. Let’s examine how you can get and set up the app on each of these different platforms. - Page 30 VIMTAG IP CAMERA VT-361 SECURITY CAMERA After you’ve signed into the system, click on the three lined icon in the top right of the screen. This will bring up a number of options, including noti cation center set password, and check APP soffware version ,clear cache. and exit.
- Page 31 USER MANUAL Tapping the record icon will turn it red, and it will then have an indicator that will ash while the recording is in process. Also, if you leave this screen when you are recording manually, the video recording will stop and the footage will save to Smart phone automatically.
- Page 32 VIMTAG IP CAMERA VT-361 SECURITY CAMERA CONTROLLING THE CAMERA MOVEMENT Moving the camera on your phone or tablet is easy. When you have a live image on your screen, you can swipe to the right or the left to move your camera in that direction.
- Page 33 USER MANUAL MANAGING THE CAMERAS What happens if you want to manage the actual cameras in your setup? The app makes that nice and easy as well. Choose the camera that you want to manage on the main device list screen that shows the cameras you have added. Press and hold on that particular camera, and the option for Settings and Delete will appear.
- Page 34 VIMTAG IP CAMERA VT-361 SECURITY CAMERA made your changes, tap on apply to keep the changes. • SD Card - When you have an SD card installed in the camera, its status and capacity will appear in this section. You will be able to enable or disable the case, check the status, capacity, usage, and available space.
- Page 35 THE ANDROID APP DOWNLOAD THE APP To use the Vimtag app on your Android device, you will need to be running Android OS2.1 or later, and you need to have a CPU that’s at least 600MHz. A. Scan the barcode OR download the "Vimtag" APP and install it.
- Page 36 VIMTAG IP CAMERA VT-361 SECURITY CAMERA WORKING WITH THE SYSTEM Again, the controls are very similar from one device to the next. Like the iPhone, the following icons are located at the top of the video im- age on the screen: •...
- Page 37 USER MANUAL MANAGING THE CAMERAS It is also possible to manage each of the different cam - eras you have set up. To manage the camera, click the camera image. You will then be able to go into the settings section and make changes that will only affect that particular camera.
- Page 38 VIMTAG IP CAMERA VI-361 SECURITY CAMERA • OSD (On Screen Display) - On the OSD screen, you can con gure what text will appear on the video screen while you are watching it. You can choose to add a display name, date, time, and day of the week by tapping on each button. You can have all, some or none of this information displayed based on your preferenc - es.
- Page 39 The Vimtag IP Camera VT-361 is a wonderful camera and we’re sure you will get plenty of use out of the device. Refer to this manual if you have any questions about the operations of the camera.
Need help?
Do you have a question about the VT-361 and is the answer not in the manual?
Questions and answers