Table of Contents
Advertisement
Quick Links
Advertisement
Table of Contents

Subscribe to Our Youtube Channel
Related Manuals for Turn of the century 20554


Summary of Contents for Turn of the century 20554
-
Page 1: Ceiling Fan
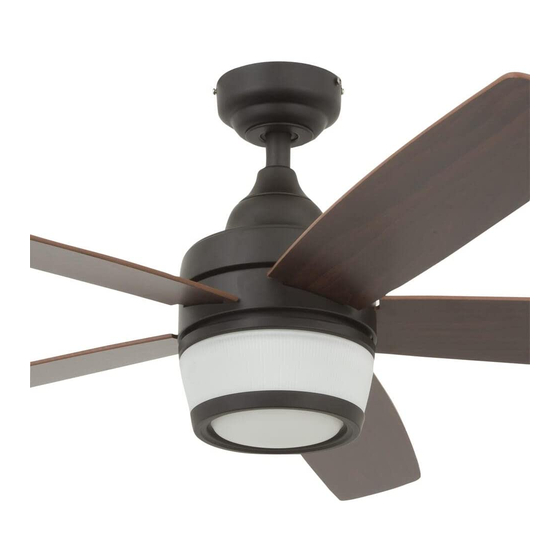
48”TAYLOR CEILING FAN Owner’s Manual Models #20554 If a problem cannot be remedied or you are experiencing difficulty in installation, please contact the Service Department: 1-877-459-3267, 9 a.m.- 5 p.m. Central time. Turn of the Century 9144 • 120515... -
Page 2: Package Contents
16. Closemount Screw (x 3) 22. Downrod Clip 17. Set Screw (x 2) 23. Downrod Pin 18. Blade Washer (X 15) Note: Some extra hardware has been included. The quantity listed above is the number required for installation. HARDWARE CONTENTS Turn of the Century... -
Page 3: Mounting Options
Angled Ceiling Mount is best suited for angled or vaulted ceilings. A longer downrod is sometimes necessary to ensure proper blade clearance from the ceiling. If using the angle mount, check to ensure the ceiling angle is not steeper than 10°. Turn of the Century... -
Page 4: Safety Instructions
NOTE: The fan weight is Net Weight: 17.4 lb (7.91 kg). Be sure the outlet box (sold separately) is securely attached to the building structure and is marked “Acceptable For Fan Support”. Failure to do so can result in serious injury. Turn of the Century... - Page 5 Proceed to Step 9. DOWNROD MOUNT 4. Remove the downrod pin and downrod clip from the downrod. Then, loosen but don’t remove the two set Downrod Clip screws in the yoke of the motor assembly. Set Screw Downrod Yoke Turn of the Century...
- Page 6 WARNING: The fan and/or downrod should not rotate in the mounting bracket if installed correctly. Failure to align the slot in the downrod ball with the tab may result in fan falling causing serious injury or death. 8. Insert receiver into the mounting bracket. Turn of the Century...
- Page 7 11. Insert each blade into one of the slots on the side of the motor assembly. Then, use three blade screws and Slot blade washers to secure each blade to a blade mount. Blade Mount Blade Washer Blade Screw Blade Turn of the Century...
- Page 8 -- positive (+) to positive (+) and negative (-) to negative (-). Replace the battery cover. If battery is Battery Compartment installed correctly, the LED indicator on the front of the remote transmitter should illuminate. Battery Door Battery Turn of the Century...
- Page 9 E - Turns the light on and off. Press and hold this button to dim or brighten when using incandescent bulbs. F - D/CFL Switch: Located inside the battery compartment in remote transmitter. IMPORTANT: The dimmer function does NOT work with CFL bulbs. Turn of the Century...
-
Page 10: Troubleshooting
5 not operate: seconds. The LED indicator will flash 3 times. When syncing is complete, the fan will start on the low speed. 2. Replace the transmitter battery with a new 12-volt battery. Turn of the Century... -
Page 11: Limited Lifetime Warranty
If your Turn of the Century Ceiling Fan motor fails at any time during the lifetime of the original purchaser due to defects in material or workmanship, we will provide a replacement part free of charge.
Need help?
Do you have a question about the 20554 and is the answer not in the manual?
Questions and answers