Table of Contents
Advertisement
Quick Links
Advertisement
Table of Contents

Subscribe to Our Youtube Channel
Related Manuals for Turn of the century 20501


Summary of Contents for Turn of the century 20501
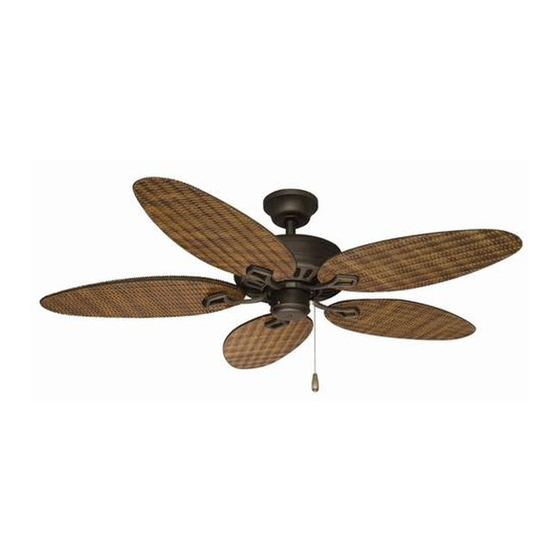
- Page 1 52” BAYTOWNE CEILING FAN Owner’s Manual Models #20501 If a problem cannot be remedied or you are experiencing difficulty in installation, please contact the Service Department: 1-877-459-3267, 9 a.m.- 5 p.m. Central time. Turn of the Century 9146 • 120515...
-
Page 2: Package Contents
20. Wire Connector (x 3) 16. Blade Screw (x 15) 21. Blade Isolators (x 5) 17. Closemount Screw (x 3) Note: Some extra hardware has been included. The quantity listed above is the number required for installation. HARDWARE CONTENTS Turn of the Century... -
Page 3: Mounting Options
Angled Ceiling Mount is best suited for angled or vaulted ceilings. A longer downrod is sometimes necessary to ensure proper blade clearance from the ceiling. If using the angle mount, check to ensure the ceiling angle is not steeper than 16°. Turn of the Century... -
Page 4: Safety Instructions
NOTE: The fan weight is Net Weight: 16.3 lb (7.4 kg). Be sure the outlet box (not included) is securely attached to the building structure and is marked “Acceptable For Fan Support”. Failure to do so may cause the fan to fall, which could result in serious injury or death. Turn of the Century... - Page 5 Proceed to Step 8. DOWNROD MOUNT 4. Remove the downrod pin and downrod clip from the Downrod downrod. Then, loosen but do not remove the two set Clip screws in the yoke. Downrod Set Screw Yoke Turn of the Century...
- Page 6 Important: After the connections have been made, the wires should be turned upward and pushed carefully up into the outlet box. Place the black and white wire connections on opposite sides of the outlet box. Turn of the Century...
- Page 7 12. Secure the blade arm to the underside of the motor using a blade isolator and motor screws removed in Step 10. Secure each blade arm to motor before moving to the next. Motor Blade Isolator Motor Blade Arm Screw Turn of the Century...
- Page 8 Switch In cooler weather, push the reverse switch up which will result in upward airflow that can help move stagnant, hot air off the ceiling area. Turn of the Century...
-
Page 9: Troubleshooting
4. Switch one blade with a blade from the opposite side. Or balance the fan using the balancing kit. 5. If blade wobble is still noticeable, interchanging two adjacent (side by side) blades can redistribute the weight and possibly result in smoother operation. Turn of the Century... -
Page 10: Limited Lifetime Warranty
If your Turn of the Century Ceiling Fan motor fails at any time during the lifetime of the original purchaser due to defects in material or workmanship, we will provide a replacement part free of charge.
Need help?
Do you have a question about the 20501 and is the answer not in the manual?
Questions and answers