Table of Contents
Advertisement
Quick Links
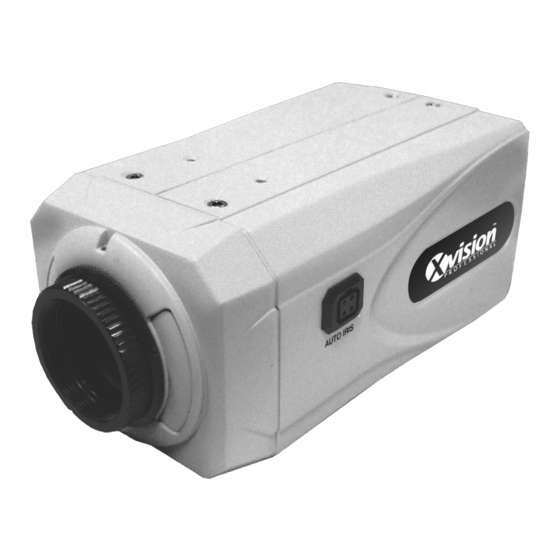
XPT600
Model:
B/W 700 TVL Colour 580 TVL,
True Day/Night Camera
Before you begin
•
Please unpack the box carefully and identify that all the parts are present.
The camera is suitable for indoor or outdoor use (when used with an optional external
housing). Please bear in mind the following points when choosing a mounting position.
•
The camera must be positioned so that it will not point directly into the sun (sunrise and
sunset) or any bright light, as this may cause damage to the camera.
•
Make sure you use only the recommended power supply. Damage caused to the camera by
incorrect voltage or wiring is not covered by the warranty.
Model:
XPT600
B/W 700 TVL Colour 580 TVL,
True Day/Night Camera
Advertisement
Table of Contents

Related Manuals for XVision XPT600


Summary of Contents for XVision XPT600
-
Page 1: Before You Begin
XPT600 Model: B/W 700 TVL Colour 580 TVL, True Day/Night Camera Before you begin • Please unpack the box carefully and identify that all the parts are present. The camera is suitable for indoor or outdoor use (when used with an optional external housing). -
Page 2: Safety Precautions
When in use please do not touch the camera body as it can get hot. 2. Product Description The XPT600 camera is designed for high risk applications. It offers very high resolution images of 580 TVL in Colour mode and 700 TVL in B/W mode, with a low lux sensitivity of 0.0003 lux. - Page 3 3. Features 700 TVL resolution images in B/W mode and 580 TVL in Colour. Sony 1/3" CCD Image Sensor, Samsung DSP Chip & Xvision X4H DSP Software Accepts any Industry Standard CS mount manual, fixed or auto iris lens (lens not supplied) Dynamic Night View technology provides clear images without the need for IR LEDs down to 0.0003 lux, this is achieved by using a...
-
Page 4: Wiring The Camera
5. Connections 5.1 Using a CS mount lens 1. Remove the dust cap from the end of the camera and insert the CS mount lens carefully to avoid damaging the screw thread. 2. If using an Auto Iris lens insert the plug on the lens trailing lead into the conector on the side of the camera. -
Page 5: Camera Osd Control
Rear of Camera- Connections and Controls 6. Camera OSD Control To view the camera’s On Screen Display (OSD) menus connect the camera to a monitor, via the BNC connector. To change any settings within the OSD menu and sub menus use the push button control on the rear of the camera. -
Page 6: Osd Menu Structure
7. OSD Menu Structure SET UP MENU LENS Option MANUAL EXPOSURE SHUTTER SENS-UP RETURN WHITE BALANCE INDOOR OUTDOOR AWC-SET MANUAL BACKLIGHT SDNR DAY/NIGHT COLOUR AUTO IMAGE ADJ. FREEZE V-REV H-REV D-ZOOM SHARPNESS RETURN SPECIAL CAMERA ID SYNC MOTION DET PRIVACY LANGUAGE RESET RETURN... -
Page 7: Setup Menu Functions
8. SETUP Menu Functions 1 LENS <Option: DC / MANUAL> Selects lens type. 2 EXPOSURE <Option: SHUTTER / AGC / SENS-UP / RETURN> Adjusts exposure settings. SHUTTER : FLK - Flicker-less mode (FLK) reduces on-screen flickering. ESC - Electronic Shutter Control (AUTO) adjusts brightness level on screen. - Page 8 8. SETUP Menu Functions (continued) INDOOR : Select this when the colour temp. is 4500°K - 8500°K. OUTDOOR : Select this when the colour temp. is 1800°K - 10500°K (sodium light inclusion). AWC -> SET : Point the camera towards a sheet of white paper and press the SET button.
-
Page 9: Image Adj
8. SETUP Menu Functions (continued) 7 IMAGE ADJ. <Option: FREEZE / V-REV / H-REV / D-ZOOM / SHARPNESS / RETURN> FREEZE: You can view still or moving pictures. V-REV: You can flip the picture vertically on the screen. H-REV: You can flip the picture horizontally on the screen. D-ZOOM: You can use a digital zoom of x1-x10. - Page 10 9. SPECIAL Menu Functions (continued) UP, DOWN, LEFT, RIGHT menu control = Select a character, then press (SETUP) MENU to accept it. The character is saved and the title cursor at the bottom of the screen moves to the next position. <- ->...
-
Page 11: Motion Det
9. SPECIAL Menu Functions (continued) 3 MOTION DET <Option: OFF / ON> Detect moving objects in 8 different MOTION DET areas on screen; ‘MOTION DETECTED’ is displayed on the screen when 1. SENSITIVITY AREA 1 2. AREA MODE movement is detected. 3. - Page 12 9. SPECIAL Menu Functions (continued) 4 PRIVACY <Option: OFF / ON> PRIVACY AREA SETUP 1. AREA SEL AREA1 2. AREA MODE BOTTOM 3. MASK COLOUR GRAY LEFT 4. TRANSP RIGHT 5. RETURN Press SET to Restore Mask up to 8 areas of the screen from video monitoring. AREA SEL = Select up to 8 motion detection areas.
- Page 13 9. SPECIAL Menu Functions (continued) 7 RESET Restore all factory default settings. 8 RETURN Return to the main SETUP menu.
-
Page 14: Specifications
Picture Type: Day/Night (B/W & Colour) Image Sensor: Sony 1/3” CCD DSP: Samsung DSP Chip & Xvision X4H DSP Software Resolution: 700 TVL B/W 580TVL Colour Lens Viewing Angle: Lens not supplied Infra Red Nightvision: Yes (using optional IR lamps) Minimum Illumination: 0.0003 Lux... -
Page 16: Technical Support
TECHNICAL SUPPORT: For Technical Support for any Xvision product please contact your local distributor. LIMITED WARRANTY: This product is supplied with a limited 3 Year warranty. The Warranty excludes products that have been misused, (including accidental damage) and damage caused by normal wear and tear. In the unlikely event that you encounter a problem with this product, it should be returned to the place of purchase.
Need help?
Do you have a question about the XPT600 and is the answer not in the manual?
Questions and answers