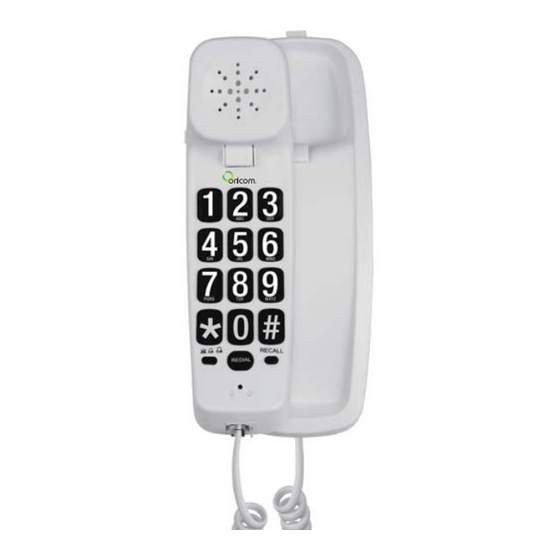
Summary of Contents for Oricom care60
- Page 1 Amplified corded phone Keep this user guide for future reference Always retain your proof of purchase in case of warranty service and register your warranty on line:- www.oricom.com.au...
-
Page 2: General Information
General Information Warnings • The telephone is designed for indoor use only. Do not install the telephone in areas where there is the risk of an explosion, excessive exposure to smoke, dust, vibrations, chemicals, moisture and heat. • Do not install in damp locations such as a bathroom or laundry, do not expose the unit to direct sunlight. -
Page 3: Location Of Controls
Location of controls 1. RECALL setting switch 2. LED, phone ringing/Amplification +24dB 3. Earpiece Boost & Receiver volume slide switch 4. Earpiece 5. On-hook contact 6. Ringing volume slide control 7. Microphone 8. Handset cord socket 9. RECALL button 10. REDIAL button 11. -
Page 4: Connecting The Telephone
Connecting the telephone 1. Plug one end of the curly cord into the socket on the handset. 2. Plug the other end of the curly cord into the socket underside of the base. Thread the curlycord through the groove toward the back of the base. -
Page 5: Network Services
Recall Press the Recall button followed by the extension number to transfer calls when connected to a PBX phone system (TBR only). Net work services Access to additional network services can be gained by using the Recall button , * and # keys. Contact your network operator for more information. -
Page 6: Customer Support
Troubleshooting section of this user guide as well as “Frequently Asked Questions” on our website www.oricom.com.au. If you have further questions about using the product after reviewing the resources above or would like to purchase replacement parts or accessories please call our Customer Support Team. - Page 7 How to make a claim under Warranty in Australia Oricom has a simple warranty process for you to follow: details follow. shooting with you if your to your product. include all of the following: returning any faulty product to us. You must arrange and pay any...
-
Page 8: Warranty Information (Australia)
No change to the conditions of this Warranty is valid unless it is made in writing and signed by an authorised representative of Oricom. Oricom will not be in breach of a warranty expressly set out in this User Guide or under the Competition and Consumer Act 2010 and excludes... - Page 9 4. modification to the product or services carried out on the product by anyone other than Oricom or Oricom’s authorised service provider. Oricom will not be liable for any damages caused by the product or the failure of the product to perform, including any lost profits or savings or special, incidental or consequential damages.


Need help?
Do you have a question about the care60 and is the answer not in the manual?
Questions and answers