
Subscribe to Our Youtube Channel
Related Manuals for Oricom CARE80


Summary of Contents for Oricom CARE80
-
Page 1: User Guide
CARE80 Amplified Phone with direct dial picture buttons User Guide Please keep this user guide for future reference. Care80 user manual.indd 2009-11-5 17:37:59... - Page 2 Care80 user manual.indd 2009-11-5 17:37:59...
-
Page 3: Table Of Contents
Table of contents General Information ...............2 Installation ................4 Location of Controls ...............6 Operation ................7 Memory ................10 Consumer Support and Troubleshooting ....... 11 Care80 user manual.indd 2009-11-5 17:38:00... -
Page 4: General Information
• S etting the receiver volume to maximum may, under some situations cause ear damage. We suggest returning the handset volume control to the “0” position after each call. • D o not install in damp locations such as a bathroom or laundry, do not expose the unit to direct sunlight. Care80 user manual.indd 2009-11-5 17:38:00... - Page 5 3 devices with a REN of 1 (RN of 1) with no degradation to the product’s performance. Exceeding this limit may cause the volume of the ringer in any phone to decrease or not ring at all. Care80 user manual.indd 2009-11-5 17:38:00...
-
Page 6: Installation
5. Position the mounting holes on the base of the phone over the two protruding screws on the wall plate. Gently push the phone flush against the wall plate then slide the phone downwards locking it into place. Care80 user manual.indd 2009-11-5 17:38:00... - Page 7 4. Plug one end of the telephone cable into the TEL. LINE jack at the back of the base. 5. Plug the other end of the telephone cable into the telephone socket, then align the base’s keyhole slots with the screws and slide the phone downward to secure it. Care80 user manual.indd 2009-11-5 17:38:00...
-
Page 8: Location Of Controls
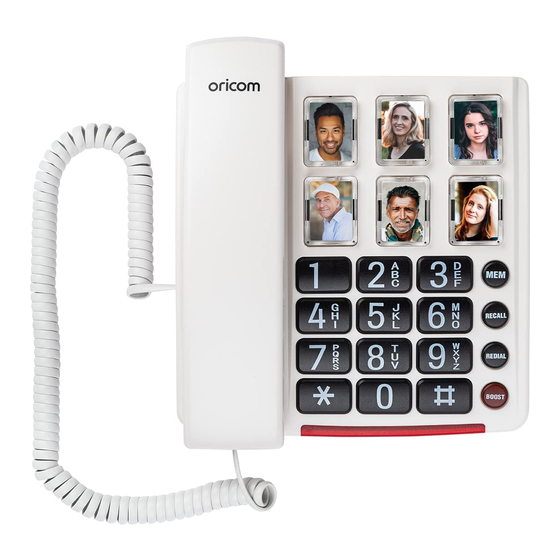
3. Coil cord socket 12. Tone Hi/Low switch 4. Receiver volume controller 13. Redial button 5. Store button 14. Amplify key 6. Telephone line socket 15. Ring LED indicator 7. One touch button(M1-M6) 16. Keypad 8. Ring Hi/Mid/Off switch 17. Amplify LED indicator 9. Recall Time Switch Care80 user manual.indd 2009-11-5 17:38:02... -
Page 9: Operation
If needed for phone banking or behind a PBX system. You can insert a 3.6 seconds pause while dialing or storing a number into MEM. Press REDIAL button at the desired point in number to insert a pause. Care80 user manual.indd 2009-11-5 17:38:03... -
Page 10: Ringer Volume Control
The ringer sound level can be adjusted by sliding the RINGER switch to select high (HI) or soft (MID) sound level. When you don’t want to be disturbed, slide the RINGER switch to the Off position. The bright Red light (LED) on the base will flash with all incoming calls. Care80 user manual.indd 2009-11-5 17:38:03... -
Page 11: Volume Control
This unit is compatible with most inductively coupled hearing aids on the market. However due to the wide range of hearing aids available we cannot guarantee that the unit will function error free with every model. Care80 user manual.indd 2009-11-5 17:38:03... -
Page 12: Memory
3. Enter the telephone number to be stored (up to 22 digits). Press STORE button. 4. Press either 0-9 to store the number. Dialing using Two-touch Memories 1. Lift the handset and wait for a dialling tone. 2. Press MEM button. 3. Select a memory location by pressing the relevant keypad digit 0-9. Care80 user manual.indd 2009-11-5 17:38:03... -
Page 13: Consumer Support And Troubleshooting
Warranty Information (Australia) (a) Warranty Oricom warrants that the product is free from defects in materials and workmanship for a period of 12 months effective from the date of purchase. This warranty in no way affects your statutory warranty under the Trade Practices Act 1974 or any other similar legislation. - Page 14 (b) Exclusion and limitation of liability Oricom will not be in breach of a warranty or condition expressly stated in this User Guide or the Warranty Card or implied by the Trade Practices Act and excludes any liability arising under any statutory or common law for...
- Page 15 Care80 user manual.indd 2009-11-5 17:38:03...
-
Page 16: Customer Support
Australia Oricom International Pty Ltd Locked Bag 658 South Windsor, NSW 2756 Customer Support Email: support@oricom.com.au Web: Australia www.oricom.com.au New Zealand www.oricom.co.nz Phone: (02) 4574 8888 Fax: (02) 4574 8898 Care80 user manual.indd 2009-11-5 17:37:58...
Need help?
Do you have a question about the CARE80 and is the answer not in the manual?
Questions and answers