Table of Contents
Advertisement
Quick Links
Download this manual
See also:
Owner's Manual
Advertisement
Table of Contents

Summary of Contents for Nady Systems Encore I
- Page 1 VHF Wireless Microphone System...
-
Page 2: Table Of Contents
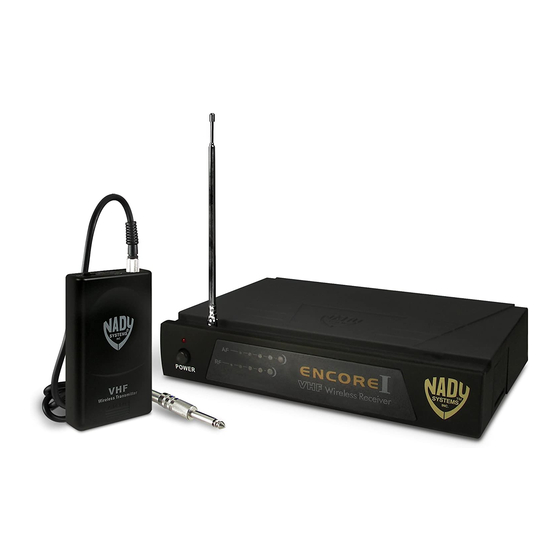
This manual will first list the features of the Encore I and then will take you step by step to show you how to operate your new system. After reading the receiver instructions, turn to the section of the booklet that covers the type of transmitter used with your new system. -
Page 3: System Features
ENCORE I RECEIVER 1. Rackmounting the Receiver There are 2 options available for rackmounting the Encore I receiver: singly or side- by-side with another Encore Series receiver. a. Single mounting: Remove the receiver SIDE MOUNT CLIP (1) from each side of the receiver (as shown) and slide in the optional ERM-12 RACK EARS (9). - Page 4 5. Connecting the Audio Output The Encore I receiver provides both a fixed mic level BALANCED AUDIO OUTPUT XLR (14) and an adjustable line level UNBALANCED AUDIO OUTPUT 1/4" JACK (13). The level from the UNBALANCED OUTPUT is controlled by the rear panel VOLUME CONTROL (6).
-
Page 5: Wht-15 Handheld Microphone Transmitter
Connection section of the above Encore I receiver instructions. The AF LEVEL LED DISPLAY (5) on the Encore I receiver will light up to 5 LEDs (4 green and 1 red) for all input signals. Occasional flickering on and off during use of the top red LED indicator in this display is normal, however if the red LED stays on continuously, it means the signal is too loud and there is the possibility of overload distortion. -
Page 6: Wlt-15 Lavalier/Lapel Or Headworn Microphone Bodypack Transmitter
Connection section of the above Encore I receiver instructions. The AF LEVEL LED DISPLAY (5) on the Encore I receiver will light up to 5 LEDs (4 green and 1 red) for all input signals. Occasional flickering on and off during use of the top red LED indicator in this display is normal, however if the red LED stays on continuously, it means the signal is too loud and there is the possibility of overload distortion. -
Page 7: Wgt-15 Instrument Bodypack Transmitter
. The AF LEVEL LED DISPLAY (5) on the Encore I receiver will light up to 5 LEDs (4 green and 1 red) for all input signals. Occasional flickering on and off during use of... -
Page 8: The Link 2™ Plug-In Transmitter
Connection section of the above Encore I receiver instructions. The AF LEVEL LED DISPLAY (5) on the Encore I receiver will light up to 5 LEDs (4 green and 1 red) for all input signals. Occasional flickering on and off during use of the top red... -
Page 9: Specifications
Phantom Power ON/OFF Switch – Turns the phantom power ON/OFF Battery Compartment Release Button – Press to release XLR connector 9V Alkaline Battery ENCORE I OVERALL SYSTEM PERFORMANCE Frequency Response Dynamic Range Total Harmonic Distortion RF Carrier Frequency Range... -
Page 10: Service
(if out of warranty). Make sure the R/A Number is clearly marked on the outside of the package and enclose a cashier’s check or money order (if not prepaid with a credit card). Ship the unit prepaid to: Nady Systems, Inc., Service Department, 6701 Shellmound Street, Emeryville, CA 94608. Include a brief description of the problems you are experiencing. - Page 11 (1) this device may not cause harmful interference and (2) this device must accept any interference received, including interference that may cause undesired operation. NADY SYSTEMS, INC. 6701 Shellmound Street • Emeryville, CA 94608 USA Tel: 510/652-2411 • Fax: 510/652-5075...


Need help?
Do you have a question about the Encore I and is the answer not in the manual?
Questions and answers