Sign In
Upload
Download
Table of Contents
Contents
Add to my manuals
Delete from my manuals
Share
URL of this page:
HTML Link:
Bookmark this page
Add
Manual will be automatically added to "My Manuals"
Print this page
×
Bookmark added
×
Added to my manuals
Manuals
Brands
golmar Manuals
Intercom System
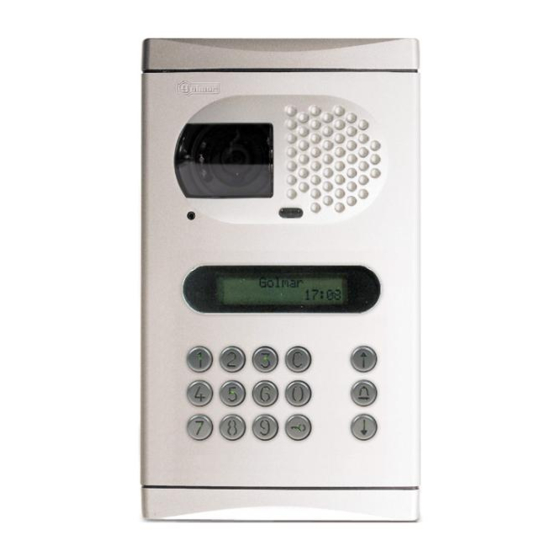
3403
Instruction manual
golmar 3403 Instruction Manual
Hide thumbs
1
Table Of Contents
2
3
4
5
6
7
8
9
10
11
12
13
14
15
16
17
18
19
20
21
22
23
24
25
page
of
25
Go
/
25
Contents
Table of Contents
Bookmarks
Table of Contents
Table of Contents
Introduction
Index
System Characteristics
Starting Recommendations
System Operation
Door Panel Installation
Memory Banks
Computer Connection
Final Adjustments
Door Panel Programming
Access Code
Programming Menues
Fast Repertory Search
Power Supply Installation
Lock Release Installation
Platea Plus Monitor
Description
Function Push Buttons
EL561 Module
Monitor Connector Description
Monitor Installation
Programming
Description
Function Push Buttons
Telephone Installation
Programming
Installation Diagrams
Audio Installation
Optional Connections
External Lock Release Activation
Auxiliary Devices Activation
Intercom Function
Door Bell Push Button Connection
Troubleshooting Hints
Advertisement
Quick Links
1
Table of Contents
2
Door Panel Programming
3
Access Code
4
Programming Menues
5
Programming
6
Troubleshooting Hints
Download this manual
T3403EN
rev.0204
Audio and Video
door entry system
digital installation
with coded panel
Stadio Plus
Instructions manual
Table of
Contents
Previous
Page
Next
Page
1
2
3
4
5
Advertisement
Table of Contents
Need help?
Do you have a question about the 3403 and is the answer not in the manual?
Ask a question
Questions and answers
Related Manuals for golmar 3403
Intercom System golmar 295 Series Instruction Manual
Audio and video door entry system digital installation (17 pages)
Intercom System golmar 295 Series Instruction Manual
(7 pages)
Intercom System golmar 4403 Instruction Manual
(25 pages)
Intercom System golmar T500EN Instruction Manual
Audio and video door entry system digital (18 pages)
Intercom System Golmar TSzena ML Instruction Manual
Video door entry system monitor digital installation (14 pages)
Intercom System golmar GB2 Nexa Modular User Manual
(28 pages)
Intercom System golmar T22ML Surf Instruction Manual
Audio door entry system (11 pages)
Intercom System golmar Stadio Plus Instruction Manual
(52 pages)
Intercom System golmar SV805AL Instruction Manual
Rock series (6 pages)
Intercom System golmar CE-990 Plus Instruction Manual
(19 pages)
Intercom System golmar Stadio Plus 4113/AL Instruction Manual
(11 pages)
Intercom System golmar SV-372S Colour Instruction Manual
(18 pages)
Intercom System golmar AS-220S Instruction Manual
(16 pages)
Intercom System golmar T631/PLUS Instruction Manual
Audio and video door entry system (52 pages)
Intercom System golmar T505i Stadio Plus Instruction Manual
Audio door entry system for residential complexes 4+'n' installation (11 pages)
Intercom System golmar Platea Uno Installation Manual
(6 pages)
This manual is also suitable for:
4403
5403
5403/color
295 series
Table of Contents
Save PDF
Print
Rename the bookmark
Delete bookmark?
Delete from my manuals?
Login
Sign In
OR
Sign in with Facebook
Sign in with Google
Upload manual
Upload from disk
Upload from URL


Need help?
Do you have a question about the 3403 and is the answer not in the manual?
Questions and answers