Sign In
Upload
Download
Table of Contents
Contents
Add to my manuals
Delete from my manuals
Share
URL of this page:
HTML Link:
Bookmark this page
Add
Manual will be automatically added to "My Manuals"
Print this page
×
Bookmark added
×
Added to my manuals
Manuals
Brands
Belling Manuals
Oven
BEL FS50EDOC BLK
Operating and installation instructions
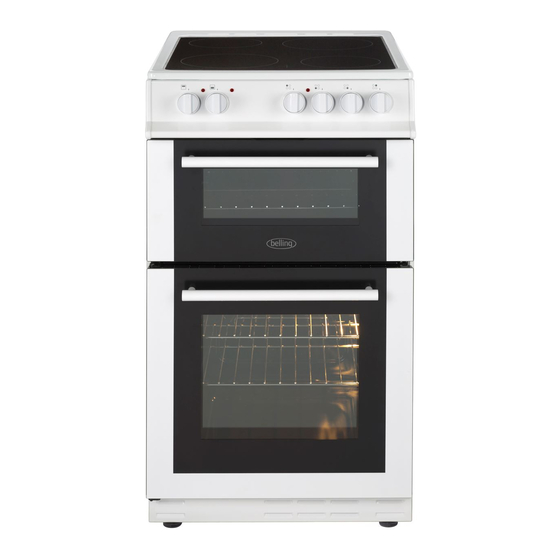
Belling BEL FS50EDOC BLK Operating And Installation Instructions
Electric double oven
Hide thumbs
1
2
3
4
5
6
7
8
9
10
11
12
13
14
15
16
17
18
19
20
21
22
23
24
25
26
27
28
29
30
31
32
Table Of Contents
33
page
of
33
Go
/
33
Contents
Table of Contents
Troubleshooting
Bookmarks
Table of Contents
Table of Contents
Layout of Cooker
List of Components
Warnings
Installation Warnings
During Usage
During Cleaning and Maintenance
Installing Your Cooker
Positioning the Cooker
Adjusting the Levelling Legs
Electric Connection and Safety
Connection Diagram Is Given below
Installing the Anti-Tilting Bracket
Technical Specifications for Top and Main Ovens
Using Your Cooker
Using the Product
Using the Cooktop Burners
Using Your Digital Timer
Minute Minder
Semi-Automatic Time Adjustment According to Cooking Time
Semi-Automatic Programming According to Finish Time
Full-Automatic Programming
Grill Function
Using the Top Oven
Top Heating Function
Top and Bottom Heating Function
Using the Main Oven
Double Grilling Function
Fan and Ring Heating Function
Bottom Heating Function
Using the Grill Pan Handle Set
Heat Deflector
Main Oven Cooking Chart
Top Oven Cooking Chart
Cooking Recommendations
Cleaning the Ceramic Hob
Cleaning and Maintenance
Removing and Reassembling the Oven Door
Maintenance
Replacing the Oven Light
Troubleshooting before Contacting a Repair Service
How to Transport Your Cooker
If the Oven Is Not Working
Service and Transport
Advertisement
Quick Links
1
Table of Contents
2
Layout of Cooker
3
List of Components
4
Using the Product
5
Cleaning and Maintenance
6
If the Oven Is Not Working
Download this manual
BEL FS50EDOC BLK/444443928
BEL FS50EDOC WHI/444443927
BEL FS50EDOFC BLK/444443930
BEL FS50EDOFC WHI/444443929
BEL FS50EDOPC STA/444443931
OPERATING AND INSTALLATION
INSTRUCTIONS OF
ELECTRIC DOUBLE OVEN
Table of
Contents
Previous
Page
Next
Page
1
2
3
4
5
Advertisement
Table of Contents
Need help?
Do you have a question about the BEL FS50EDOC BLK and is the answer not in the manual?
Ask a question
Questions and answers
Related Manuals for Belling BEL FS50EDOC BLK
Oven Belling FSE 60 I Service Manual
(98 pages)
Oven Belling FS 60 DO DF Installation And User Manual
Belling oven user manual (29 pages)
Oven Belling FS 60 DO DF User's Installation Manual
(28 pages)
Oven BELLING FSDF 60 DO Service Manual
Freestanding dual fuel au oven (75 pages)
Oven Belling FSE61iS Users Manual & Installation Handbook
Freestanding electric (48 pages)
Oven Belling FSDF60DO Users Manual & Installation Handbook
Freestanding dual fuel (41 pages)
Oven Belling BEL FS50ES WHI 444443919 Operating And Installation Instructions
Electrical freestanding oven (24 pages)
Oven Belling BEL FS50EDOFC BLK Operating And Installation Instructions
Electric double oven (33 pages)
Oven Belling FSE60MF Instruction Sheet
60cm freestanding electric oven controls (1 page)
Oven Belling FSG61DOPFS Control Manual
60cm freestanding gas (1 page)
Oven Belling FSE608D Blk User Manual
(28 pages)
Oven Belling FSDF608D Sil User Manual
(31 pages)
Oven Belling BEL FS50ET SIL Operating And Installation Instructions
Electric twin cavity (25 pages)
Oven Belling BEL FS50EFDO SIL Operating And Installation Instructions
Electric double oven (27 pages)
Oven Belling BEL BI602F User Manual
60 fanned oven (21 pages)
Oven Belling BEL BI60MF CN BK User Manual
(56 pages)
This manual is also suitable for:
444443928
444443927
Bel fs50edofc blk
444443930
444443929
Bel fs50edopc sta
...
Show all
444443931
Table of Contents
Print
Rename the bookmark
Delete bookmark?
Delete from my manuals?
Login
Sign In
OR
Sign in with Facebook
Sign in with Google
Upload manual
Upload from disk
Upload from URL


Need help?
Do you have a question about the BEL FS50EDOC BLK and is the answer not in the manual?
Questions and answers