
Related Manuals for Belling FSDF60DO


Summary of Contents for Belling FSDF60DO
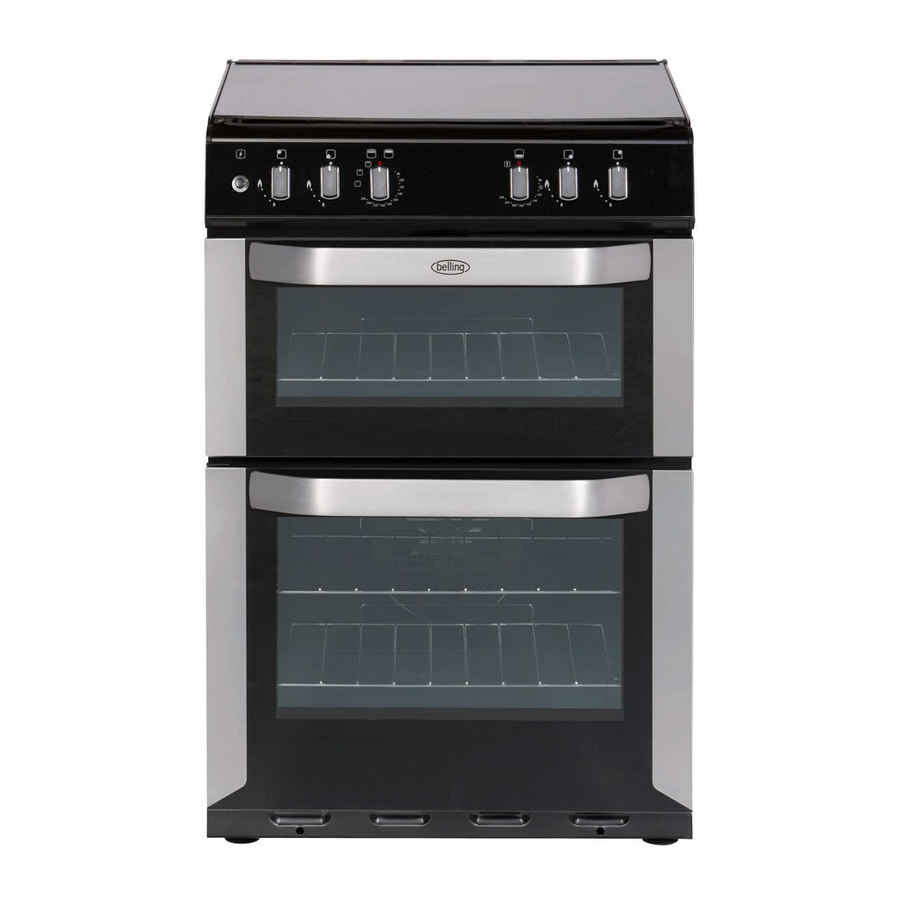
- Page 1 Users Guide & Installation Handbook Belling Freestanding Dual Fuel AU Part No 083503000 Date 13/07/2015...
- Page 2 CONTENTS & OUR WARRANTY CONTENTS your appliance’s model number and serial number. There is a space at the back of • INTRODUCTION this book for recording that information. • SAFETY Important Notice • IGNITION PROCEDURE Please note there may be a cooling fan •...
- Page 3 SAFETY supervision. BEFORE USING THE PRODUCT Make sure that you have removed all WARNING! - If a range is packaging and wrapping. Some of the placed on a base, measures items inside this appliance may have ad- ditional wrapping. must be taken to prevent the It is advised that you turn the ovens and/ appliance slipping from the or grill on for a short while.
- Page 4 SAFETY fan (if fitted) is designed to run the main oven, the element on after the control knob has is here and it will cause over been switched off. heating. WARNING! - Do not spray WARNING! - Do not modify aerosols in the vicinity of the outer panels of this this appliance while it is in appliance in any way.
- Page 5 SAFETY OVEN / GRILL than 100mm (4”), or larger than 250mm (10”). Use a 230 mm (9”) pan above the wok burner, if two or • Always take care when removing food more other hotplate burners are in from the oven as the area around the use at the same time.
- Page 6 SAFETY hob. Never leave them close to, or If you have an electrical fire in the kitchen: on top of the hob. • Never leave any heat zone alight • Pull the plug out, or switch off the without a pan covering it. This power at the fuse box - this may be causes a fire hazard.
- Page 7 USING THE HOB - GAS • If your hob is supplied with left and • To simmer, turn the control knob right handed pan supports, ensure to the small flame symbol. This will that they are located over the align- ensure that the flame is just large ment pins and are sitting flat on the enough to gently heat the contents of hob.
- Page 8 USING THE HOB - GAS • Use a pan which is a close match to If desired, the wok support should be your burner size. located on top of the pan supports around the centre burner. • Smaller burners are ideal for simmer- ing and stewing in smaller pans, while The locating cutouts on the bottom of the the larger burners are ideal for frying...
- Page 9 USING THE GRILL - ELECTRIC Caution: Accessible parts may be Using aluminium foil hot when the grill is used - young Using aluminium foil to cover the grill pan, children should be kept away. or putting items wrapped in foil under the grill creates a fire hazard.
- Page 10 USING THE TOP OVEN - ELECTRIC (if fitted) When you are cooking keep children Preheat the oven until the indicator light away from the vicinity of the oven. switches off for the first time, this will take up to 15 minutes depending on the Caution: The top element gets temperature selected.
- Page 11 USING THE TOP OVEN - ELECTRIC (if fitted) TOP OVEN BAKING GUIDE Cooking temperatures Cooking times The temperature settings and time given in the Baking Guides are based on dishes These times are based on cooking in a made with block margarine. If soft tub preheated oven.
- Page 12 USING THE MAIN OVEN - ELECTRIC Accessible parts may be Manual Operation (fanned only) hot when the oven is used. The programmer must be set to manual operation before the main oven can be Young children should be used. If A (Auto) is on the programmer kept away.
- Page 13 USING THE MAIN OVEN - ELECTRIC Slow cooking ( Setting or 100°C) This makes it ideal for batch baking - eg; when planning a party as all the items will • Make sure that frozen foods are thor- be cooked within the same length of time. oughly thawed before cooking.
-
Page 14: Defrosting Times
USING THE MAIN OVEN - ELECTRIC There is no need to interchange dishes Be safe onto different shelves part way through Do not defrost stuffed poultry using this cooking, as with a conventional oven. method. To help the air circulate freely Do not defrost larger joints of meat and Position the shelves evenly within the poultry over 2kg/4lb using this method. - Page 15 USING THE MAIN OVEN - ELECTRIC Note: This is a fanned oven, therefore conventional temperatures need to be some adjustment will have to be converted to fanned oven temperatures. made to conventional cooking tempera- For example, an item which would nor- tures. The table below shows conven- mally cook at a conventional temperature tional cooking temperatures, fanned oven of 180 °C, will now cook at the fanned...
-
Page 16: Traditional Fruit Cakes
USING THE MAIN OVEN - ELECTRIC Traditional fruit cakes Roast turkey It should be remembered that ovens can Roasting turkey involves cooking two vary over time, therefore cooking times different types of meat - the delicate light can vary, making it difficult to be precise breast meat, which must not be allowed when baking fruit cakes. - Page 17 USING THE MAIN OVEN - ELECTRIC Roasting guide Notes: The times given in the roasting guide • When cooking stuffed meat or poultry are only approximate, because the size calculate the cooking time from the and age of the bird will influence cooking total weight of the meat plus the times as will the shape of a joint and the stuffing.
- Page 18 USING THE CLOCK/PROGRAMMER-ELEC( if fitted THE ALTERNATIVE PROGRAMMERS There are two types of programmer cov- ered in this section - push button & touch control. Both programmers have the same symbol variants & functions but may vary in their method of operation. Symbols on the LED display.
-
Page 19: Setting The Minute Minder
USING THE CLOCK/PROGRAMMER-ELEC( if fitted Setting the minute minder This message and ‘A’ symbol appear when you are asked to enter in an end time, or when you would like the oven to switch itself off. To set the time of day •... - Page 20 USING THE CLOCK/PROGRAMMER-ELEC( if fitted Semi-automatic cooking For the instructions on how to use both of these functions, please see the following There are two types of semi automatic page. cooking available on this appliance. Fully automatic cooking The oven must be switched on, and in use to use either of these functions success- This function incorporates both a duration fully.
- Page 21 USING THE CLOCK/PROGRAMMER-ELEC( if fitted SEMI-AUTOMATIC COOKING The duration method • Press the Function button twice,(1) which will skip past the Minute Minder. • The LED display will flash the word ‘dur’, (2) and the ‘A’ will flash on the left hand side of the display. • Use the Up and Down buttons to set the length of time you want to cook for.(3) This must be done within 5 seconds or the time of day will show...
- Page 22 USING THE CLOCK/PROGRAMMER-ELEC( if fitted FULLY AUTOMATIC COOKING (EX- AMPLE) This programming method is best suited for when a delayed start time is required. Unlike the semi automatic methods this requires both the duration and the end time to be entered. The timer will work out the start time and begin cooking. • Press the function button twice to select the length of time your food will need.
- Page 23 USING THE CLOCK/PROGRAMMER-ELEC( if fitted The touch control programmer The ‘function’ icon in the centre is used for setting the minute minder & setting up the There are three touch control icons for automatic cooking - see below for details. this timer - the table below shows you what the symbols look like, depending on the model type, &...
- Page 24 USING THE CLOCK/PROGRAMMER-ELEC( if fitted Setting the time of day Semi-automatic cooking Touch & hold the centre (function) icon for Method 1 - duration (switch off after a few seconds until the ● symbol between set time period): the numbers on the LED display flashes. Touch & hold the centre (function) icon; While the ● symbol is flashing, you can the bell will flash & you will hear a beep.
- Page 25 USING THE CLOCK/PROGRAMMER-ELEC( if fitted Use the plus & minus icons to select the To cancel the automatic programme at time the oven is required to switch off. any time, touch the plus & minus icons together. Once this is done the oven will switch itself off at the pre-selected time. To turn the alarm off, touch any icon.
- Page 26 CLEANING General as they can contain salts, which will damage the metal. • It is important to clean the product regularly as a build up of fat can af- Enamel surfaces & parts fect its performance or damage it and may invalidate your guarantee.
- Page 27 CLEANING REMOVING OVEN PARTS FOR Shelf Runners CLEANING • Shelf runners can be removed to Inner Door Glass (glass doors only) enable you to clean them thoroughly. Make sure they are cool to touch and • Some models have a removable, in- then grasp the runners and slide out ner door glass.
- Page 28 CLEANING GAS HOB Cast iron griddle or pan supports (if fitted) Burner caps and heads • Ensure the griddle has fully cooled • The slots in the burner head where and scrape off any stubborn marks the flames burn should be cleared of and bits of food with a plastic or deposits.
-
Page 29: Ventilation Requirements
INSTALLATION - DUAL FUEL Before you start: Please read the instruc- Ventilation Requirements tions. Planning your installation will save Ventilation must be as specified by AS you time and effort. 5601 Installation code. The room con- Prior to installation, ensure that the local taining the appliance should have an air distribution conditions (nature of the gas supply. - Page 30 INSTALLATION - DUAL FUEL Windows and permanent vents should Clearances therefore not be blocked or removed No shelf or overhang or cooker hood without first consulting a GAS SAFE gas should be closer than a minimum of installer. 650mm, but check with cooker hood Failure to install appliances correctly is manufacturer’s recommendations.
-
Page 31: Stability Bracket
INSTALLATION - DUAL FUEL Levelling Your Cooker Place the cooker in position and draw a PENCIL LINE level with the front edge (2). Place a spirit level on a baking sheet onto an oven shelf. Mark the centre of the cooker to give a CENTRE LINE (3). - Page 32 INSTALLATION - DUAL FUEL CONNECT TO THE ELECTRICITY SUP- PLY - DUAL FUEL The appliance must be installed by a competent electrician using a double pole control unit of 32 ampere minimum capac- ity with 3mm minimum contact separation at all poles. We recommend that the appliance is con- nected by a qualified electrician who is a member of the N.I.C.E.I.C.
- Page 33 INSTALLATION - DUAL FUEL PRODUCTS WITH CAST IRON LID Connection to the gas supply should be (WHERE FITTED) made using the Aquaknect AS/NZS 1869 class B hose assembly with an internal A 55mm clearance is required from the diameter of not less than 10mm and regu- back of the hotplate to the rear wall, to lator (regulator for use with natural gas) allow the lid to be opened fully.
- Page 34 INSTALLATION - DUAL FUEL After installation, make sure all con- Clock programmer/ Minute minder nections are gas sound. Check functions as described earlier in this Checking the gas supply booklet. Oven light & convection fan Check the manometer zero point is correct.
-
Page 35: Technical Data
Pressure setting: Natural Gas - 1.0 kPa Propane - 2.75 kPa Electrical supply: 240V ~ 50Hz 4865W Countries of destination: AU NZ Data - Oven and Grill Products FSDF60DO AU / FSDF61DOWS/S AU / BR54DF AU Fuel Type Hotplate Burner /Element Nominal Rate Qn Natural Gas Hob - small 3.45MJ/h... -
Page 36: Wiring Diagram
WIRING DIAGRAM BELLING BR 54 DF- AU WIRING DIAGRAM Wiring colour code: Bk - Black, Bn - Brown, Bu - Blue, Gn - Green, Or - Orange, R - Red, W - White, Y - Yellow, V - Violet. IGNITION... -
Page 37: Customer Care
CUSTOMER CARE FAQs Should the cooling fan continue to run once the appliance has been What parts of the appliance can be switched off? washed in a dishwasher? • Yes. This is to make sure that you • Any enamelled parts such as the grill- can always touch the control knobs to pan can be cleaned in a dishwasher, make temperature adjustments, and... - Page 38 CUSTOMER CARE CUSTOMER CARE CHANGING LIGHT BULBS (where fitted) Warning: There is a risk of electric shock, so always make sure you have turned off and unplugged your appliance before starting. Always allow the product to cool down before you change a bulb. Not all appliances have the same number and type of bulbs.
- Page 39 Please keep this handbook for future reference, or for anyone else who may use the appliance.
- Page 40 CONTACT US Calling for a service If you should experience any problems with your cooker please contact your retailer or place of purchase. Important note: Service work is to be conducted by authorised persons only. It is advisable to have your cooker checked regularly and maintained in good condition.
Need help?
Do you have a question about the FSDF60DO and is the answer not in the manual?
Questions and answers