Advertisement
Quick Links
Advertisement

Related Manuals for Contura C 586W


Summary of Contents for Contura C 586W
- Page 1 Installation instruction C 586W www.contura.eu...
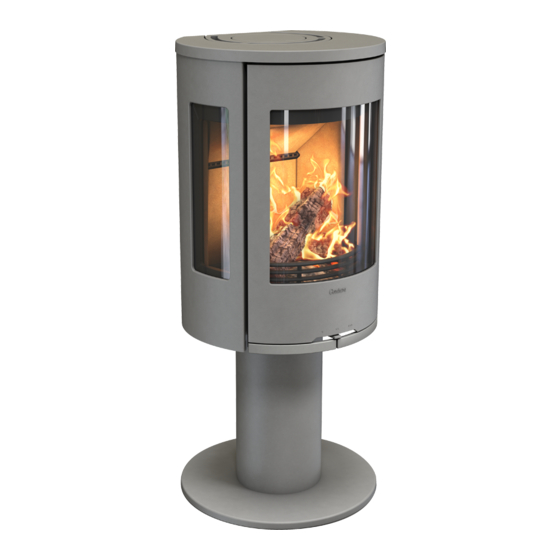
- Page 2 Contura 586W is a Swan marked wood burning stove. NIBE was the first stove manufacturer in Sweden to commit to Swan marking stoves. The Swan mark is one aspect of our vision to be a company of the future, setting high quality standards regarding the environment.
- Page 3 A warm welcome to the Contura family. We hope you will get a great deal of pleasure from your new stove. As a new owner of a Contura stove you have secured a product with timeless design and long service life. Contura also has combustion that is both environmentally friendly and efficient for the best heat production.
- Page 4 FACTS / PRIOR TO INSTALLATION Technical details Important to remember! Installation by authorised Structural support Output 3 – 7 kW technician Nominal output 5 kW (approx. 1.5 kg wood/ Check that the wood joists are strong hour) enough to bear the weight of the stove and This manual contains instructions about Efficiency, up to chimney.
- Page 5 REMOVAL How to remove the heat defl ector How to remove the hearth surround Handle the hearth surround with care. Lift the smoke baffle with one hand whilst removing the four side parts. Reinstall in reverse order.
- Page 6 CHIMNEY Connection to chimney • The stove meets the requirements for connecting to chimneys • A flue with sharp bends and horizontal routing reduces the dimensioned for 350°C flue gas temperature. draught in the chimney. Maximum horizontal flue is 1 m, on the condition that the vertical flue length is at least 5 m. • The external diameter of the connection sleeve is 150 mm. • It must be possible to sweep the full length of the flue and the • The stove requires a draft in the chimney of at least –12 Pa. The soot hatches must be easily accessible. draft is affected both by the length and area of the chimney, and by how well sealed it is.
-
Page 7: Supply Of Combustion Air
INSTALLATION DISTANCES / SUPPLY AIR Installation distances C 586W Check that the installation distances in the figures are maintained. When top connecting a steel flue please refer to the relevant manufacturer’s installation instructions. Observe the safety distances to combustible material that steel flues require. - Page 8 ASSEMBLY Assembling the stove Ø 8 mm Place the back plate opposite the connector. Check that the Insert the connection pipe into the wall connector back plate is vertical and mark the mounting holes you wish towards the folded tabs. to use.
- Page 9 ASSEMBLY Install the suspension brackets on the stove body using 2 screws. Detach the stove body from the leg by unscrewing the 4 screws. Lift the stove body from the leg and suspend the brackets on the body above the back plate’s upper mounting angle.
- Page 10 ASSEMBLY Lyft ut nederkanten av insatsen så att insatsen är lodrät. För in Lås fast insatsen med 2 skruvar i ovankant. insatsen mot ryggplåten så att kamin stosen skjuts in i anslut- ningsröret. Kontrollera att insatsen hänger lodrätt. Vid behov kan insatsen Lås fast insatsen med 2 skruvar i nederkant.
- Page 11 ASSEMBLY Hook the side plate into the back plate and turn the front Secure the side panel at the front edge using a screw edge in towards the stove body. at the upper edge and a screw at the lower edge. Assembling the stove top Place the type plates with production number and installation Lay the soap stone top (or Steel top, cast iron top) in place,...
- Page 12 NIBE AB · Box 134 · 285 23 Markaryd · Sweden www.contura.eu Contura reserves the right to change colours, materials, dimensions and models at any time without special notice. 811144 IAV SE-EX C586W-3 Your dealer can give you the most up to date information.
Need help?
Do you have a question about the C 586W and is the answer not in the manual?
Questions and answers