Walker MT Detailed Instructions
Hide thumbs
Also See for MT:
- Owner's manual (92 pages) ,
- Owner's manual (100 pages) ,
- Owner's manual (92 pages)
Table of Contents
Advertisement
Quick Links
WALKER SERVICE MANUAL
Please Read and Save These Instructions
For Safety, Read All Safety and Operation
Instructions Prior to Operating Machine
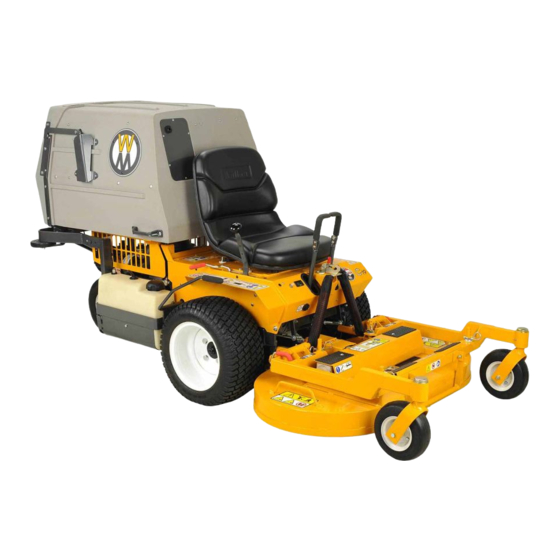
Detailed Instructions for
Servicing Walker Mowers
Model MT, MTL, MTEFI and MTLEFI
Model MD
Model MC
Model MS
Model MW15
Model MB
Implements
™
Decks
Effective Date: 07-01-06
P/N 9000-30
Advertisement
Chapters
Table of Contents


Need help?
Do you have a question about the MT and is the answer not in the manual?
Questions and answers