Flashforge Finder Quick Start Manual
Hide thumbs
Also See for Finder:
- User manual (88 pages) ,
- Quick start manual (28 pages) ,
- Start up and instruction manual (25 pages)
Table of Contents
Advertisement
Quick Links
finder
Quick Start Guide
SZ05-EN-A02
R
1. HYPERTHERMAL! AVOID TOUCHING THE HEATING NOZZLE IN OPERATION.
Caution
2. DANGERS OF BEING ENTANGLED AND WOUNDED. DO NOT WEAR GLOVES OR OTHER SOURCES
OF ENTANGLEMENT IN OPERATION.
User Guide
The User Guide is in the USB stick.
THIS GUIDE IS ONLY APPLICABLE TO FLASHFORGE FINDER 3D PRINTER
Advertisement
Table of Contents

Related Manuals for Flashforge Finder


Summary of Contents for Flashforge Finder
- Page 1 1. HYPERTHERMAL! AVOID TOUCHING THE HEATING NOZZLE IN OPERATION. Caution 2. DANGERS OF BEING ENTANGLED AND WOUNDED. DO NOT WEAR GLOVES OR OTHER SOURCES OF ENTANGLEMENT IN OPERATION. User Guide The User Guide is in the USB stick. THIS GUIDE IS ONLY APPLICABLE TO FLASHFORGE FINDER 3D PRINTER...
-
Page 2: Kit Contents
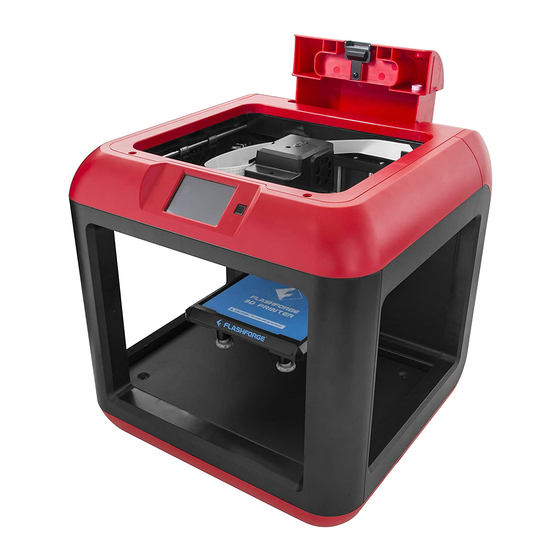
Kit Contents Filament Spool Quick Start Guide Finder 3D Printer USB Stick Filament Allen Wrench Power Cable USB Cable Screwdriver Guide Tube (M1.5/M2.0/M2.5) - Page 3 Getting to Know Your Finder Read all instructions and notes in the Quick Start Guide and Note the User Guide before setup and use. Failure to comply with the instructions and notes may result in damage or injury. Filament Cartridge...
-
Page 4: Unpacking Your Finder
2. Open the box, grasp the two handles 3. Remove the side protective foam work surface. and then lift your Finder out of the box. sheets, you will see the Finder in a transparent bag. 4. Remove the tape on the bottom and 5. - Page 5 9. Take the protective foam for filament cable in place. Be careful with the flat that hold the rods in place. out of the Finder. You will see a spool cable. of PLA filament inside. 10. Move the build plate up with care.
-
Page 6: Hardware Assembly
Hardware Assembly Your Finder has been installed before leaving factory. You can start up the Finder for printing after mounting the filament spool and completing leveling. 3. Install the filament into 1. Remove the filament cartridge 2. Thread the filament through the filament... -
Page 7: Leveling The Build Plate
Leveling the Build Plate Finder creatively adopts three-point intelligent leveling system, which will give clear and comprehensive feedback to users. There are three spring-loaded nuts under the build platform. The distance between the plate and the nozzle increases while tightening the nuts. On the contrary, the distance reduces. -
Page 8: Loading Filament
Loading Filament HOME Filament Level Home Manual Load Unload Print Preheat Tools Setting Status About 1. Press the power switch to the right of the screen, tap [Tools] and then tap [Filament] and [Load] successively. Changing Filament 1. Tap [Preheat]--[Start] to the heat up the extruder. 2 After completing preheating, knob down the spring presser and Heating pull out the filament. -
Page 9: First Print
.g file. Copy this .g file into an USB stick and insert the USB stick into the Finder. Turn on the Finder and ensure the build plate has been leveled and the filament has been loaded in the extruder. - Page 10 For your better operation, please read the User Guide carefully.
Need help?
Do you have a question about the Finder and is the answer not in the manual?
Questions and answers