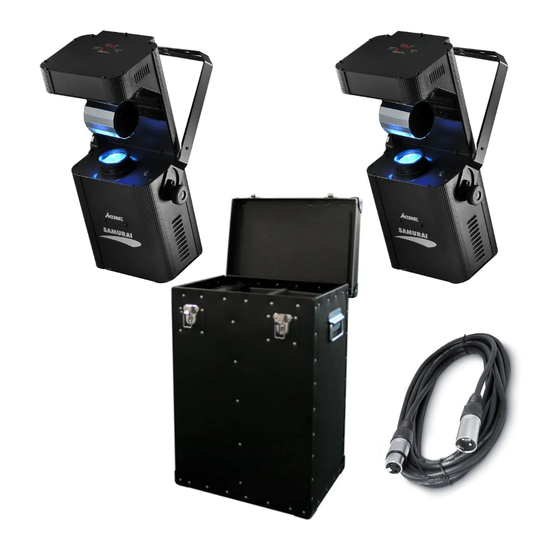
Summary of Contents for ACME SAMURAI SCAN 50
- Page 1 SAMURAI SCAN 50 LED-SC50D User Guide Professional Entertainment Technology Innovation, Quality, Performance...
- Page 2 EC Declaration of Conformity We declare that our products (lighting equipments) comply with the following specification and bears CE mark in accordance with the provision of the Electromagnetic Compatibility (EMC) Directive 89/336/EEC. EN55014-2: 1997 A1: 2001, EN61000-4-2: 1995; EN61000-4-3: 2002; EN61000-4-4: 1995;...
-
Page 3: Table Of Contents
1. The stepper motor might be damaged or the cable connected to the PCB is broken. 2. The motor’s drive IC on the PCB might be out of condition 7. Fixture Cleaning TABLE OF CONTENTS The cleaning of internal and external optical lenses and/or mirrors must be carried out periodically to optimize light output. -
Page 4: Safety Instruction
1. Safety Instruction 3 pin XLR: Pin 1: GND, Pin 2: Negative signal (-), Pin 3: Positive signal (+) 5 pin XLR: Pin 1: GND, Pin 2: Negative signal (-), Pin 3: Positive signal (+), Pin 4/Pin 5: Not used. Please read carefully the instruction, which includes important information about the installation, usage and maintenance. -
Page 5: Technical Specification
4.5 DMX512 Connection The housing, the lenses, or the ultraviolet filter must be replaced if they are visibly damaged. Caution There are no user serviceable parts inside the unit. Do not open the housing or attempt any repairs yourself. In the unlikely event your unit may require service, please contact your nearest dealer. -
Page 6: How To Set The Unit
Voltage: 230V/50Hz 8 channel mode: Power consumption: 105W Light source: 1×50W LED Dimension: 262X212X474 mm Weight: 7.6 kg 3. How To Set The Unit 3.1 Control panel Display To show the various menus and the selected functions DMX input present MASTER Master Mode SLAVE... - Page 7 4.4 DMX 512 Configuration For DMX512 link, use 3/5-pin XLR cable to link the unit together. 7 channel mode: 3.2 Main Function To select any of the given functions, press the MENU button up to when the required one is showing on the display.
- Page 8 4.2 Easy Controller The easy remote control is used only in master/slave mode. By connecting to the 1/4” microphone jack of the first unit, you will find that the remote control on the first unit will control all the other units functions press the MENU button again.
-
Page 9: How To Control The Unit
display will show the version of software of the unit. To go back to the functions press the DMX 512 Address Setting MENU button again. Hold and press the MENU button about one second or wait for one minute to exit the menu mode. Press the MENU button to show on the display. - Page 10 setup, to go back to the functions without any change press the MENU button again. Hold (display normal), It will automatically store after 8 seconds. Or press the ENTER button and press the MENU button about one second or wait for one minute to exit the menu mode. again return to the mode (display inversion).


Need help?
Do you have a question about the SAMURAI SCAN 50 and is the answer not in the manual?
Questions and answers